This Crockpot Shredded Chicken is perfect for busy weeknights because you can use it to make a variety of different quick dinners!

I know the school calendar varies depending on where you live, but in our little corner of the world, we are into the last month of the school year.
May is no joke. (Did you see this video? Nailed it.)
Our calendar is filled with end-of-the-school-year picnics, school performances, Mother’s Day teas, dentist appointments, dance classes, baseball games, and on and on and on.
That’s why I’m bringing you this Crockpot Shredded Chicken recipe today. It’s not because I think it’s revolutionary or even out of the ordinary in the least.
I’m publishing this simple recipe because it’s been saving me on these crazy spring weeknights lately and maybe, just maybe, someone out there needs some easy dinner ideas to save them, too.
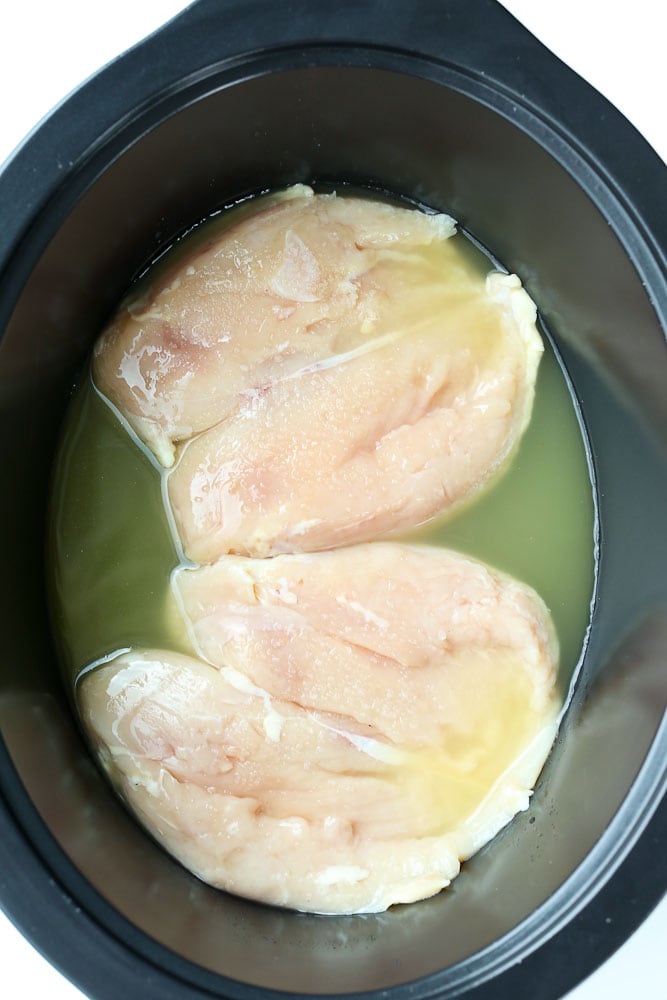
All you have to do is put your boneless, skinless, seasoned chicken breasts in the Crockpot with some chicken broth and then at dinner time, it’s so tender it’s simple to shred with two forks and use in a variety of ways.
First I’ll give you the recipe for the Crockpot Shredded Chicken, then I’ll give you plenty of quick and easy dinner ideas that you can use it with. Keep scrolling after the printable recipe to get the extra ideas. Weeknight dinners just got a whole lot simpler.
How to Make Crockpot Shredded Chicken
PrintCrockpot Shredded Chicken

Use your Crockpot to make shredded chicken that you can use in a lot of different healthy dinners!
- Prep Time: 5 minutes
- Cook Time: 3 hours
- Total Time: 3 hours 5 minutes
- Yield: 4-6 servings
Ingredients
- 2 pounds boneless, skinless chicken breasts
- salt and pepper*
- 1 cup chicken broth
Instructions
- Season your chicken breasts well on both sides.
- Place in the Crockpot along with the chicken broth.
- Cook on high for 3 hours or low for 6 hours.
- Once cooked, remove from the Crockpot and use two forks to shred the chicken. Enjoy!
Notes
*I often season with just salt because my kids prefer plain shredded chicken. Other seasoning options include:
- 3/4 teaspoon salt+1/2 teaspoon pepper + 1/2 teaspoon garlic powder + 1/2 teaspoon onion powder
- 3/4 teaspoon salt+1/2 teaspoon pepper+1/2 teaspoon dried basil + 1/2 teaspoon oregano +1/2 teaspoon garlic powder
- 3/4 teaspoon salt+1/2 teaspoon pepper+1/2 teaspoon smoked paprika + 1/2 teaspoon cumin
- 3/4 teaspoon salt+1/2 teaspoon pepper+1 teaspoon chili powder+1/2 teaspoon cumin+1/2 teaspoon oregano
Nutrition
- Calories: 184
- Sugar: 0.2 grams
- Fat: 4 grams
- Carbohydrates: 0.2 grams
- Protein: 34 grams
Easy Dinner Recipes for Crockpot Shredded Chicken
You can use this Crockpot Shredded Chicken in any of these recipes for a quick and easy dinner!
- Walnut Pesto Chicken Salad
- Lightened Up Chicken Pot Pie
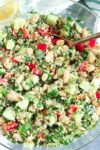
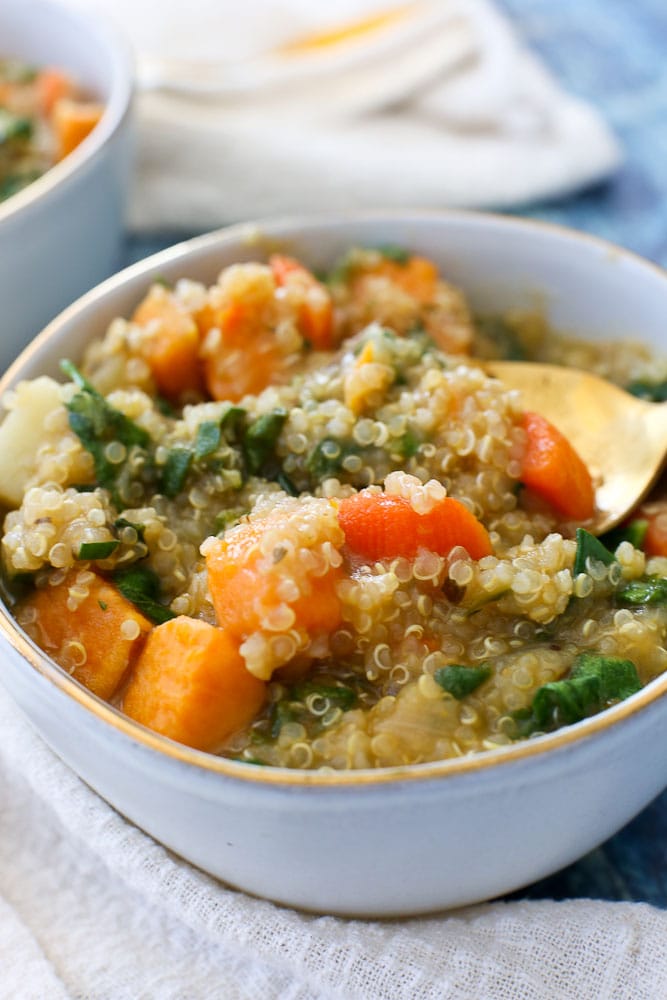
- 20 Minute BBQ Chicken Quinoa Bowl
- Chicken Quinoa Soup
- Chicken, Spinach, and Mushroom Stuffed Sweet Potato
- Spinach Artichoke Pasta with Chicken
- Chicken Fajita Pasta
- Chopped Kale Salad with Chicken
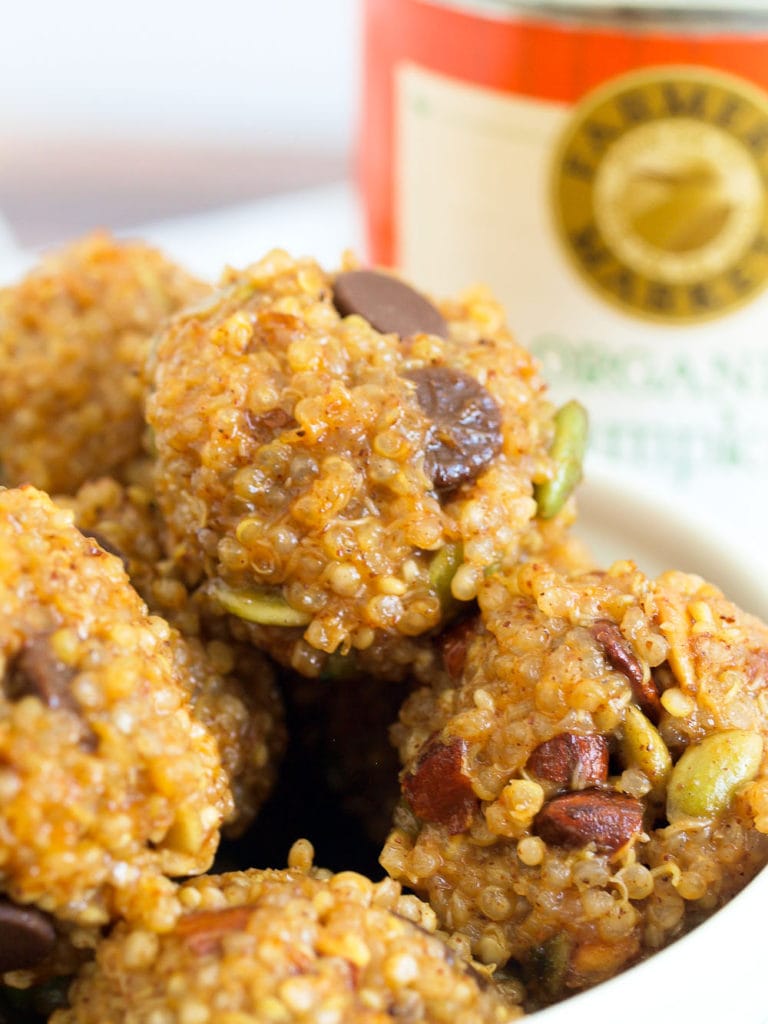
- Chicken Pumpkin Chili
- Healthy Avocado Chicken Salad
- Spinach Artichoke Stuffed Spaghetti Squash
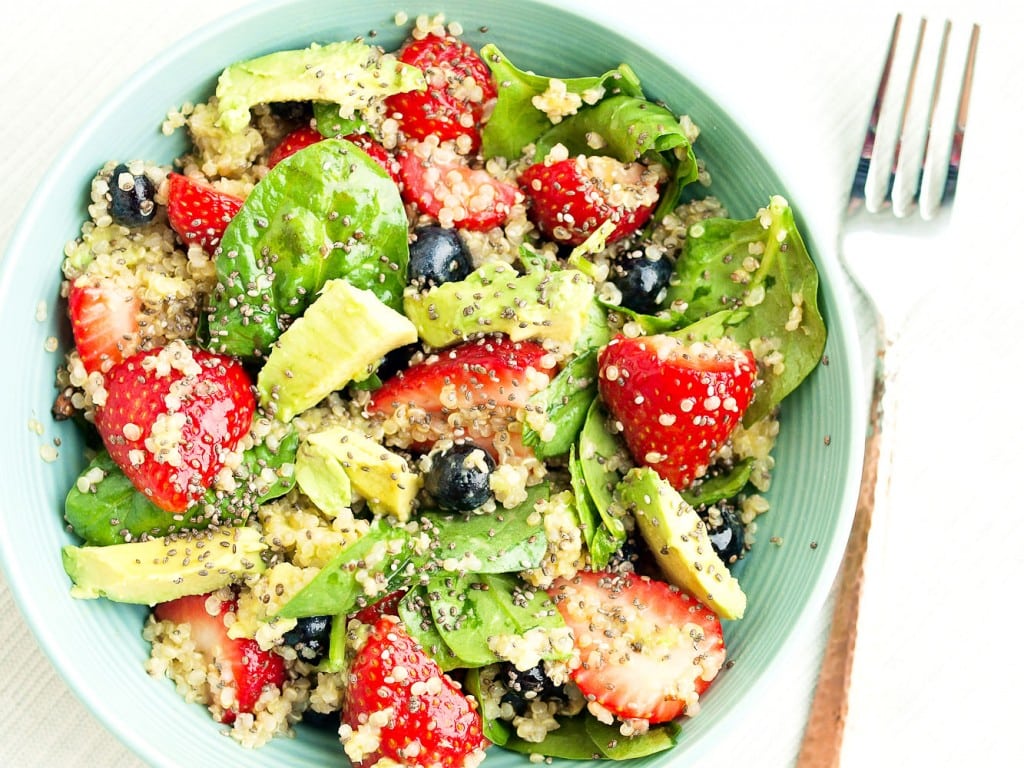
- Chicken Strawberry Salad Lettuce Cups
More Quick and Easy Dinner Ideas for Crockpot Shredded Chicken
No recipes needed for these ideas!
- Add barbecue sauce and serve BBQ chicken sandwiches
- Make chicken quesadillas
- Serve shredded chicken tacos (you can add salsa to the chicken at the end of the cooking time and then shred it all together)
- Make a chicken veggie wrap: just add the shredded chicken, your favorite veggies, and either a salad dressing or oil and vinegar.
- Salad bar night with shredded chicken as the protein
- Make a flatbread pizza with chicken and salad on the side
- Use it as a topping for taco salad
If you have more ideas for what to do with Crockpot Shredded Chicken, please share in the comments! We are all in this together! 
The post Crockpot Shredded Chicken for Easy Dinners appeared first on Happy Healthy Mama.
source https://happyhealthymama.com/crockpot-shredded-chicken.html


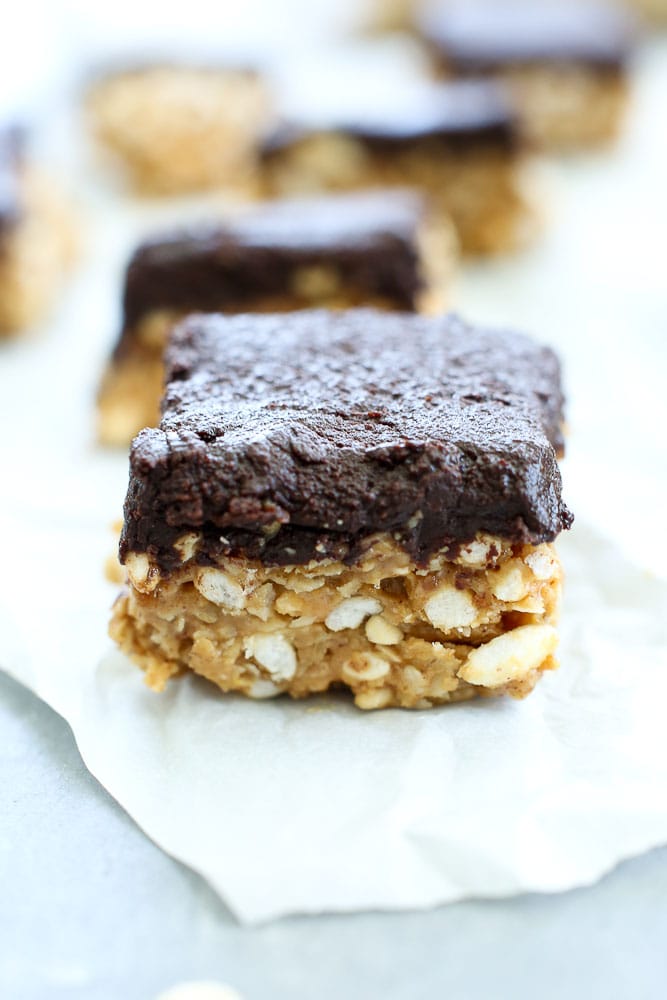
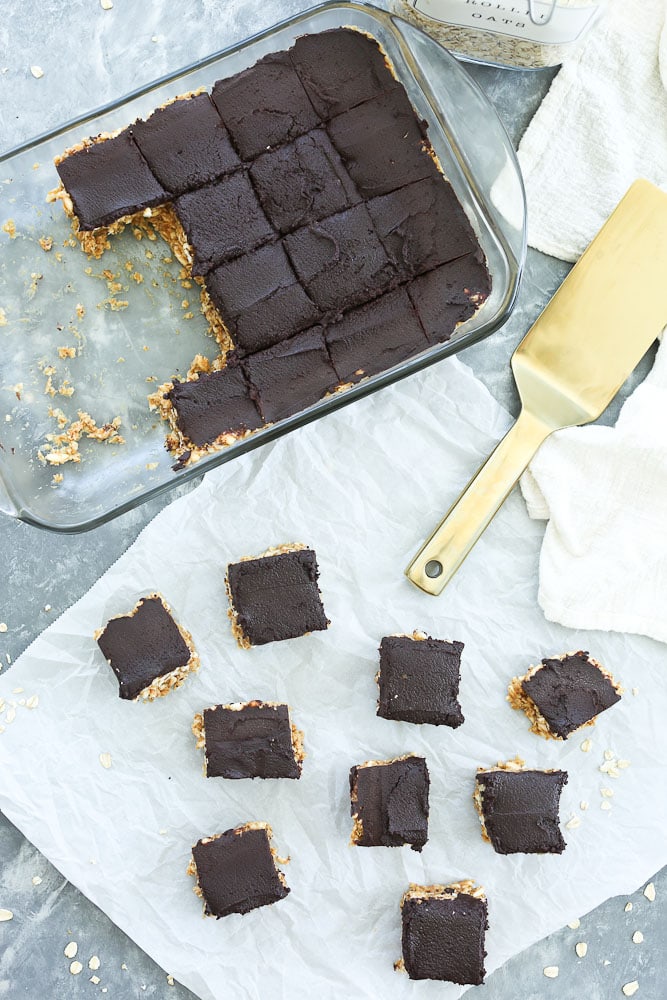
 And then the frosting! It’s similar to this


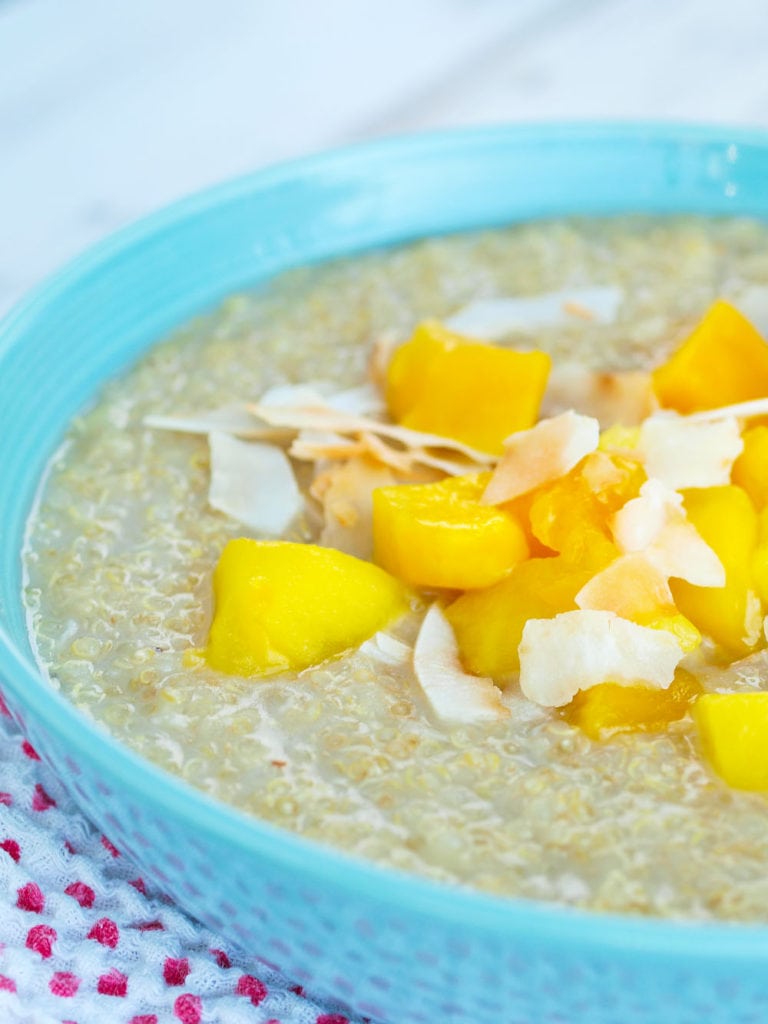
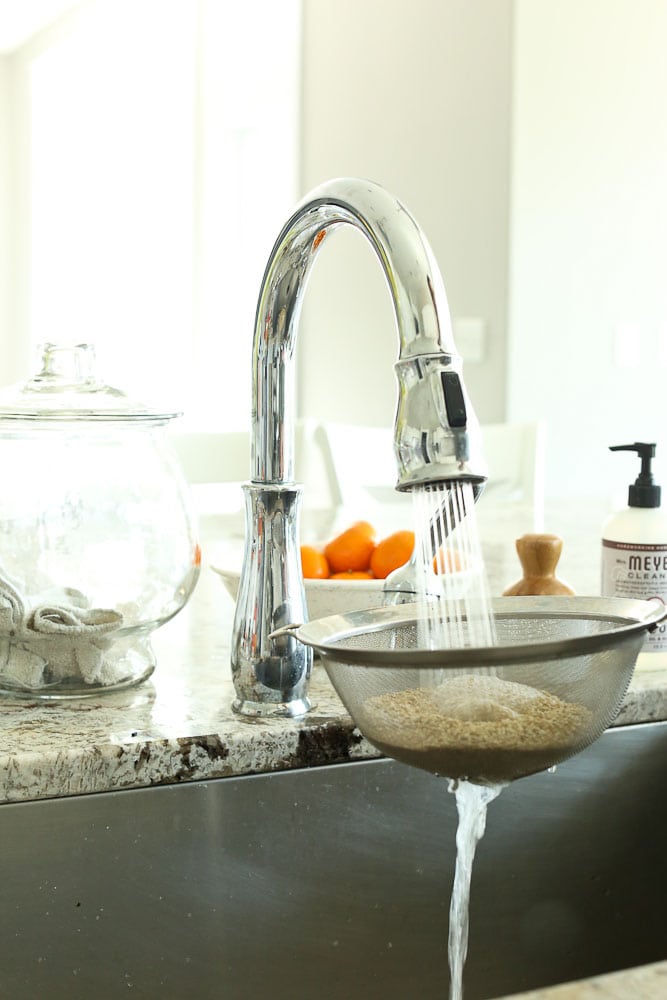 First, you want to measure and rinse your quinoa. Quinoa is small, so you’ll want to use a fine mesh strainer,
 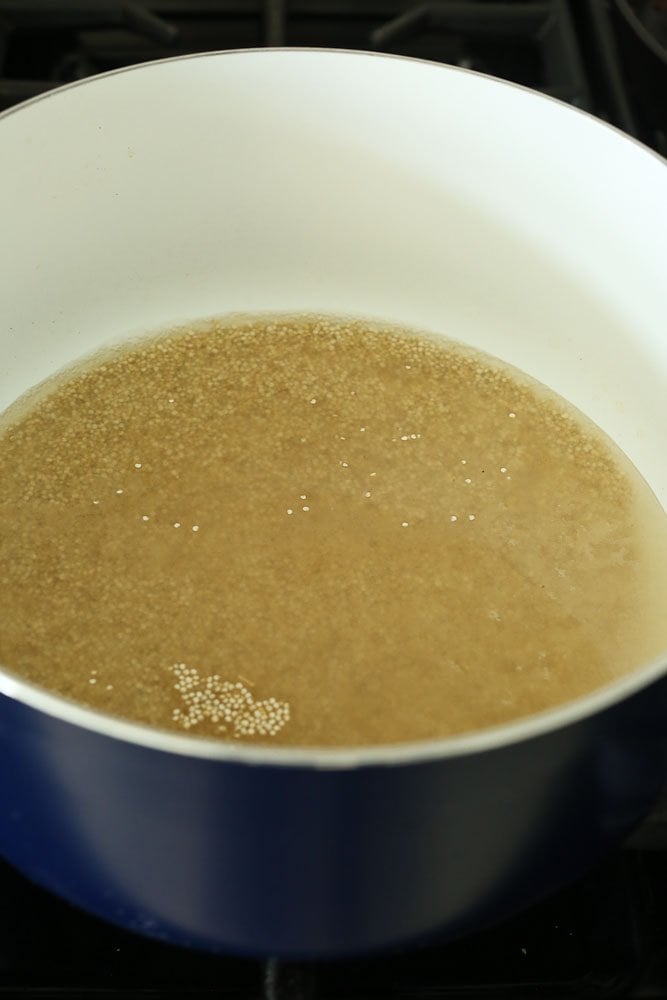 The ratio of liquid to quinoa is 1:2. So you want to use double the amount of liquid compared to the amount of dry quinoa you are using. 1 cup of quinoa=2 cups of liquid.
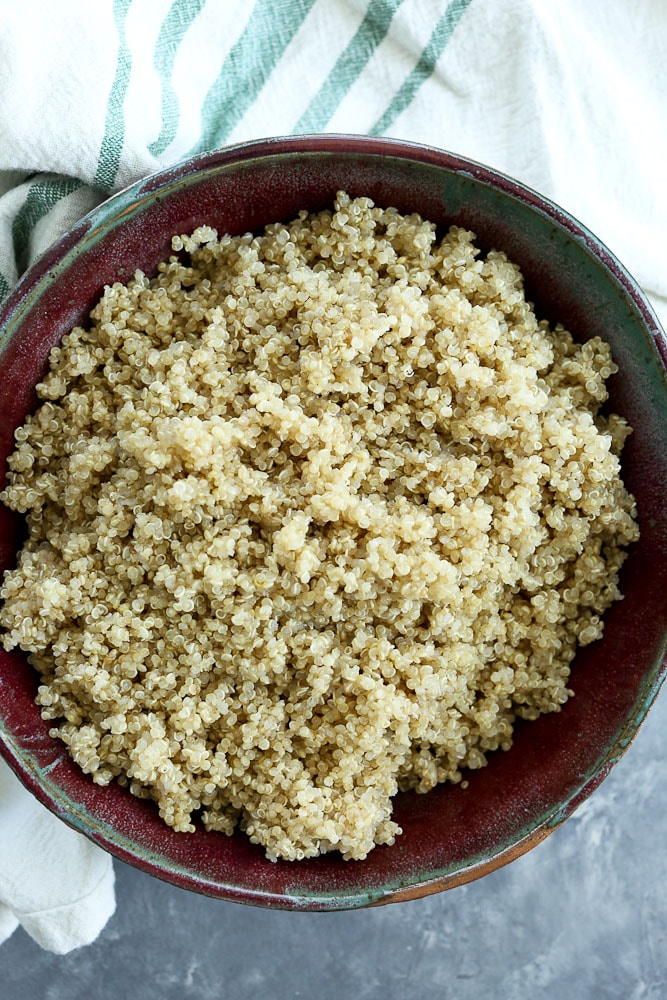
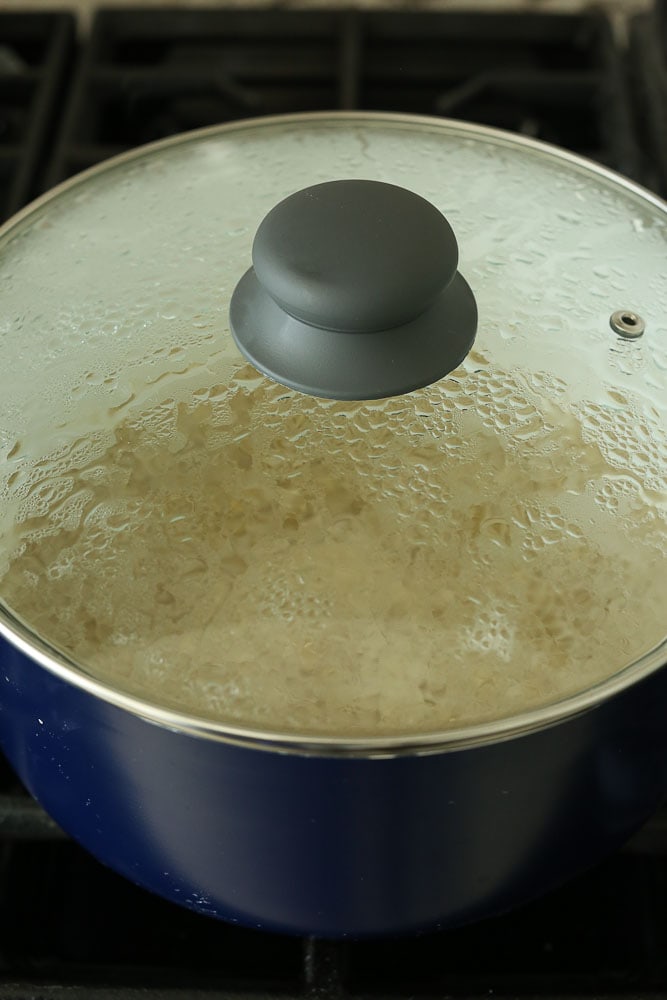 Bring the quinoa and liquid to a gentle boil. Reduce the heat, cover, and simmer for 10-20 minutes, until the liquid is absorbed. Larger batches will take longer, smaller batches cook more quickly. 1 cup of dry quinoa will typically cook in 10-12 minutes.
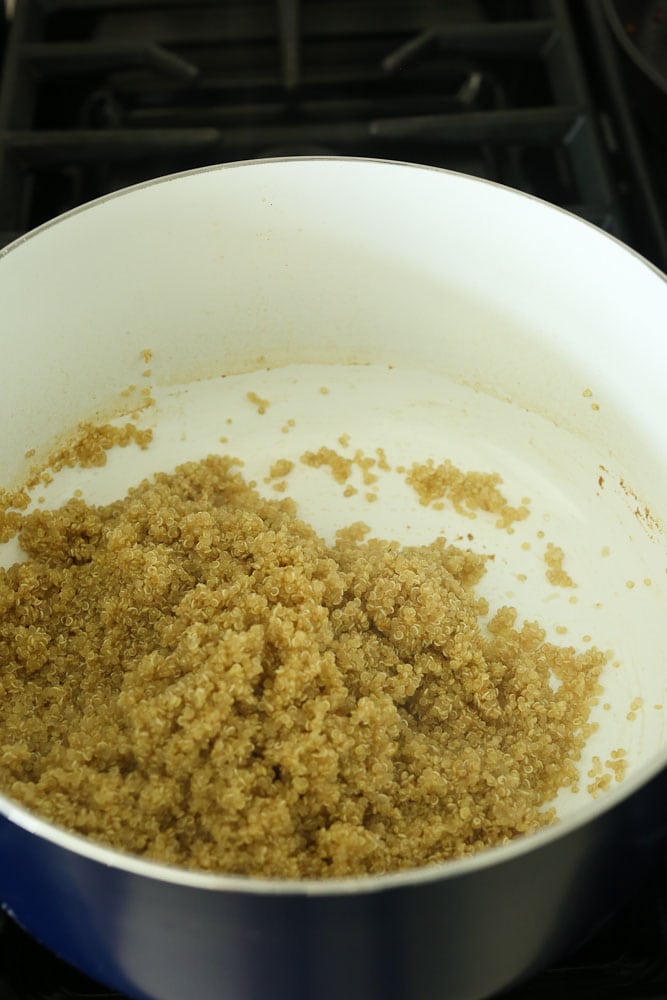


 I have been using
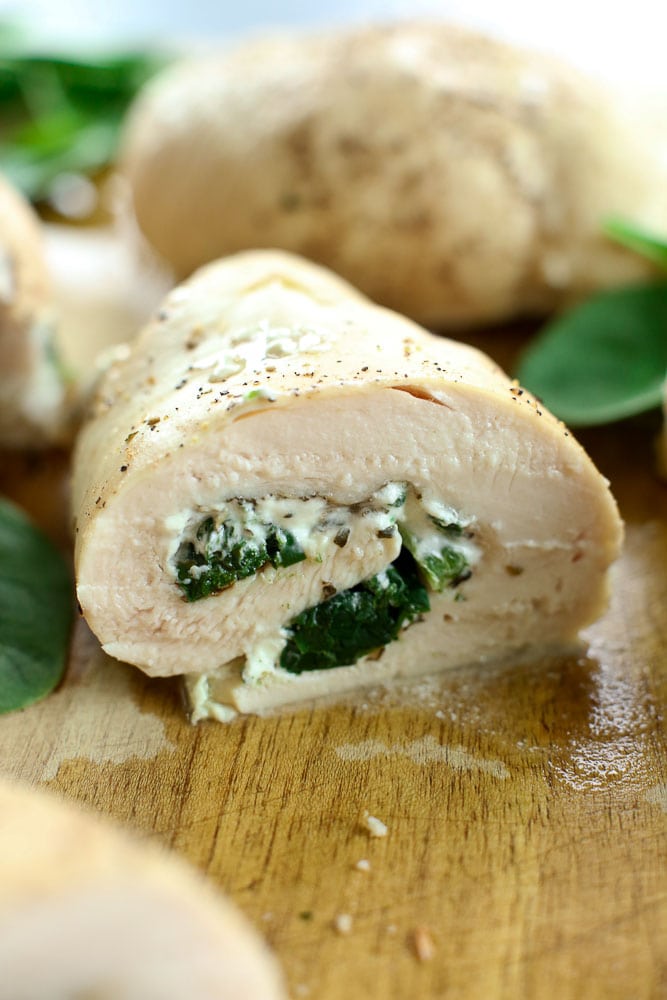
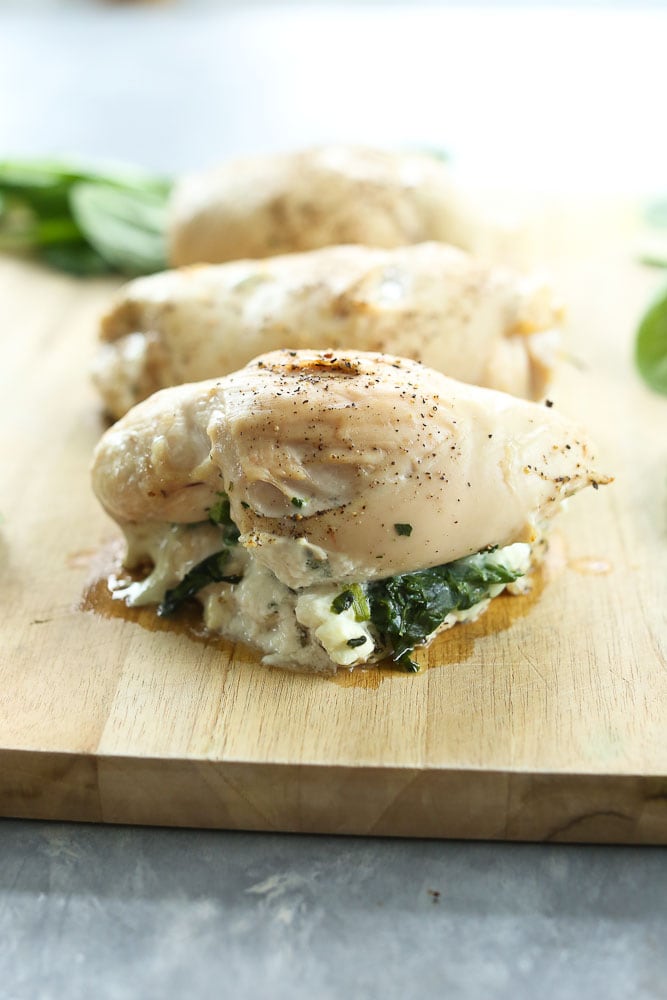
 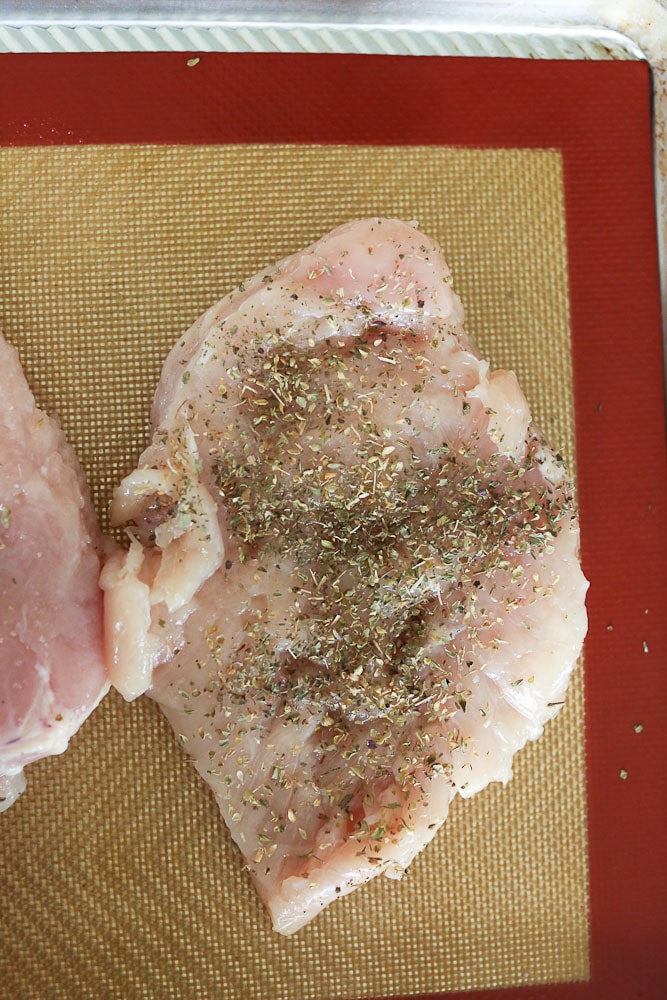 Place the chicken breasts on the prepared baking sheet and season both sides well with salt and pepper. Then, sprinkle the top side with the basil and oregano.
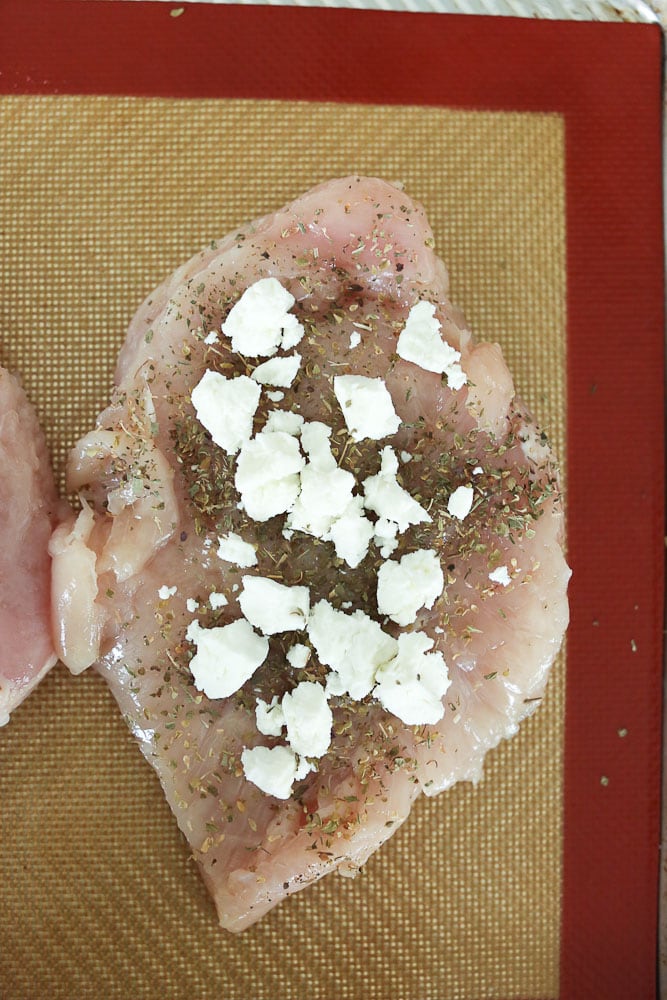 Add approximately 2 tablespoons of the crumbled goat cheese to each chicken breast.


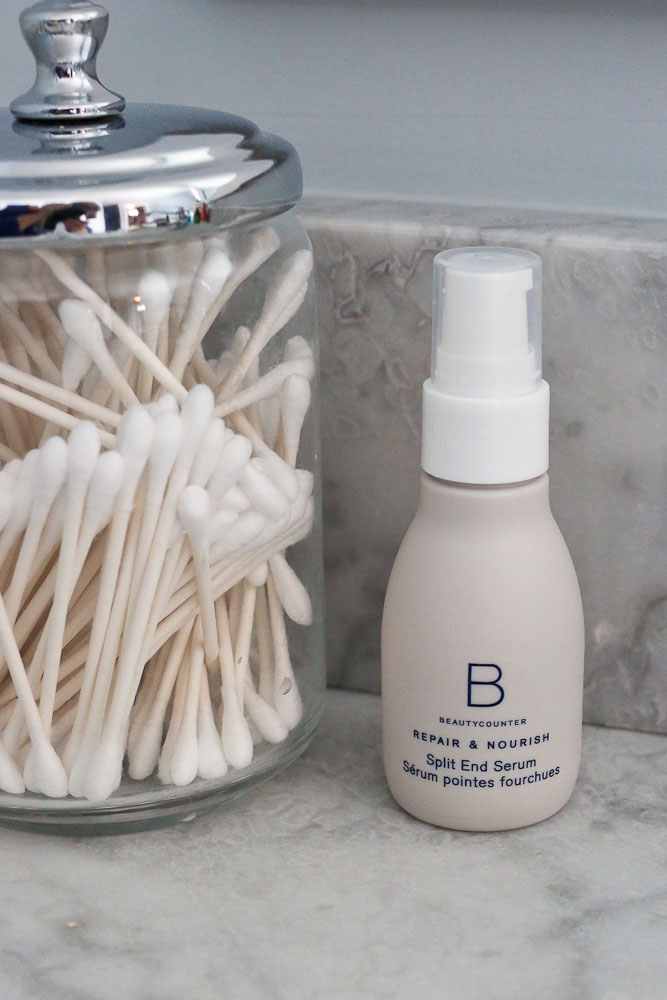 I’ve been really trying to take better care of my hair lately. I highlight my hair (I KNOW I KNOW…not natural…) and it’s rough on it. So I’ve been adding this serum to my ends everyday and it’s helping keep my hair healthier looking as I try to grow it out! I’ve also been putting it on Meghan’s ends once a week. She refuses to get a haircut often, so my hopes is this will help keep her hair healthier between cuts, also.