These Flourless Chocolate Peanut Butter Blender Muffins are quick and easy to make and are a healthy treat!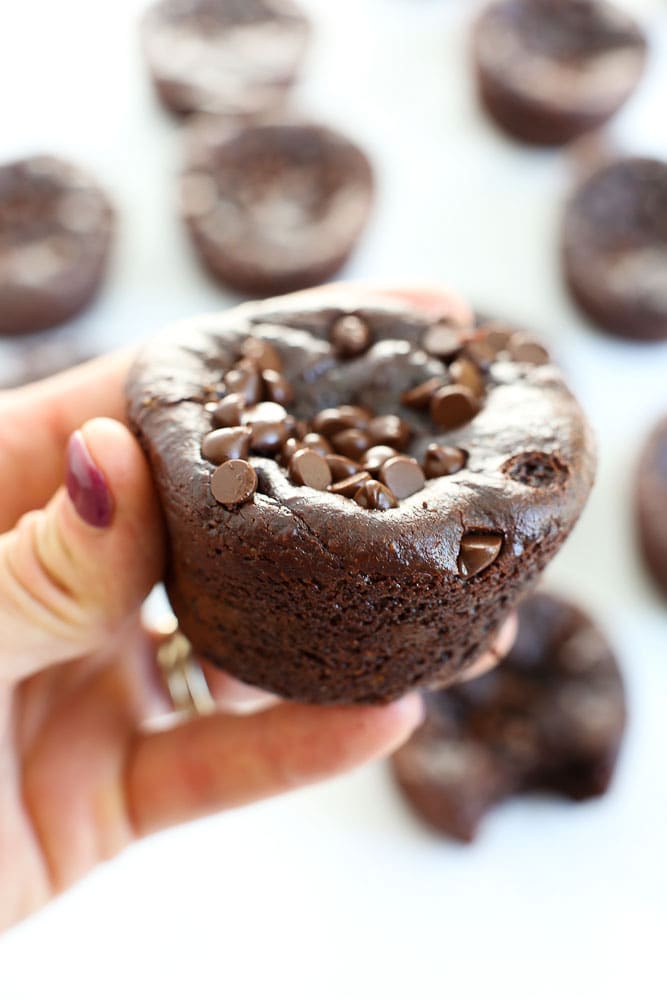 Please welcome the newest member to my family of blender muffins. Blender muffins have been a staple around here for a long time, and this chocolate version was definitely past due.
These Flourless Chocolate Peanut Butter Blender Muffins have two special qualities of which none of my other blender muffins can claim.
#1: They’re eggless. Yep, totally vegan blender muffins.
#2: They are banana-less. Seriously. I made both things happen in the same muffin!
Now, I have nothing against bananas or eggs. However, I have gotten countless requests and questions about how to make flourless blender muffins without either one or both of these ingredients.
So I figured it out how to take ‘em both out in one muffin.
Ask and you shall receive, friends. I’m here to serve you. <3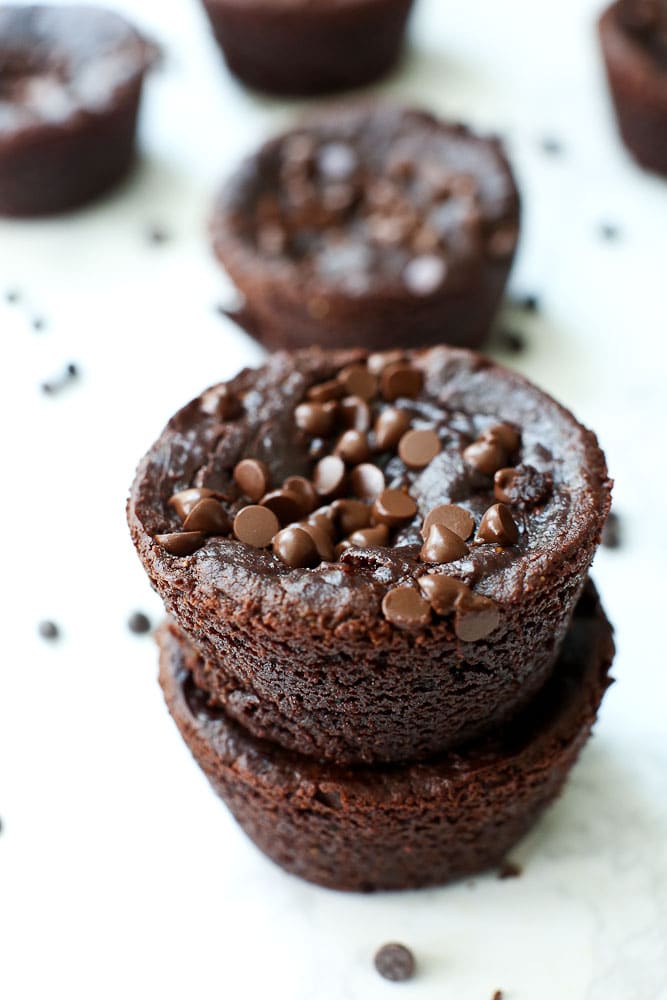
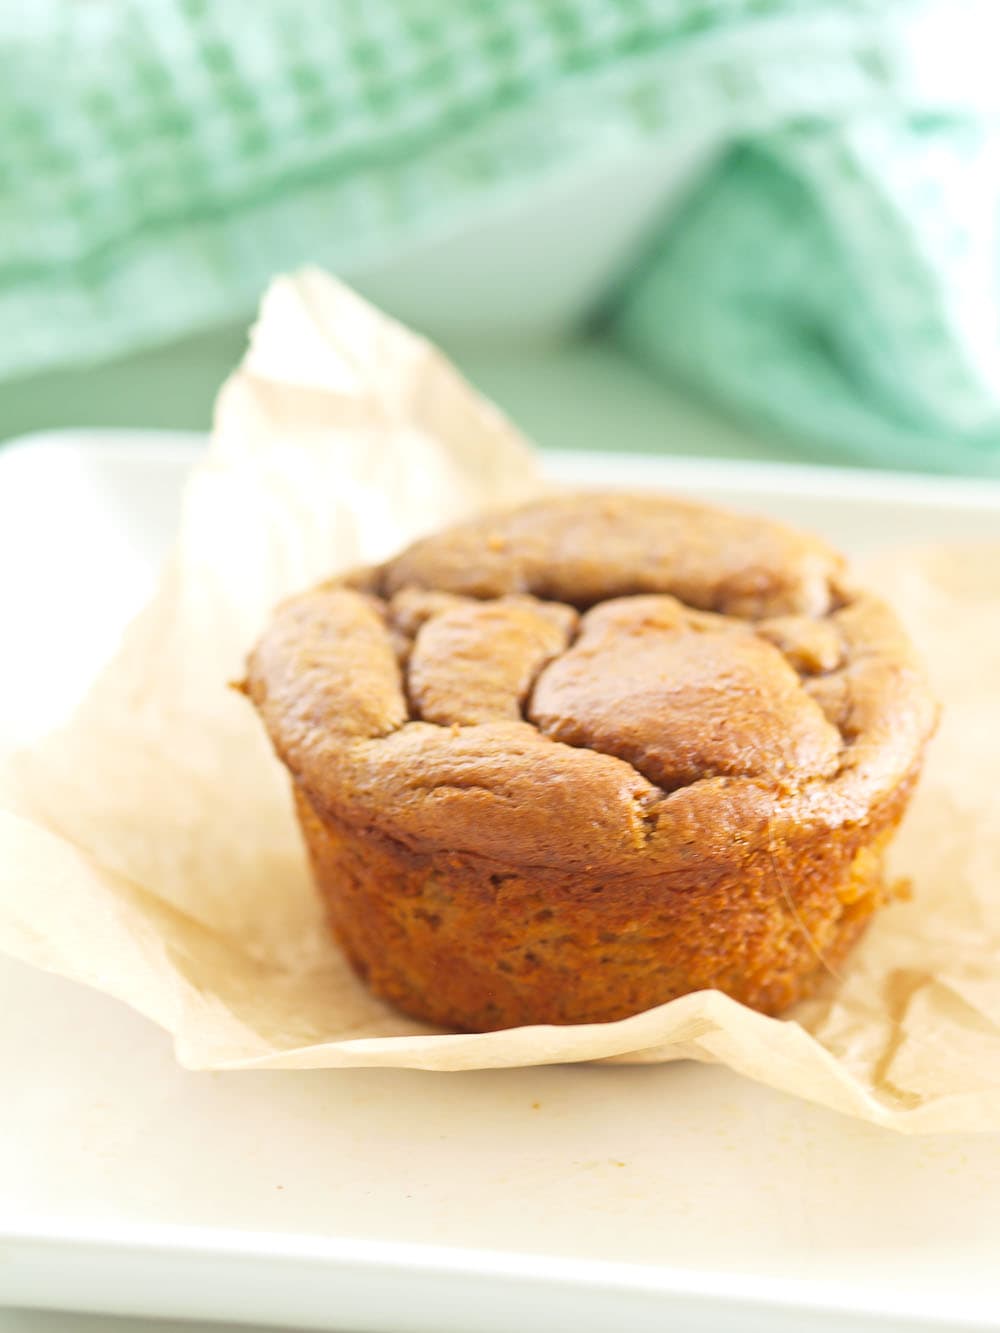
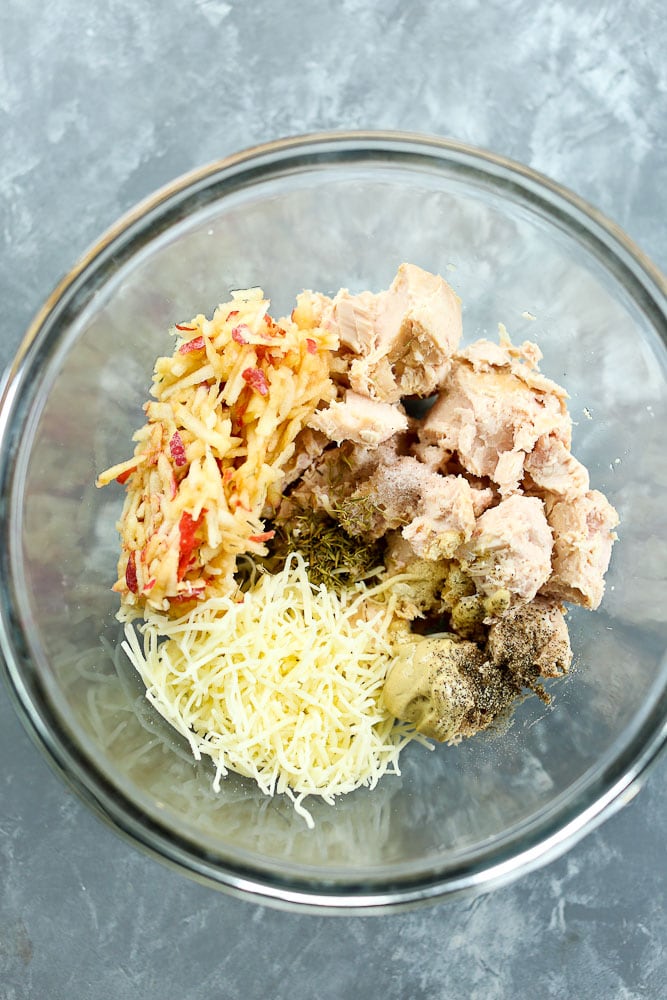
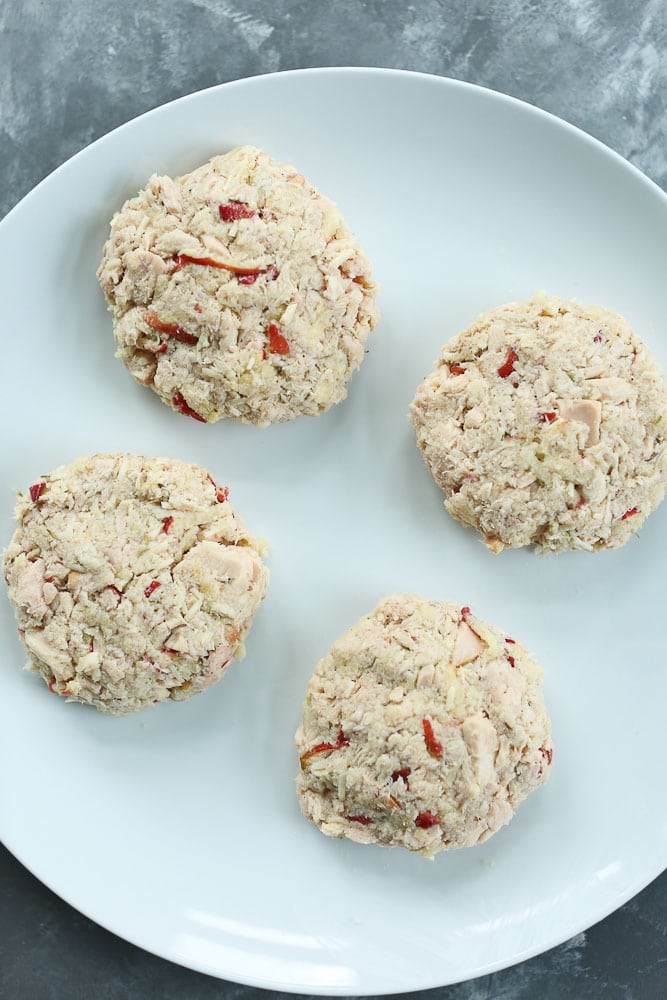
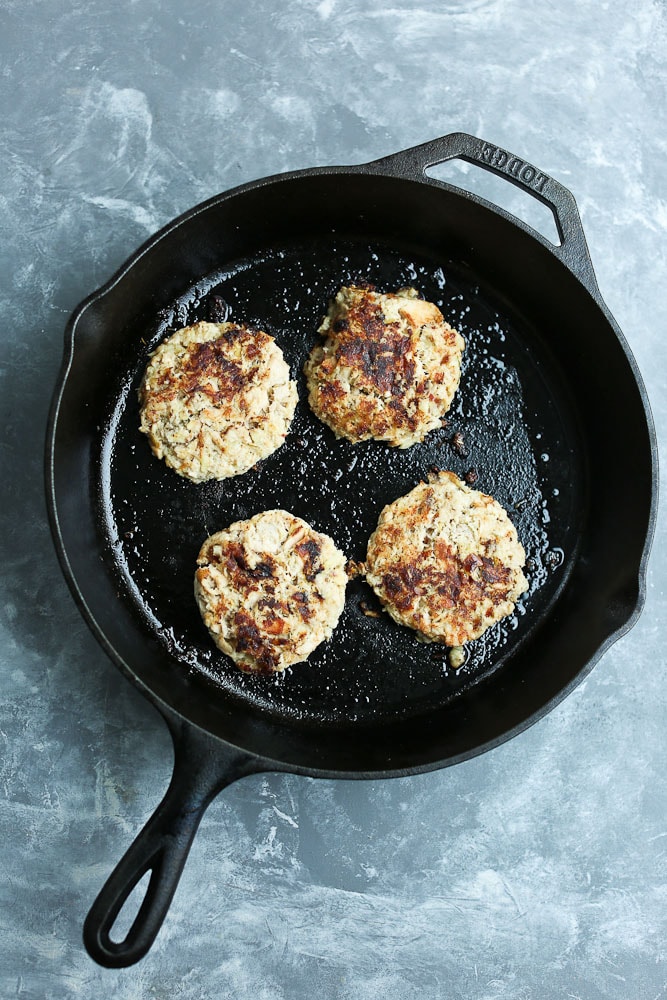
If you’re new to the flourless blender muffin game, let me fill you in a bit. First, find an easier muffin recipe, you will not. You put the ingredients into your blender, turn it on until everything is smooth and creamy, then pour into a muffin tin and bake. SO quick and easy!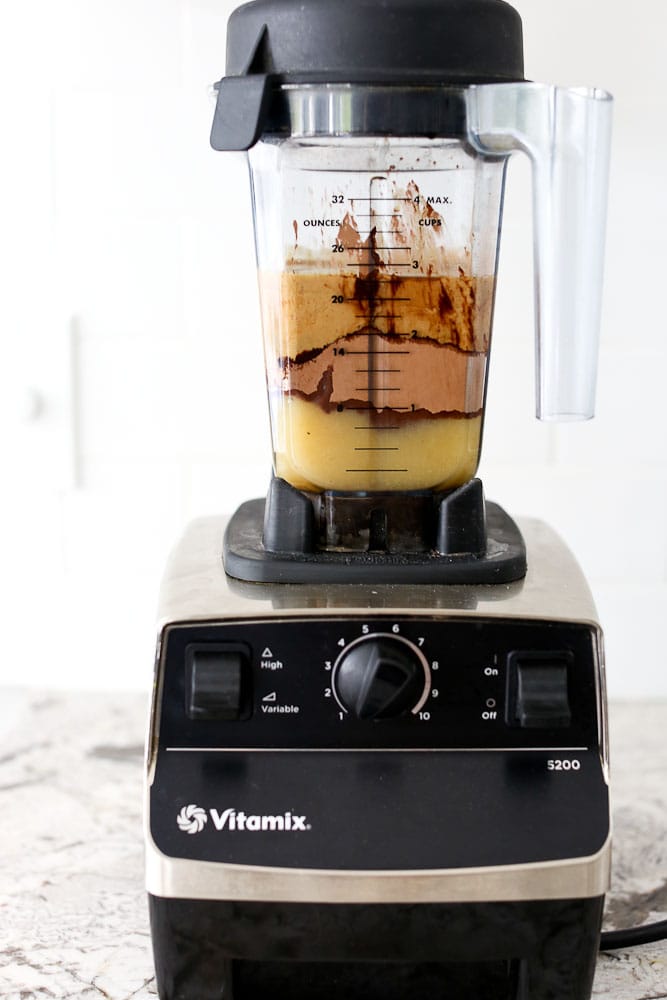
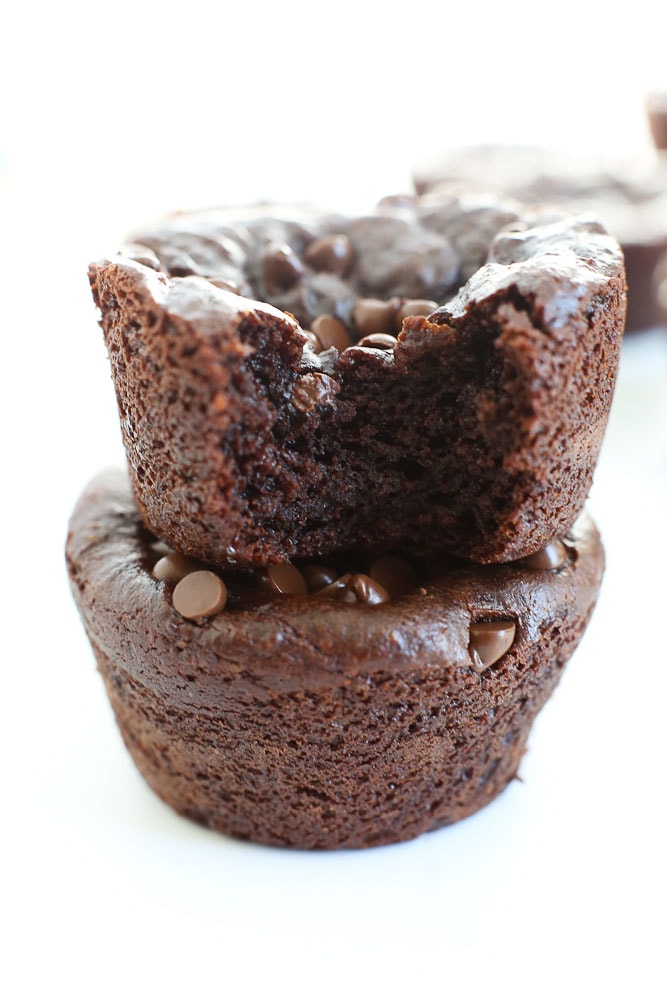
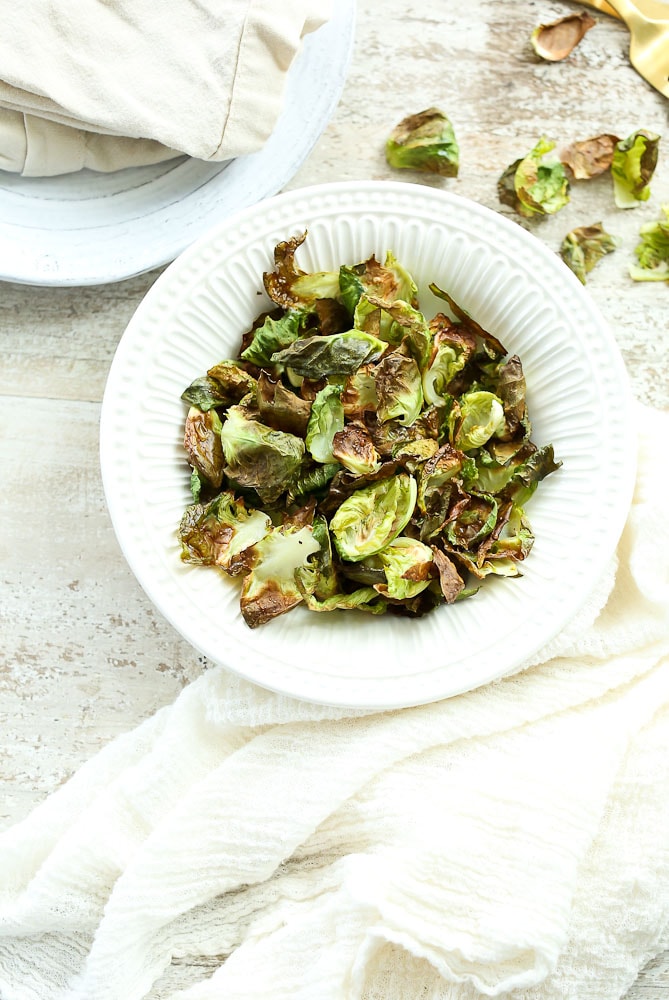
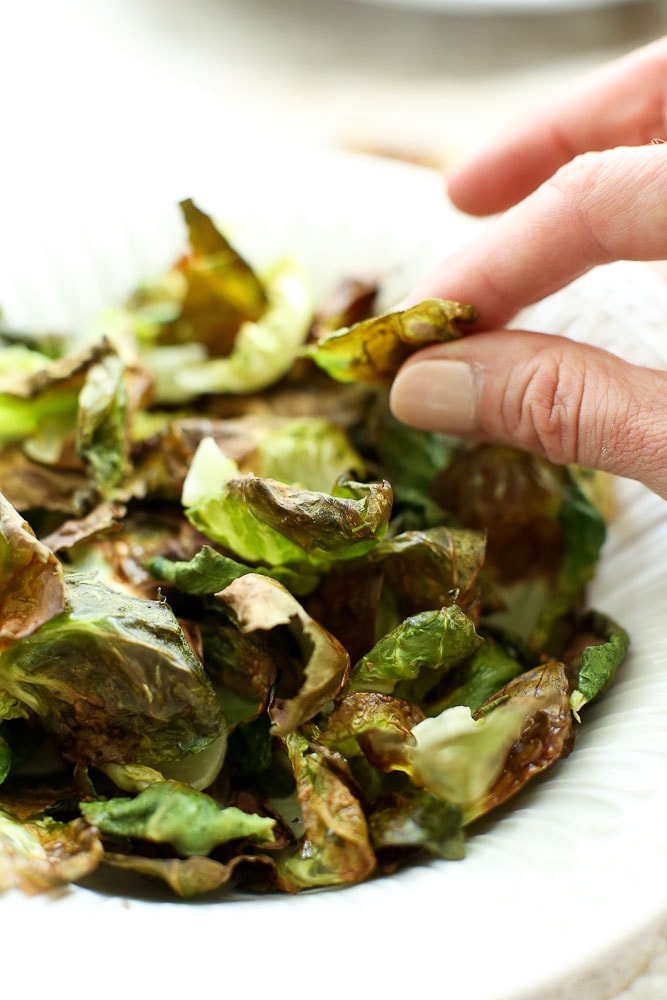
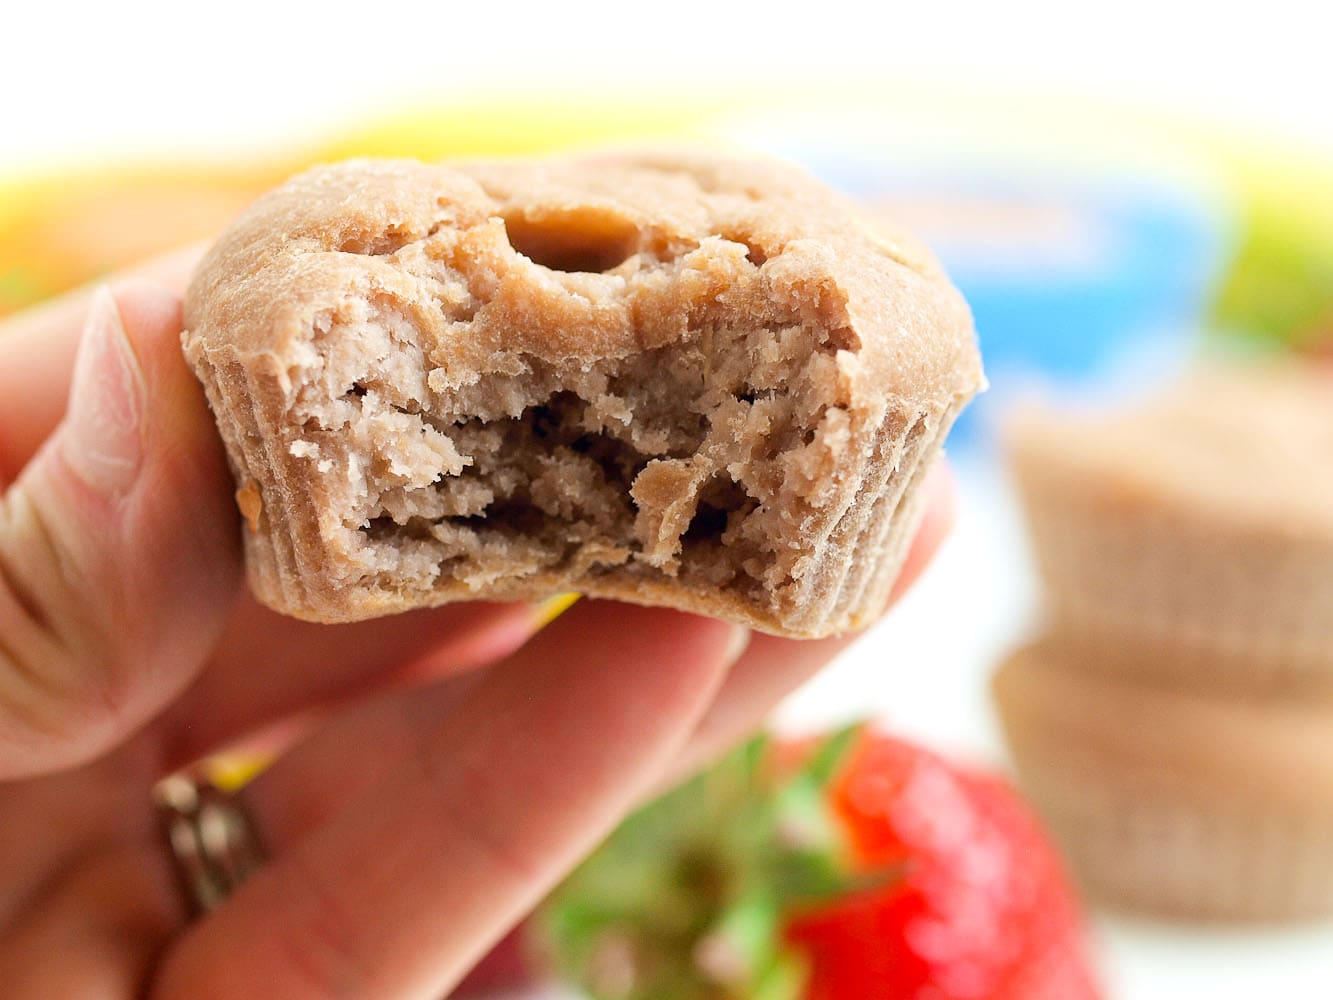
Let’s talk about the texture. These are muffin-like, but without flour, they lack the structure of a traditional muffin. So you won’t find a tall, domed top, and they might sink a bit. Don’t let that bother you because they are moist and fudge-y and amazing in every other way.
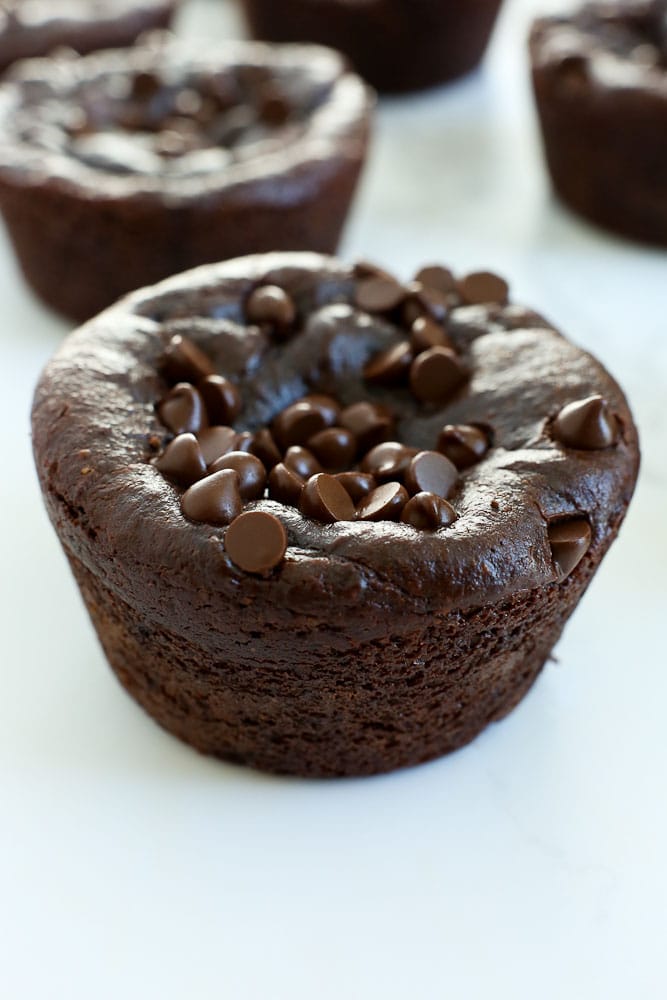
And what about the flavor? Oh, my, the flavor. These Flourless Chocolate Peanut Butter Muffins have a rich, deep flavor that is equal parts chocolate and peanut butter.
As you’re eating it, you’ll question yourself. How can this possibly be healthy and nutritious? HOW?
They are THAT GOOD.
Your kids? They will 100% accept these as dessert. But don’t feel bad if you serve them for breakfast.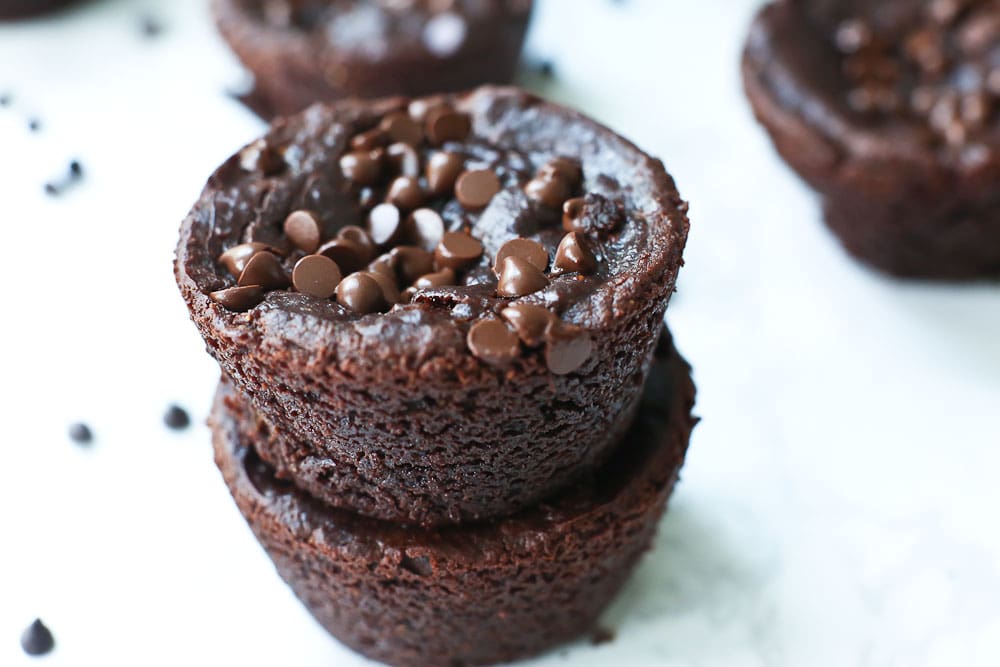
The ingredients list is totally breakfast-worthy. 0 flour and 0 refined sugar. We’ve got peanut butter, cocoa powder, and apple sauce as our main ingredients. They are sweetened with maple syrup, which is full of important minerals! Yep, passes the breakfast test for me.
Need to make these Paleo-friendly? Use almond butter in place of the peanut butter and either leave off the chocolate chips or use super dark chocolate chips. (Those are Paleo-approved, right? Not claiming to be a Paleo expert over here…)
Whatever you do, do NOT wait to make this recipe!!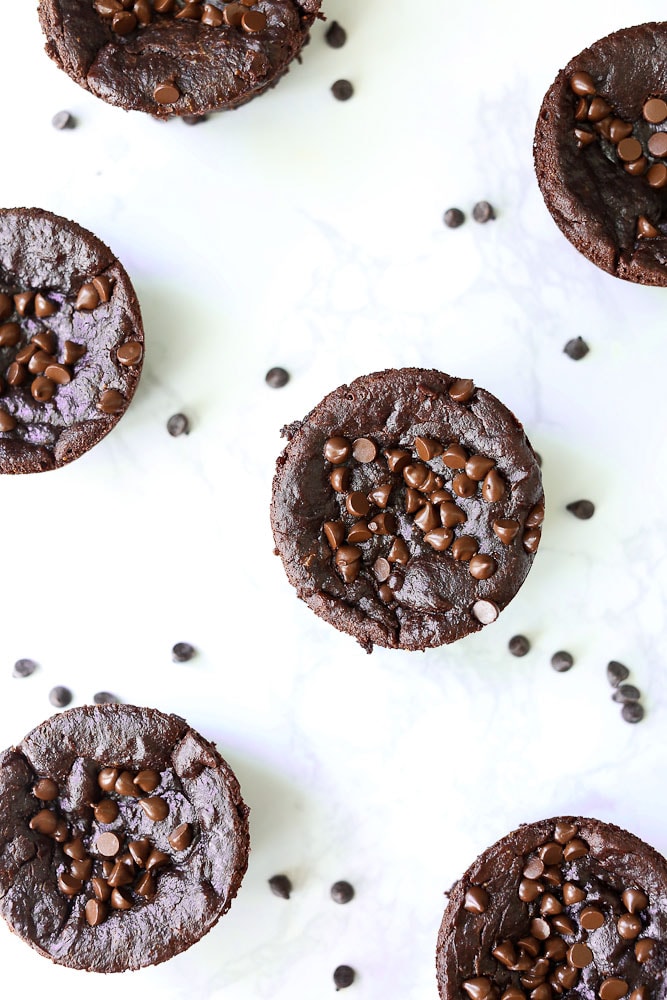
Flourless Chocolate Peanut Butter Blender Muffins (Vegan and Gluten-Free)
These Flourless Chocolate Peanut Butter Blender Muffins are rich, fudge-y, and are super easy to make in your blender! Vegan, Gluten-Free, and Paleo-friendly
Ingredients
- 1 cup peanut butter (use almond butter for Paleo option)
- 1 cup apple sauce
- 1/2 cup unsweetened cocoa powder
- 1/2 cup maple syrup
- 1 teaspoon vanilla extract
- 1 teaspoon baking soda
- 2 tablespoons chocolate chips, optional (I use this brand of vegan chocolate chips)*
Instructions
- Preheat the oven to 350 degrees. Line a muffin tin with silicone baking cups * or spray with cooking oil. Set aside.
- Put all ingredients except chocolate chips in a powerful blender and blend until very smooth, about 1 minute.
- Divide the mixture among 12 cups in the muffin tin and bake in the preheated oven for 20 minutes.
- Allow the muffins to cool completely before removing from the muffin tin. Enjoy!
Notes
*Links to products are affiliate links. Thanks for supporting Happy Healthy Mama!
If you make this Flourless Chocolate Peanut Butter Blender Muffins recipe, or any Happy Healthy Mama recipe, I would LOVE to see it! Please take a pic and share it on Instagram or the Happy Healthy Mama Facebook page and tag me @happyhealthymama 
Also, if you try it, would you mind rating the recipe? It’s VERY helpful for me and other readers if the recipes have ratings and reviews. I appreciate you!
If you’d like to save this recipe for later, here’s an image to save to your Pinterest recipe board!

Did you also know there’s a private Facebook page for health-minded people to ask questions or just get support on your healthy living journey? Click here to request to join and I’ll get you approved within 24 hours!
Want more blender muffin recipes? Here are my other varieties!
5-ingredient Blender Muffins–15 Ways
Flourless Sweet Potato Blender Muffins
15-Minute Apple Peanut Butter Blender Muffins

Strawberry Banana Blender Muffins
The post Flourless Chocolate Peanut Butter Blender Muffins (Vegan and Gluten-Free) appeared first on Happy Healthy Mama.
source https://happyhealthymama.com/flourless-chocolate-peanut-butter-blender-muffins-vegan-gluten-free.html
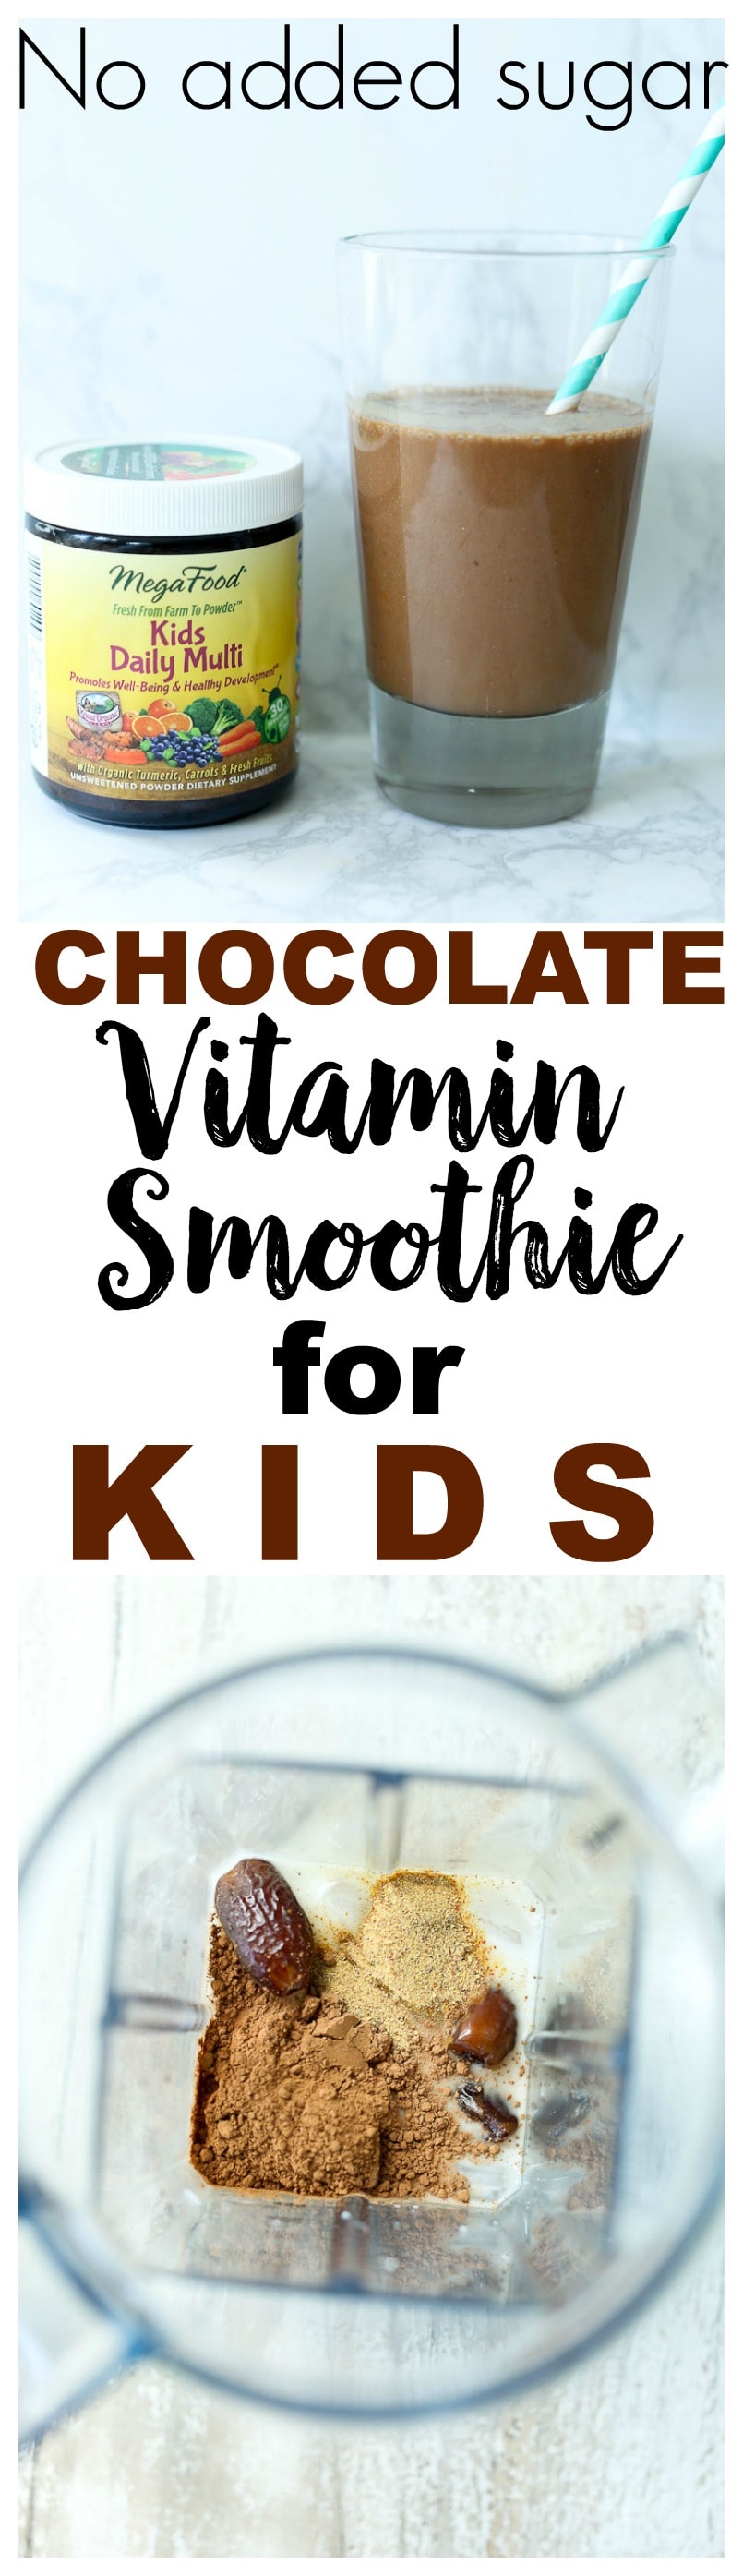
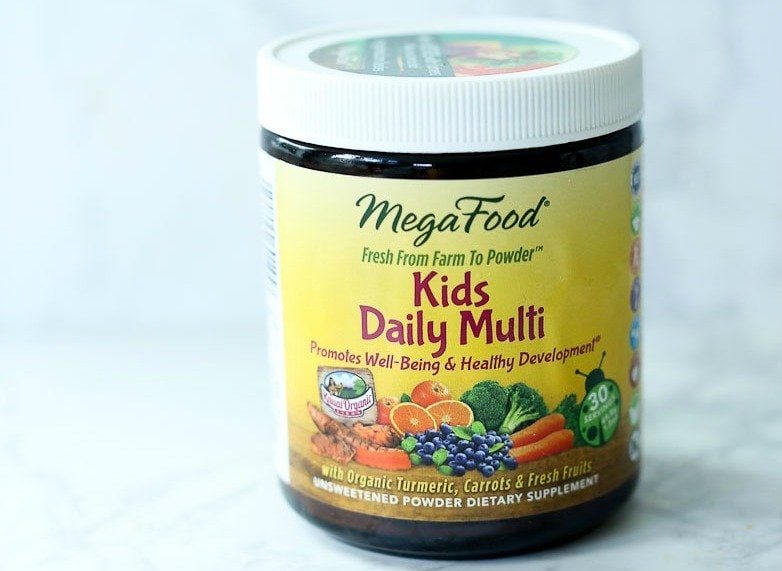 There are a few questions I get really frequently, over and over again. One of them is:
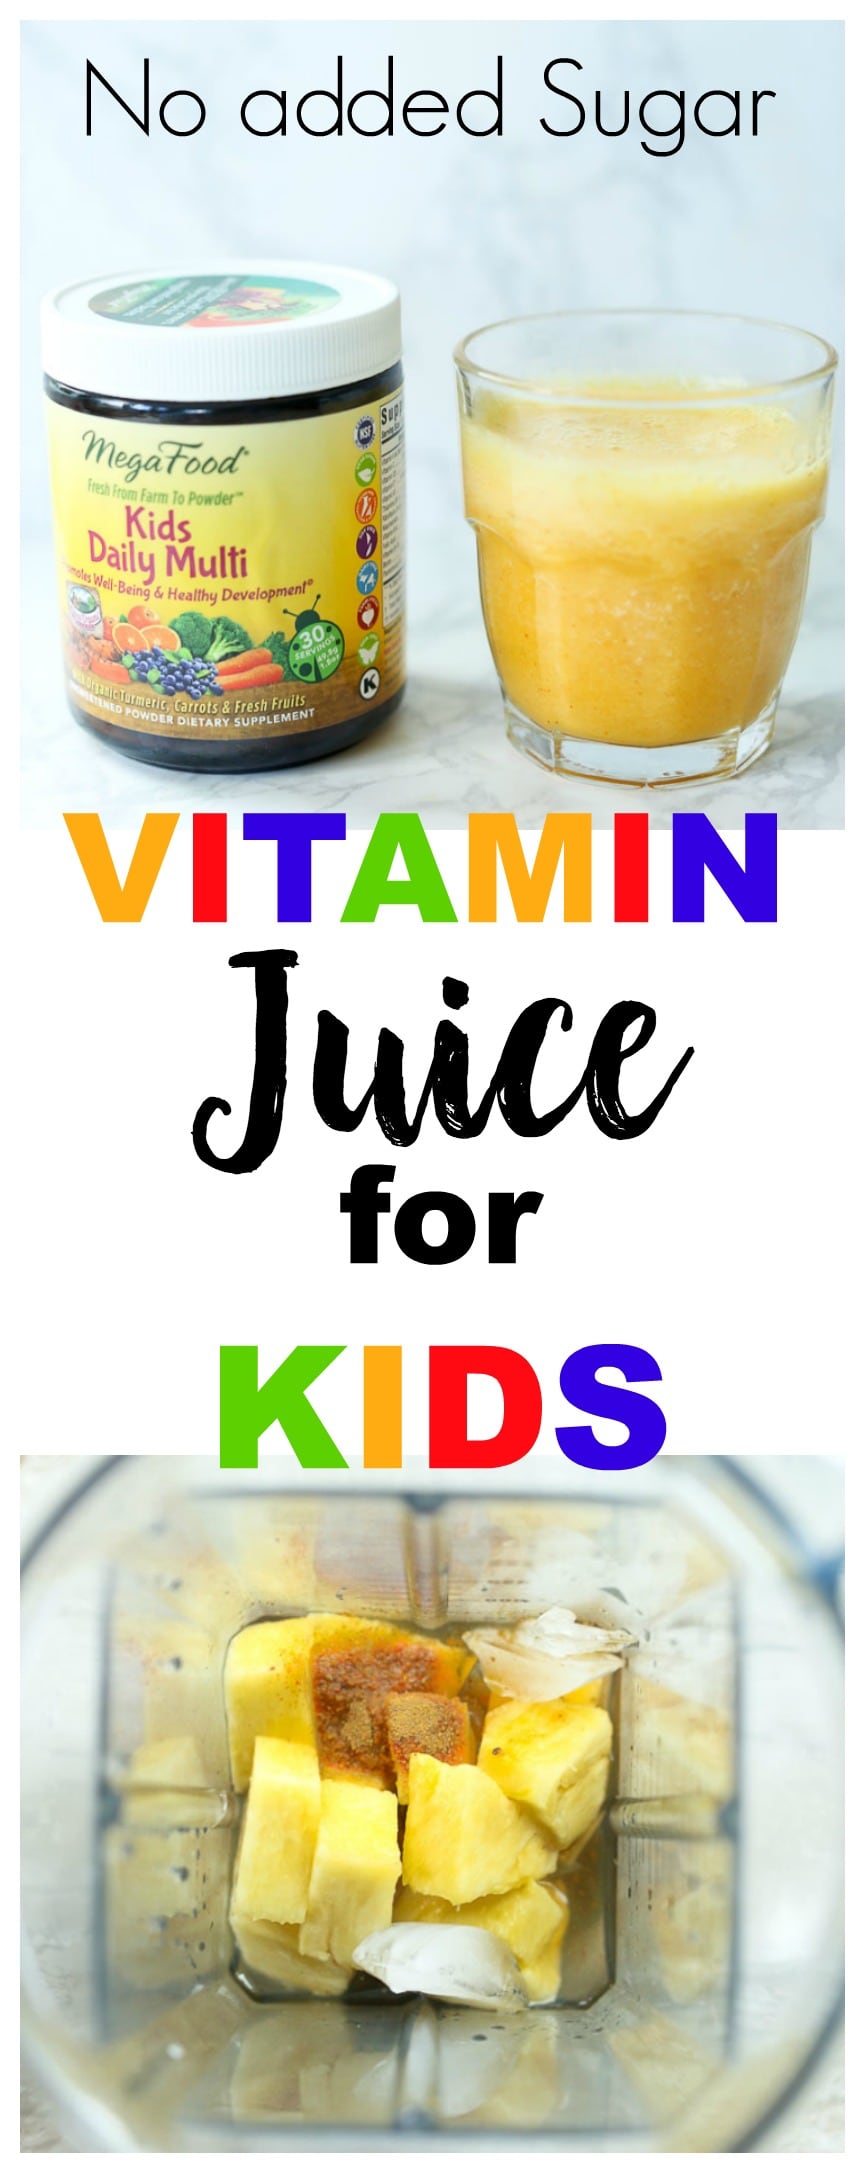 I’ll start with my 5-year- old, Luke. Instead of adding the powder to juice, I make a “whole juice”
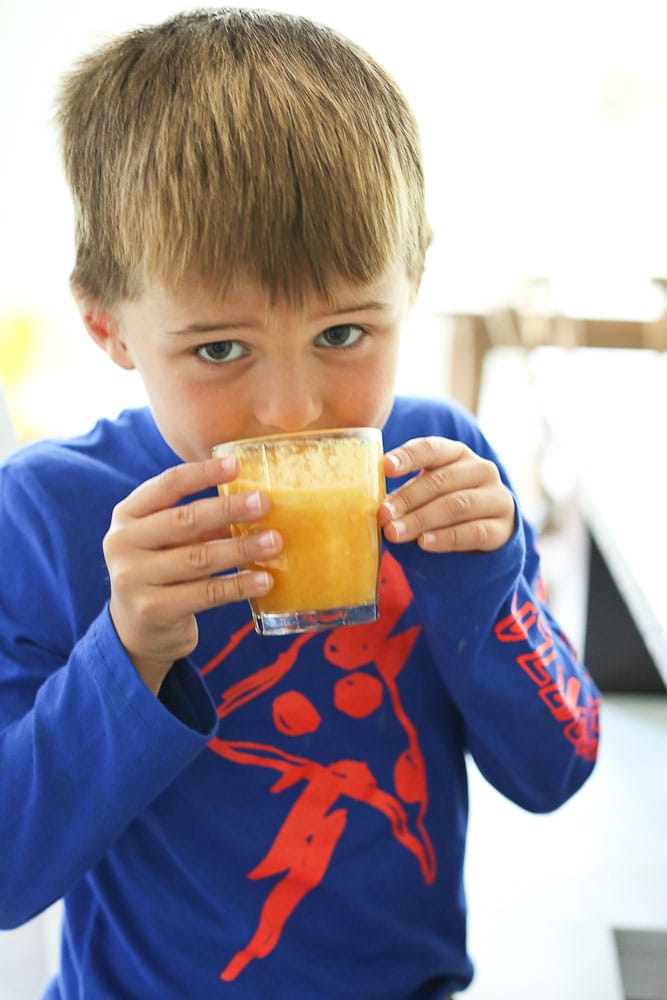
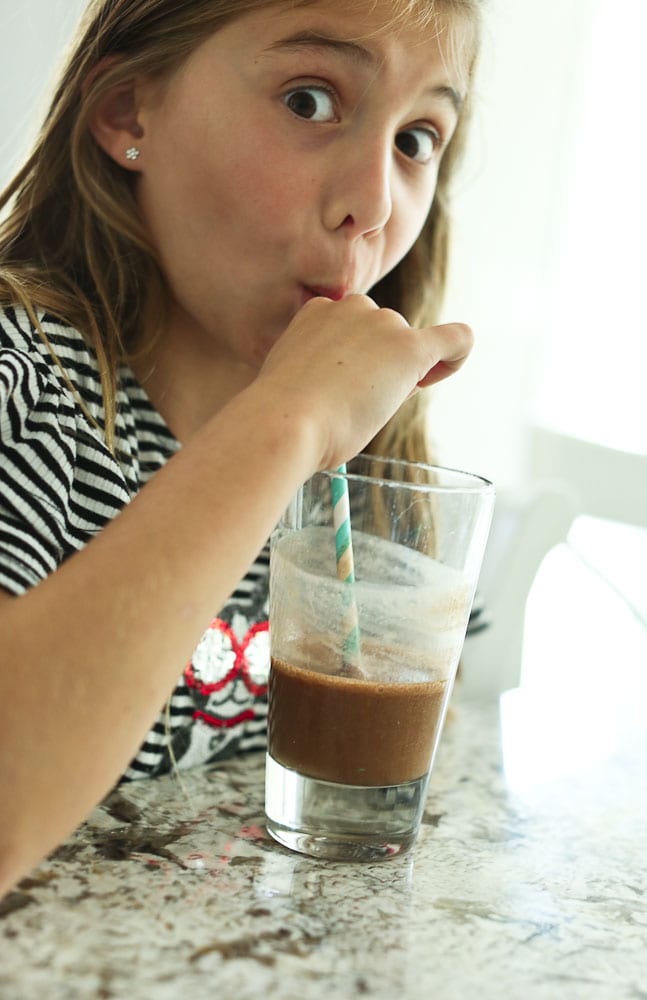
 Here’s Meghan chilling after school and being silly enjoying her Chocolate Vitamin Smoothie.
 This little girl is nine years old today. Nine! Isn’t it a surreal thing, watching your own children grow up?
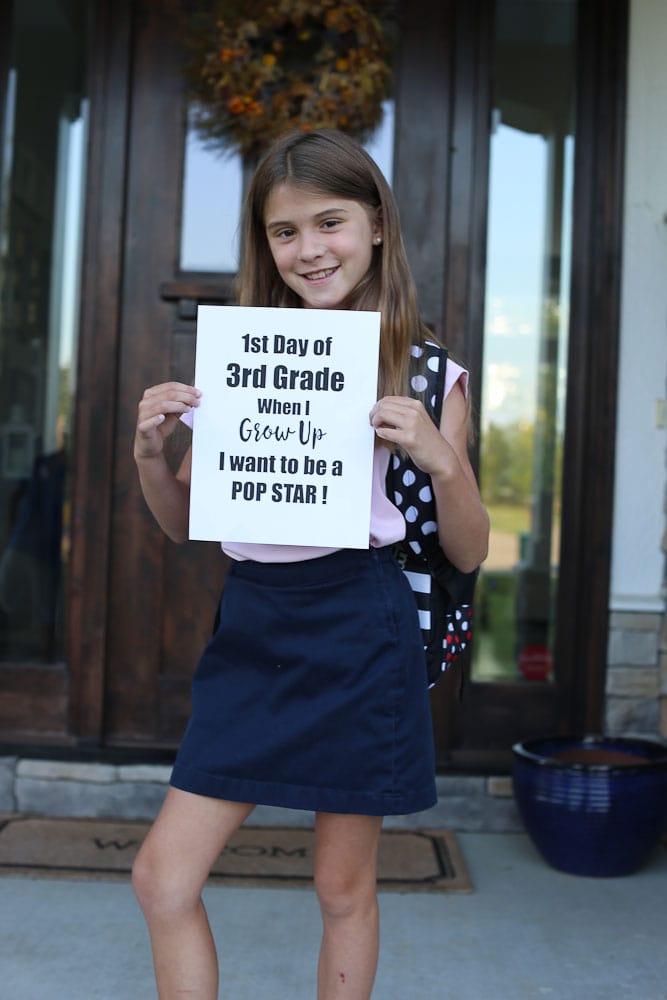 Usually I’m lamenting Meghan having another birthday. I celebrate her birth, but mourn the loss of another year of her childhood. I’ll always feel that way, I’m sure, to some extent, but this year I also feel excitement for this next stage of life.
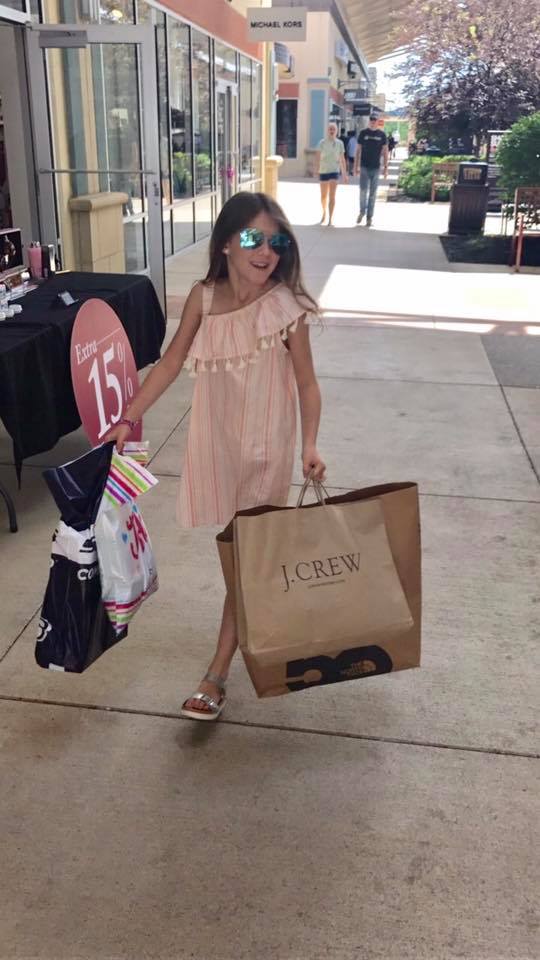
 The other night I was putting her to bed and as I was about to leave the room she said, “Will you lay with me for a while?”
 Meghan loves her friends and family and spending time with both.
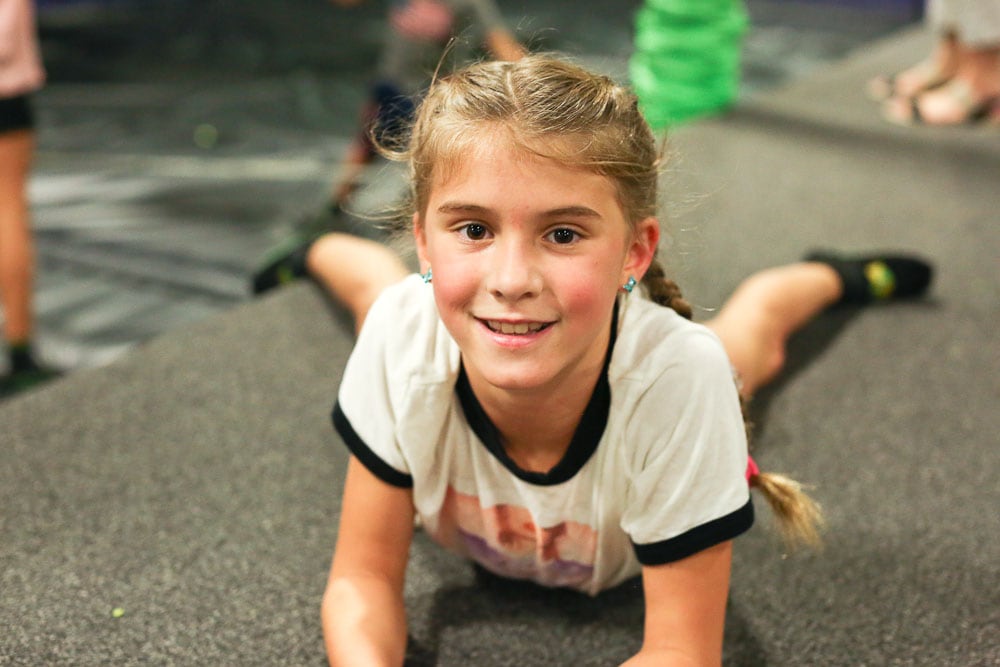
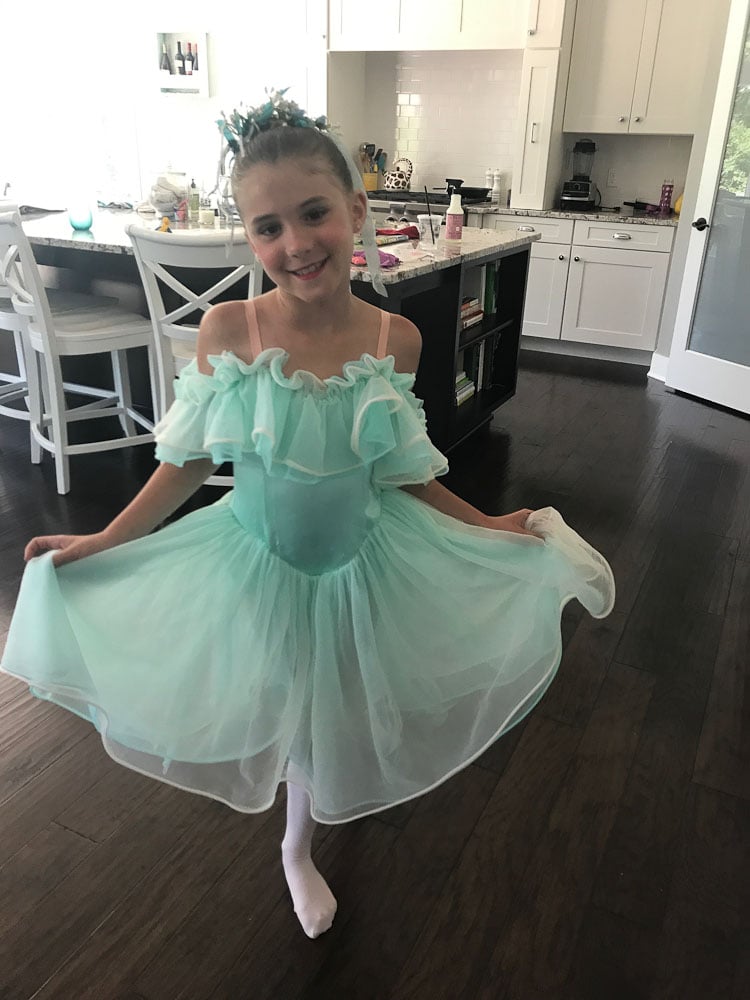 Along with dancing she loves performing, pretending she’s a model (See the posing pictures? She loves getting in front of the camera!), and writing and signing songs. Her most recent song was entitled, I’m Going to Be a Star Someday.
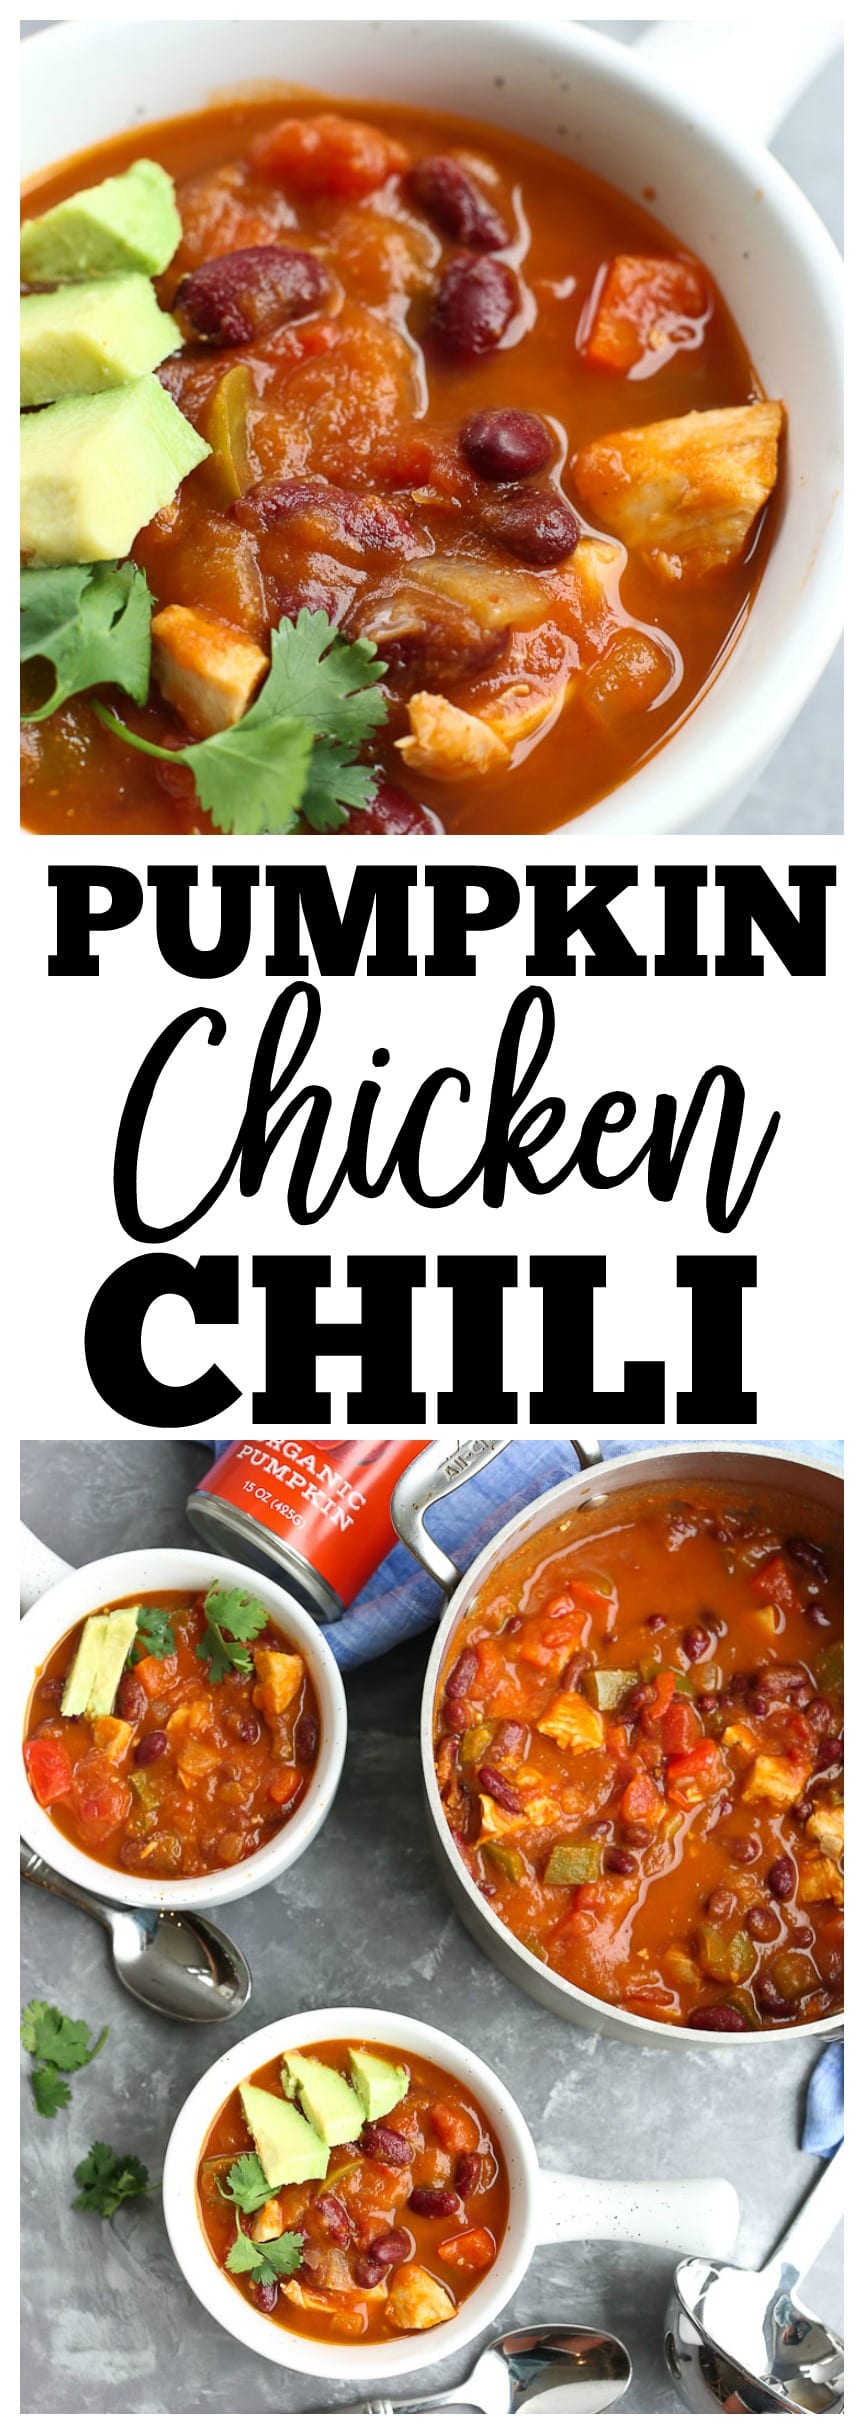
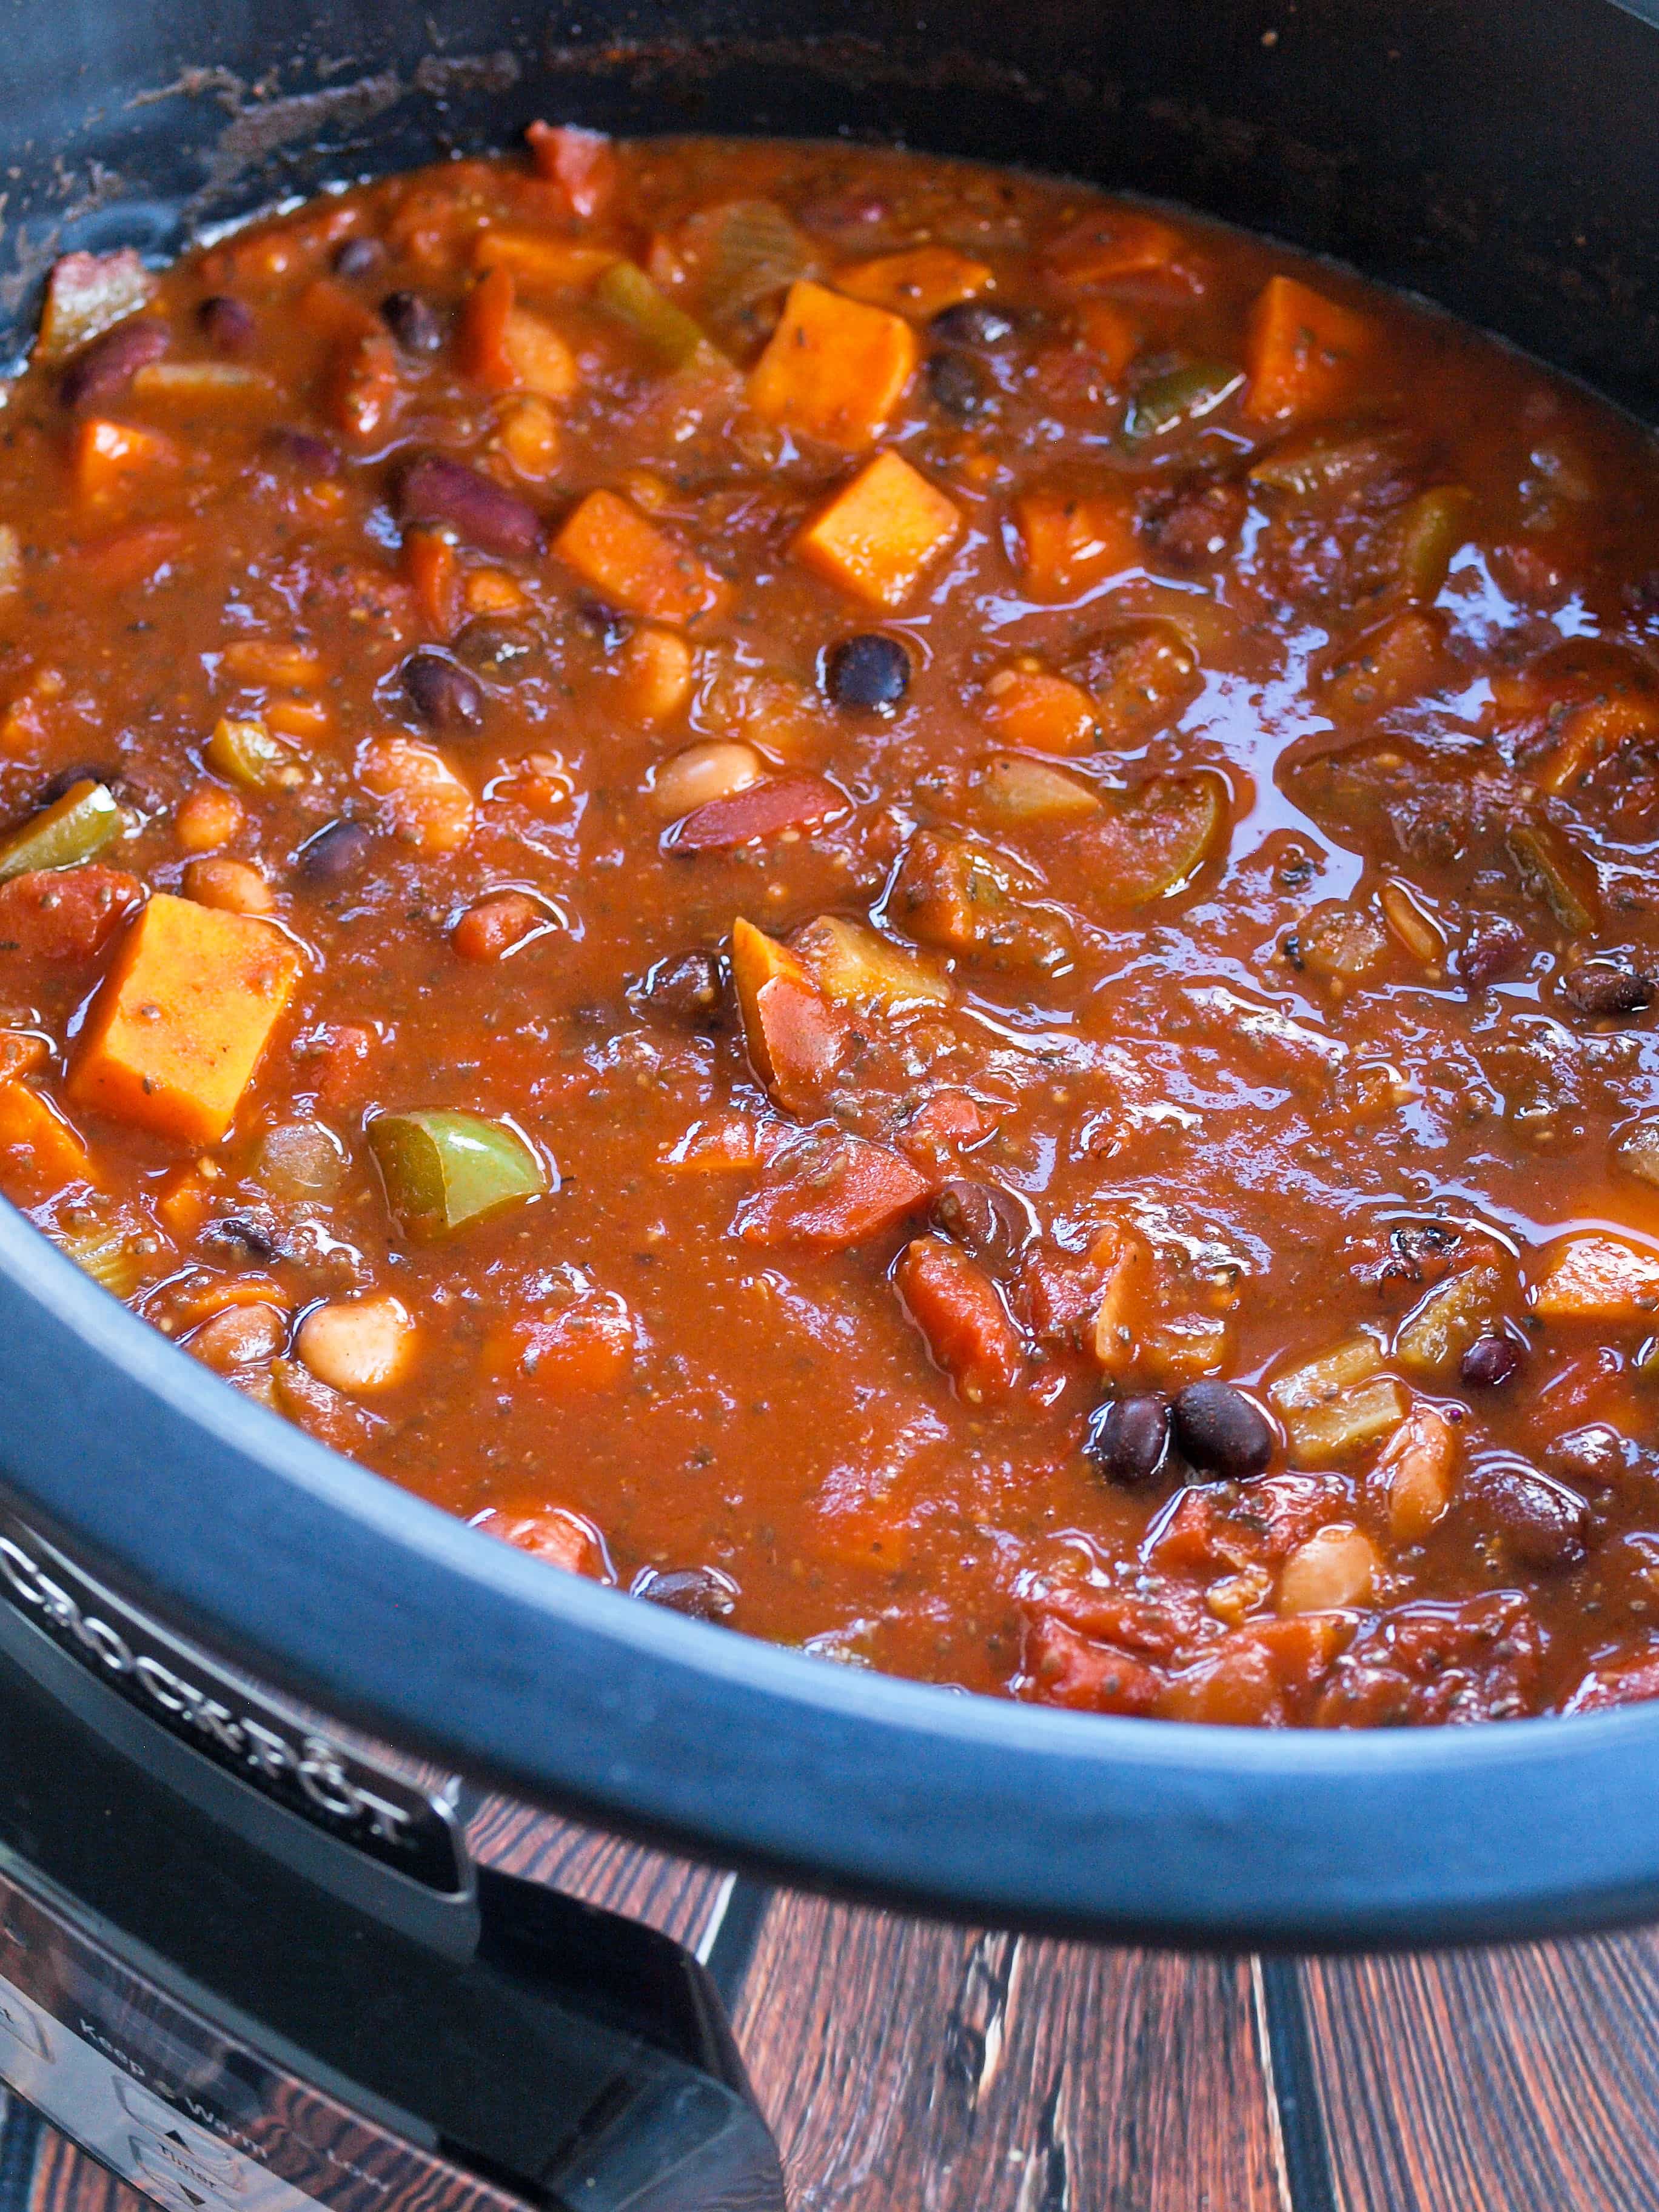
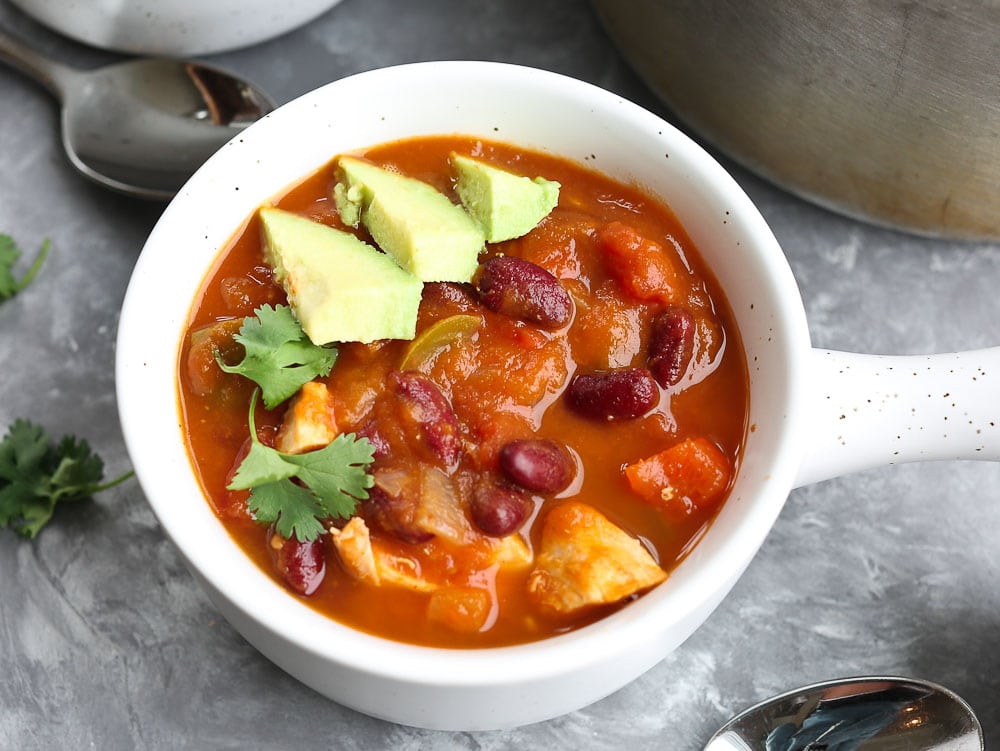 Heads up! This post was first published in 2014. Photos were updated in 2017. Enjoy this Chicken Pumpkin Chili–it’s a favorite recipe!
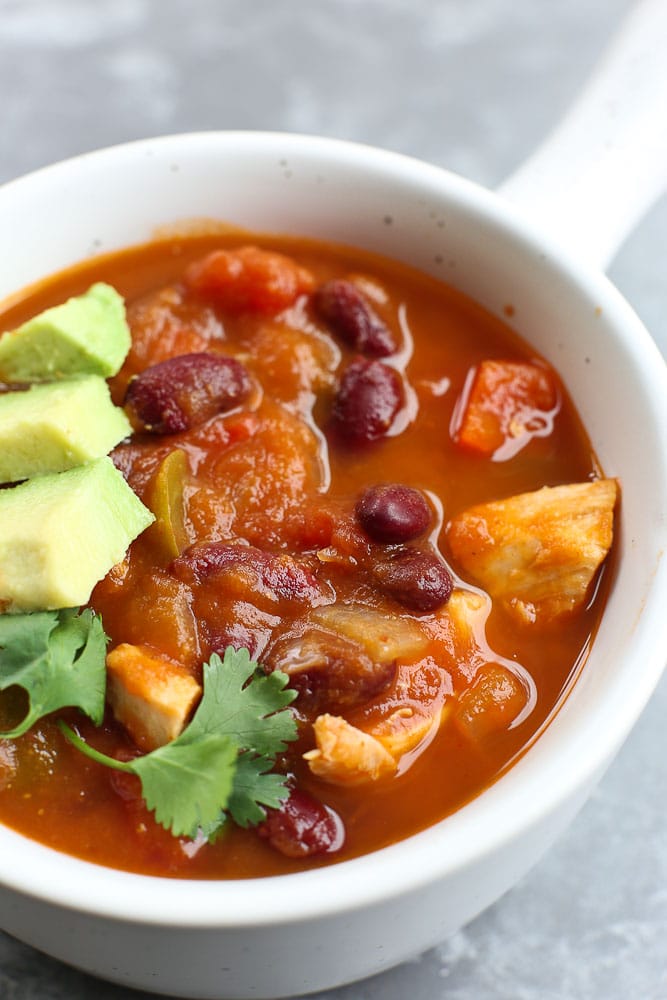 Save this recipe for a night when you have leftover cooked chicken. Yes, you should prepare extra chicken on purpose so you have leftovers. Make life easier on yourself.
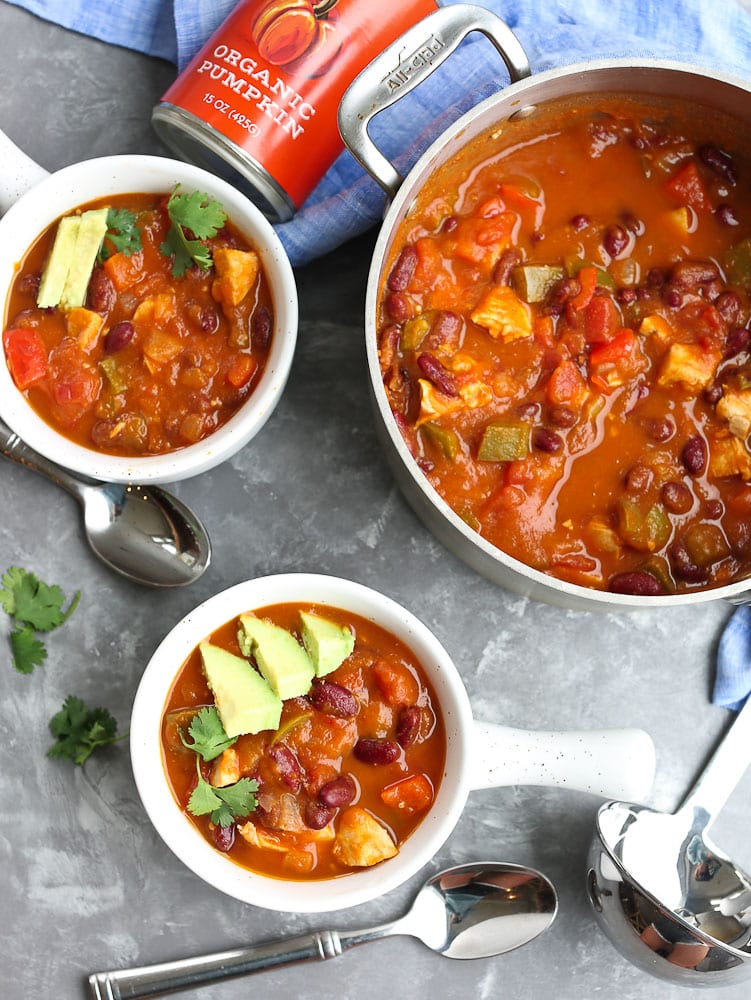 This Chicken Pumpkin Chili is everything you want a bowl of chili to be: hearty, filling, and full of flavor, but with less fat and calories than your average chili. It also happens to be full of nutrient-dense vegetables along with the two different kinds of beans.
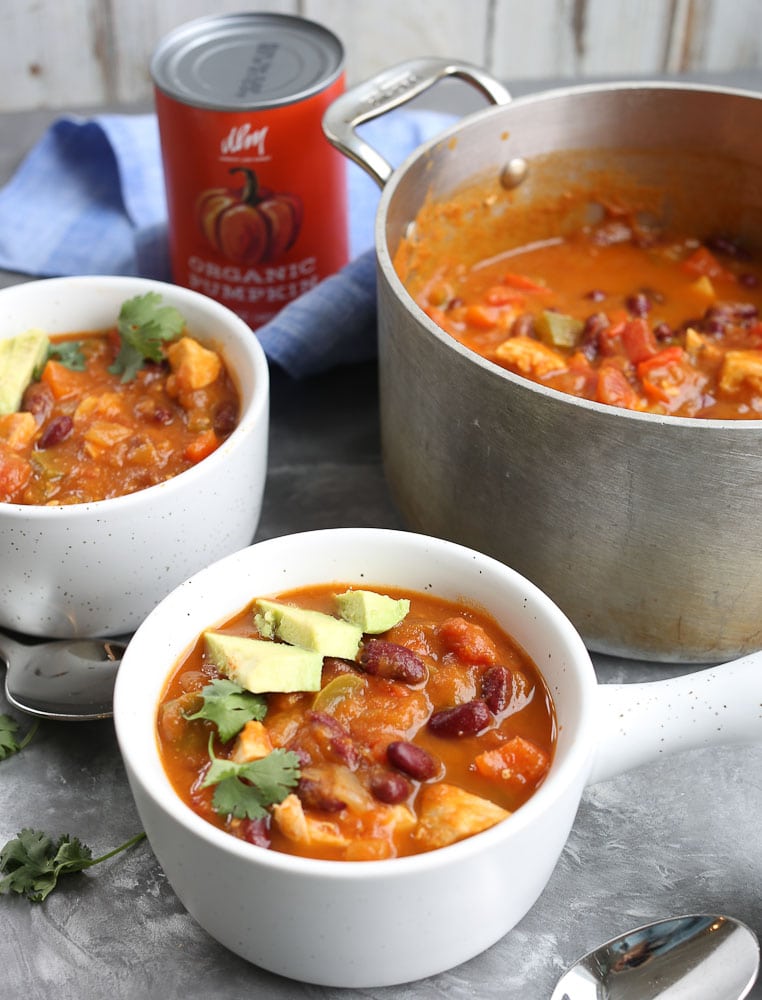 The pumpkin adds a thickness that is often lacking in regular chicken chili recipes. There’s a subtle pumpkin flavor that doesn’t overpower the traditional chili flavor, but compliments it well.
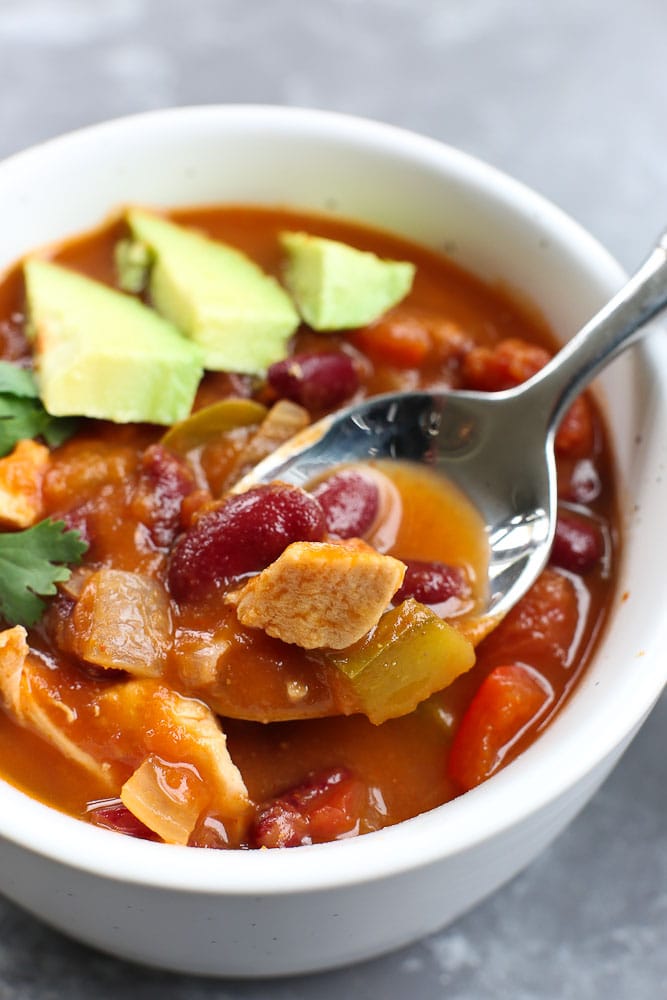
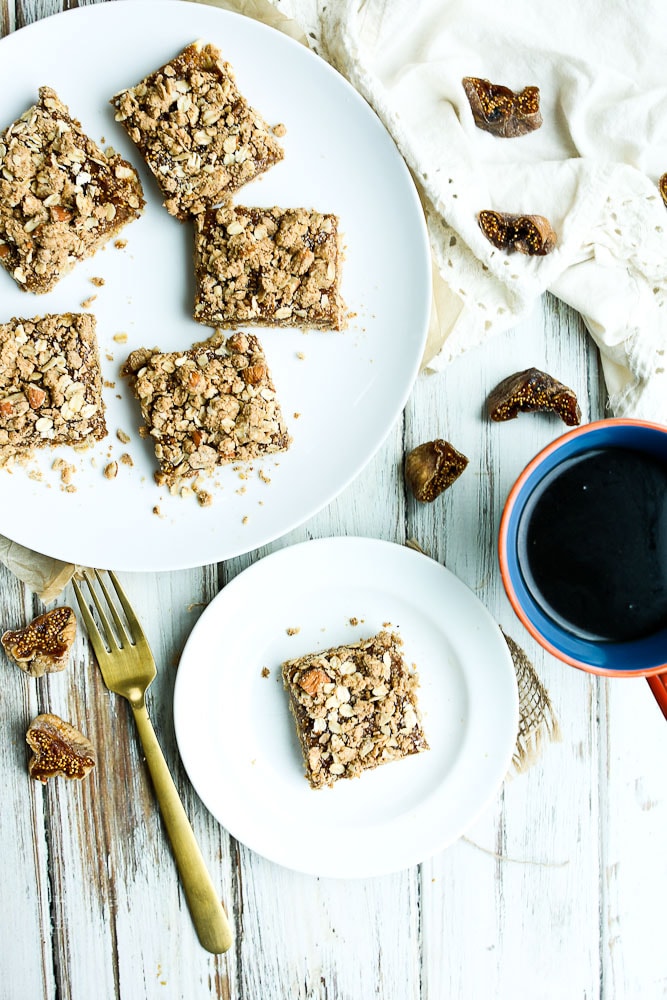
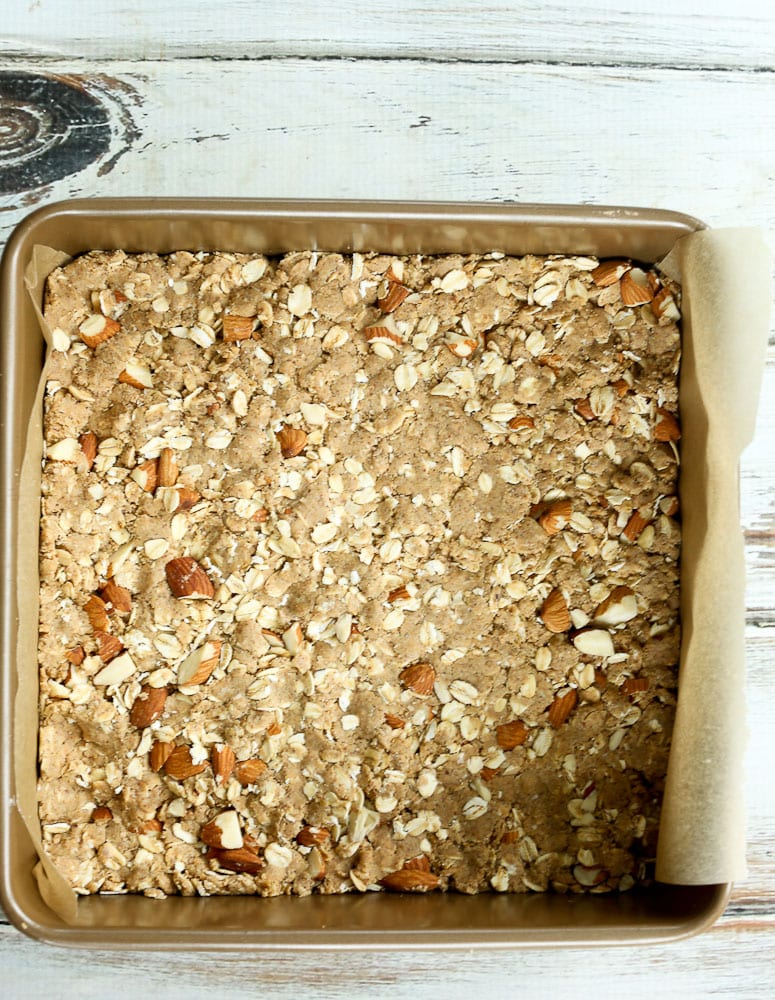
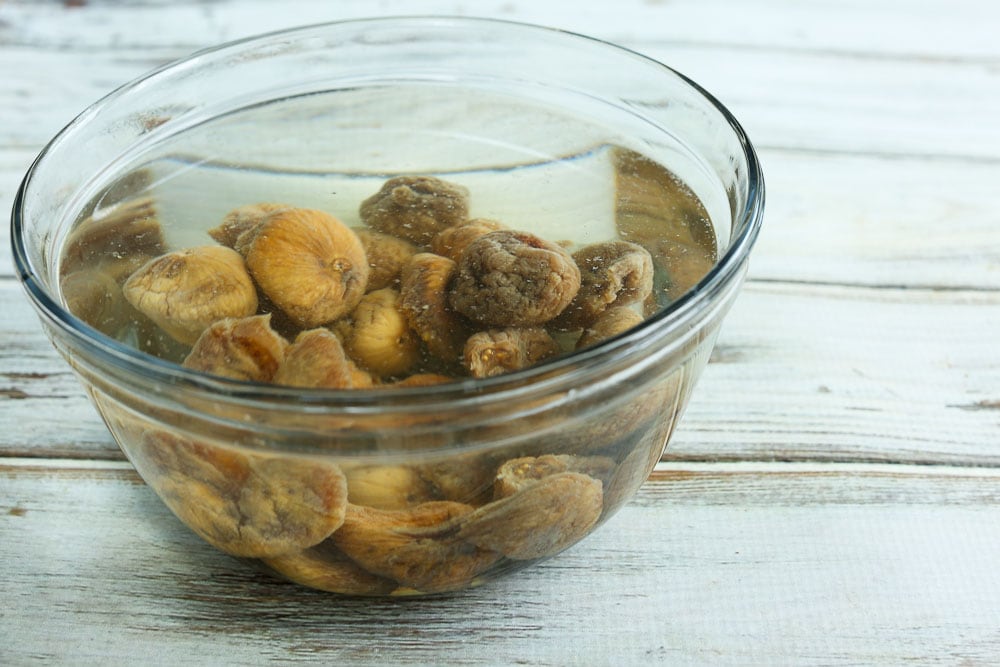
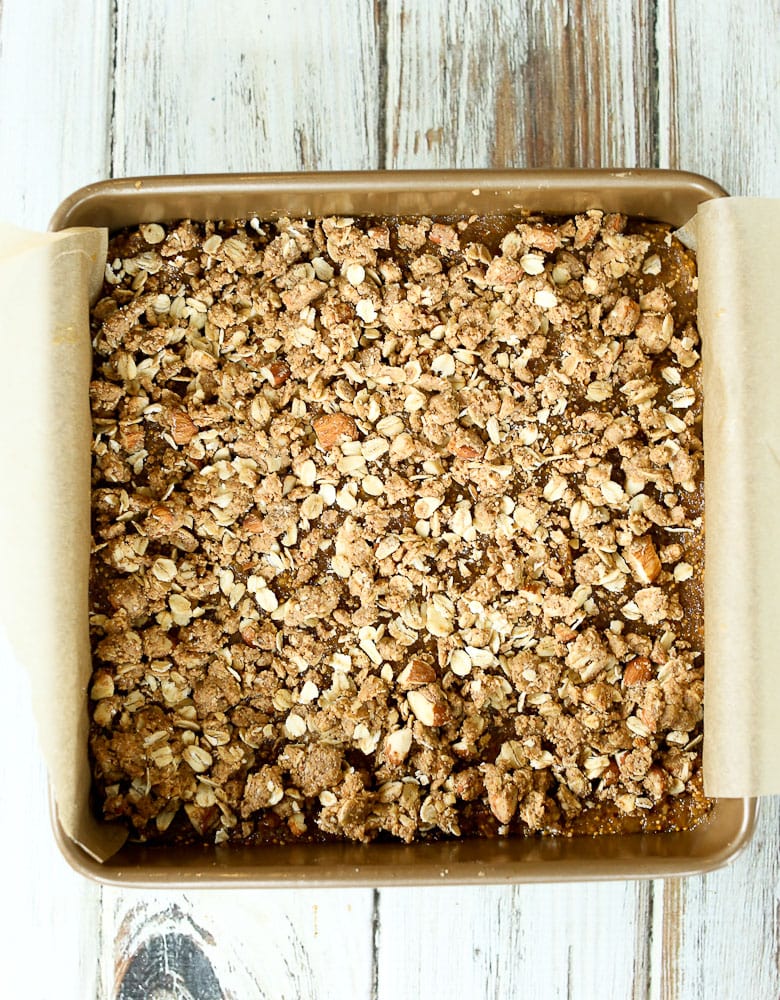
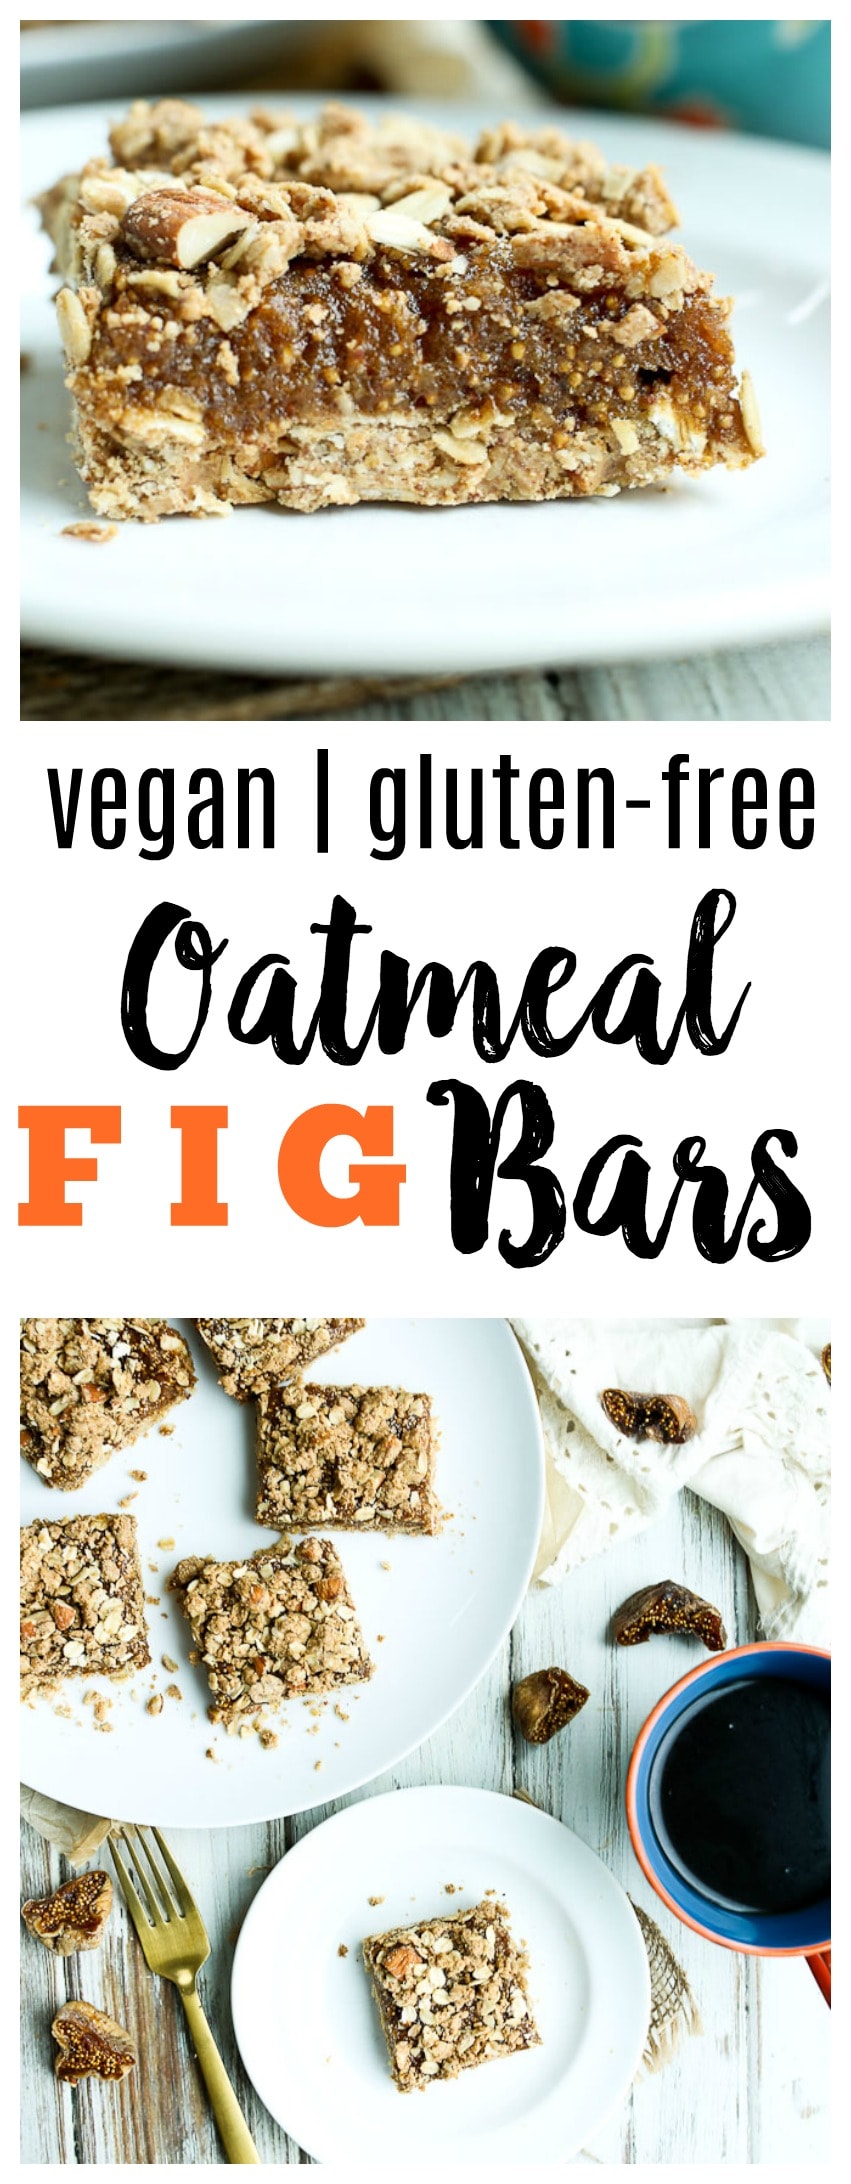
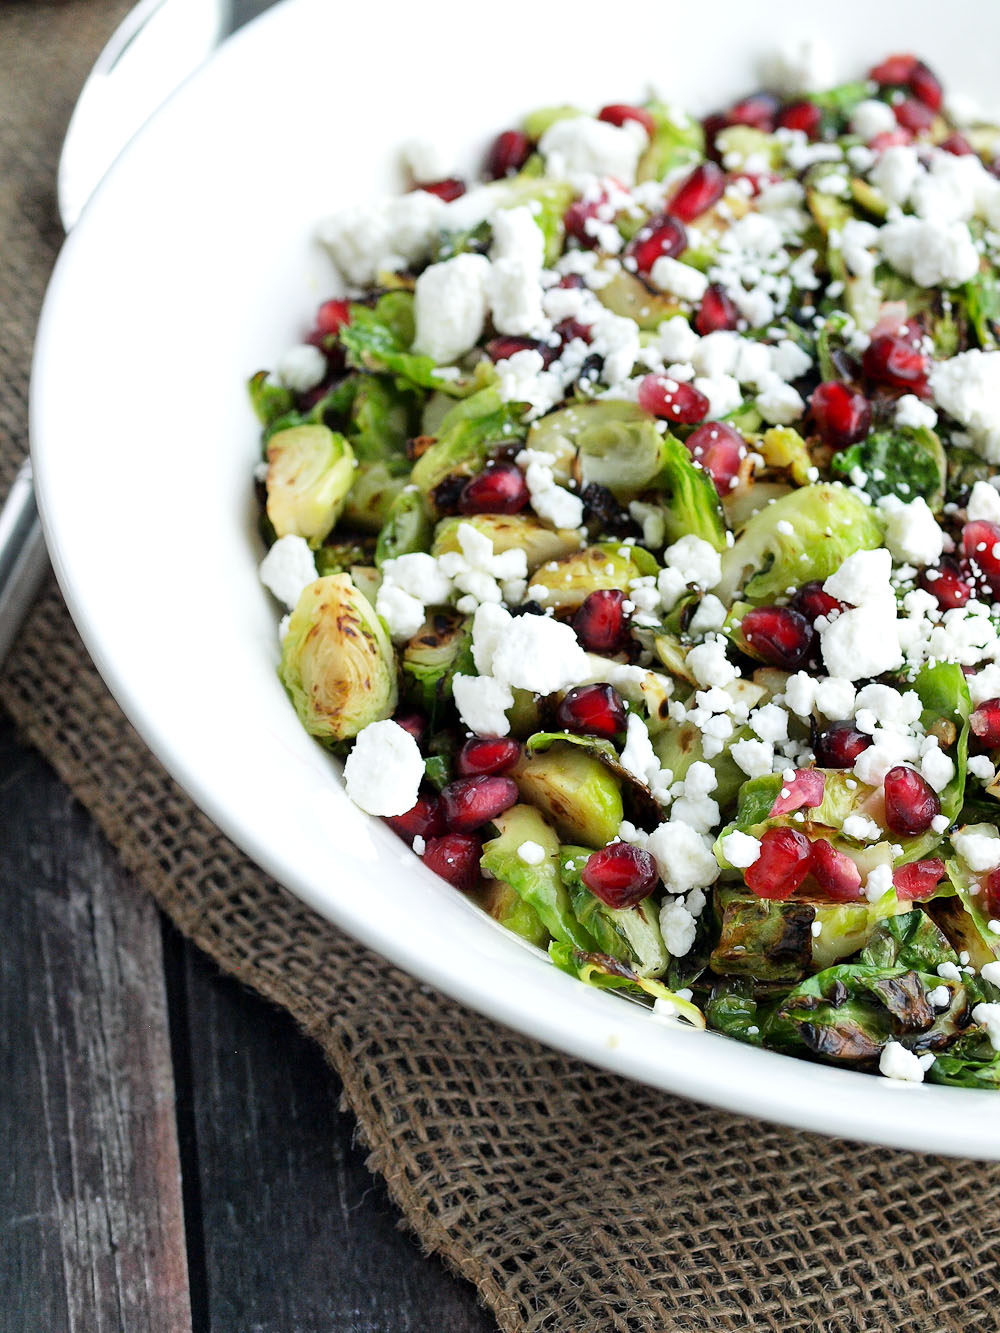
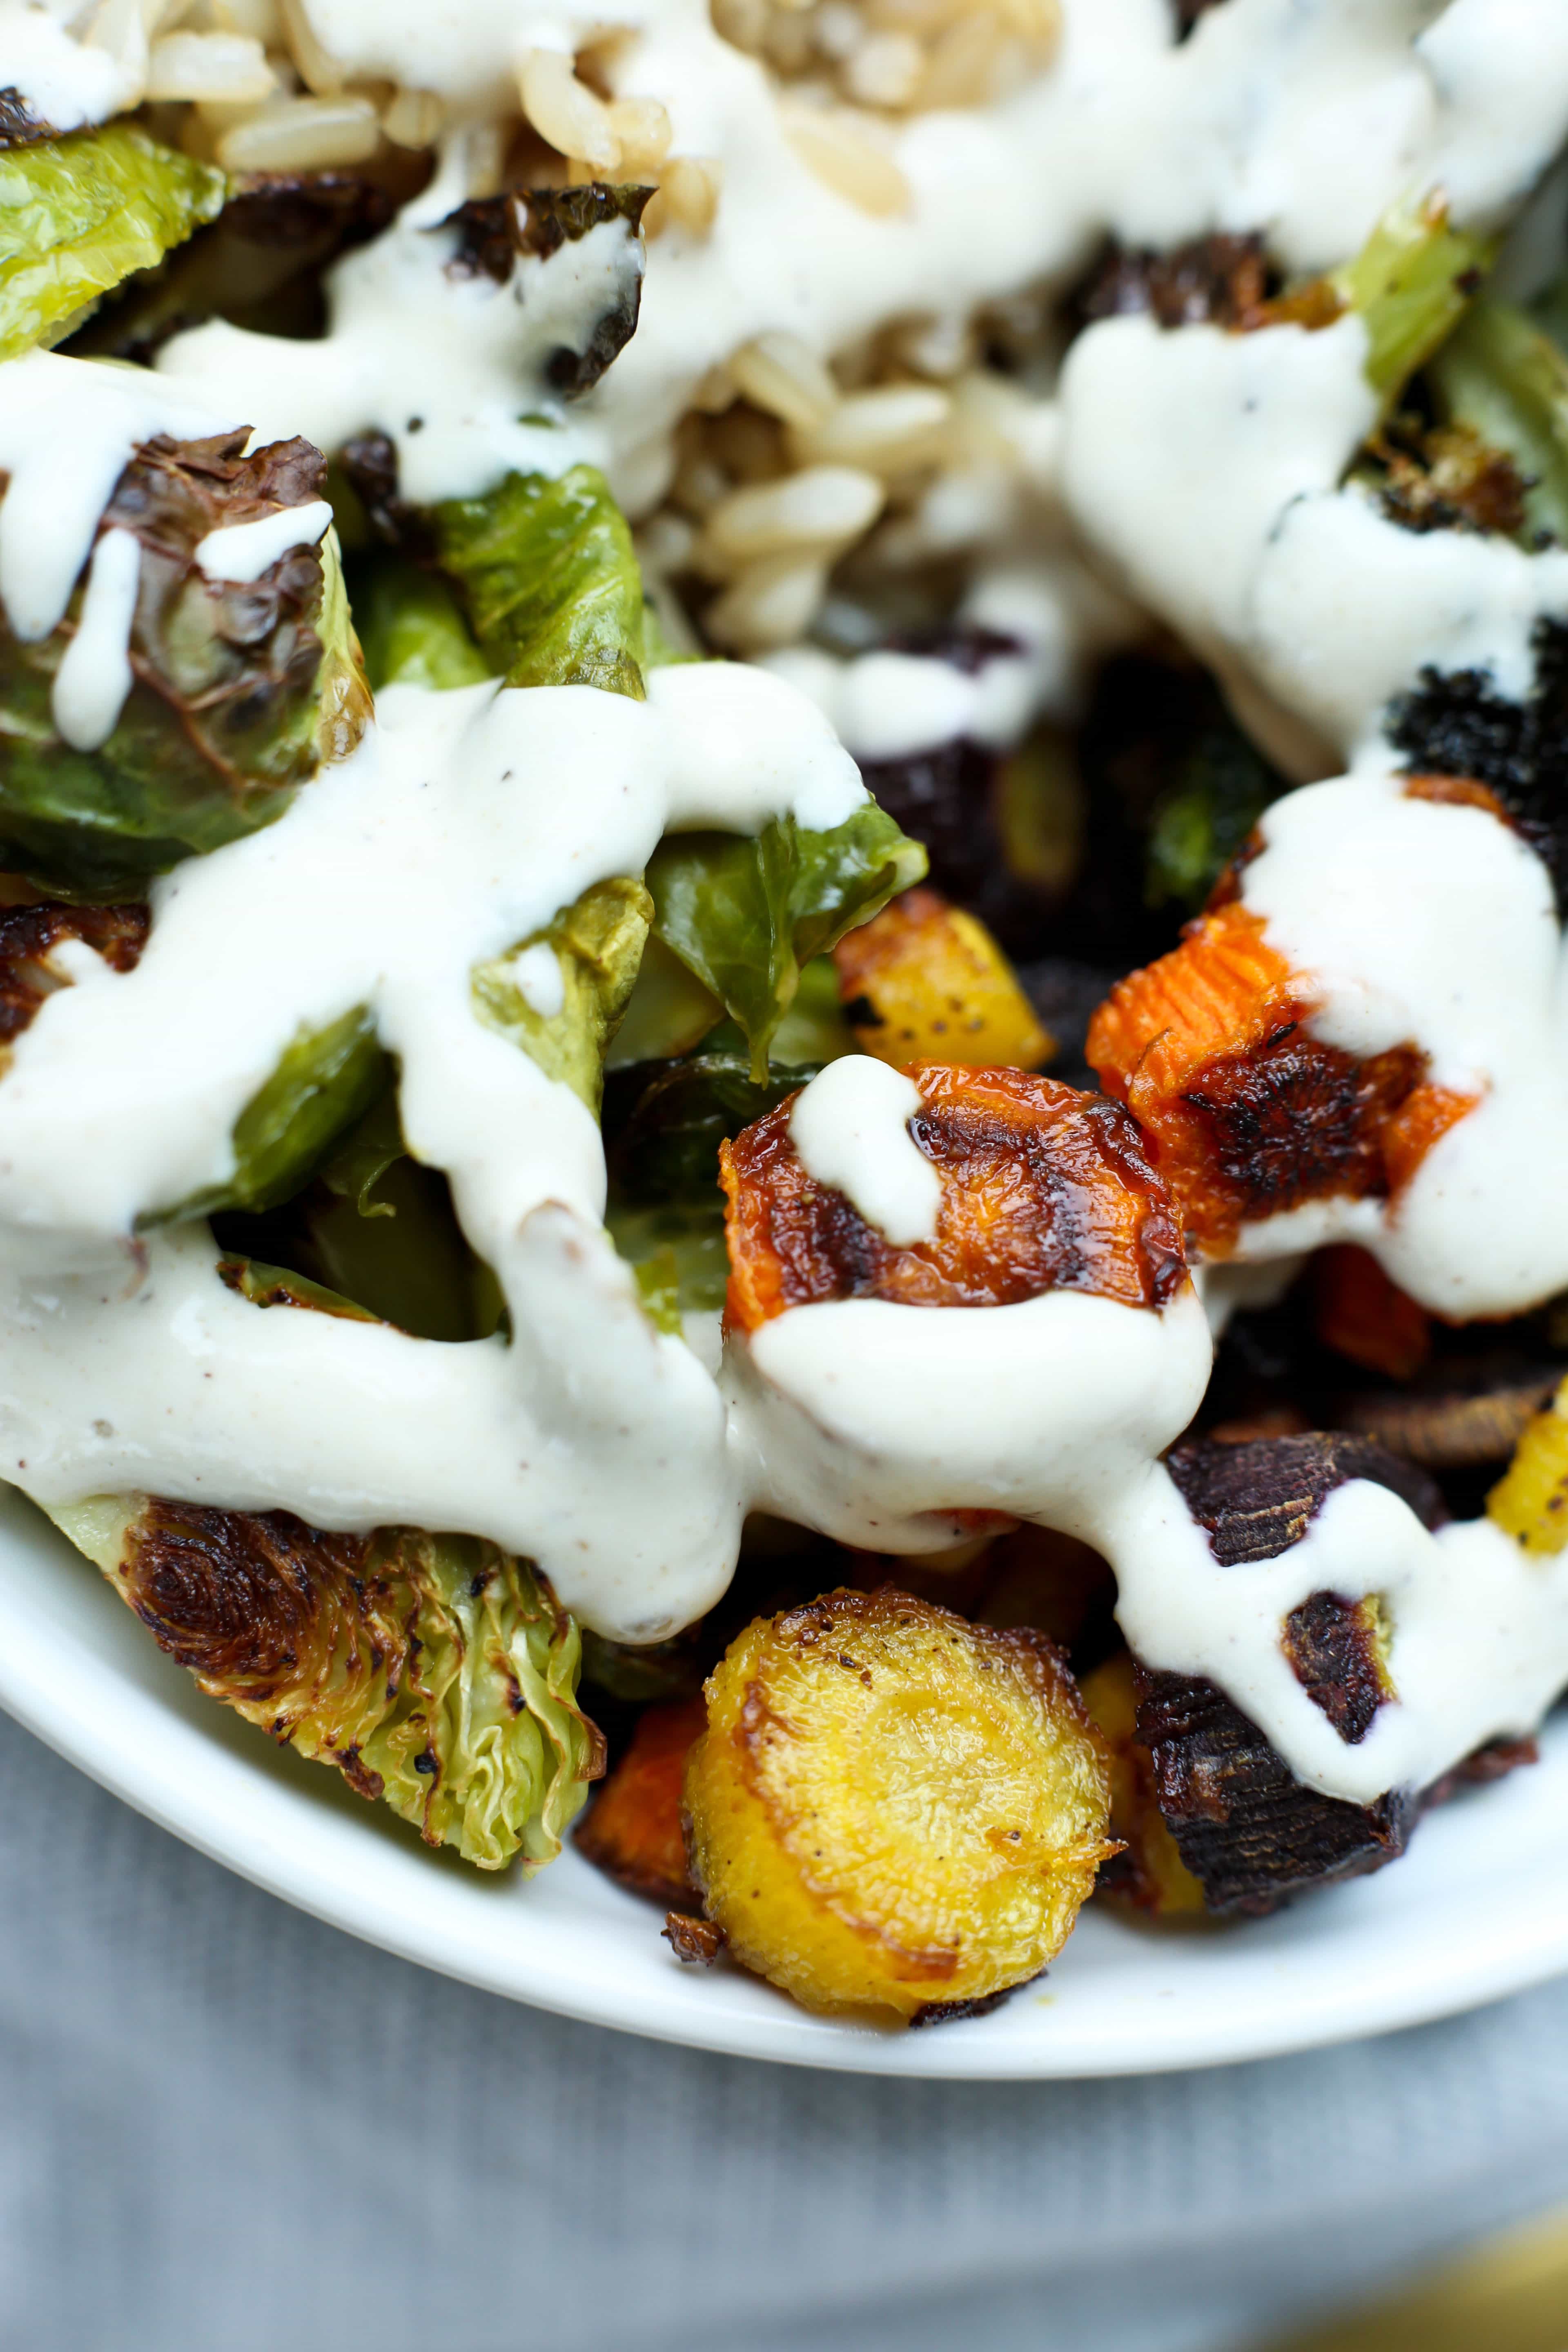
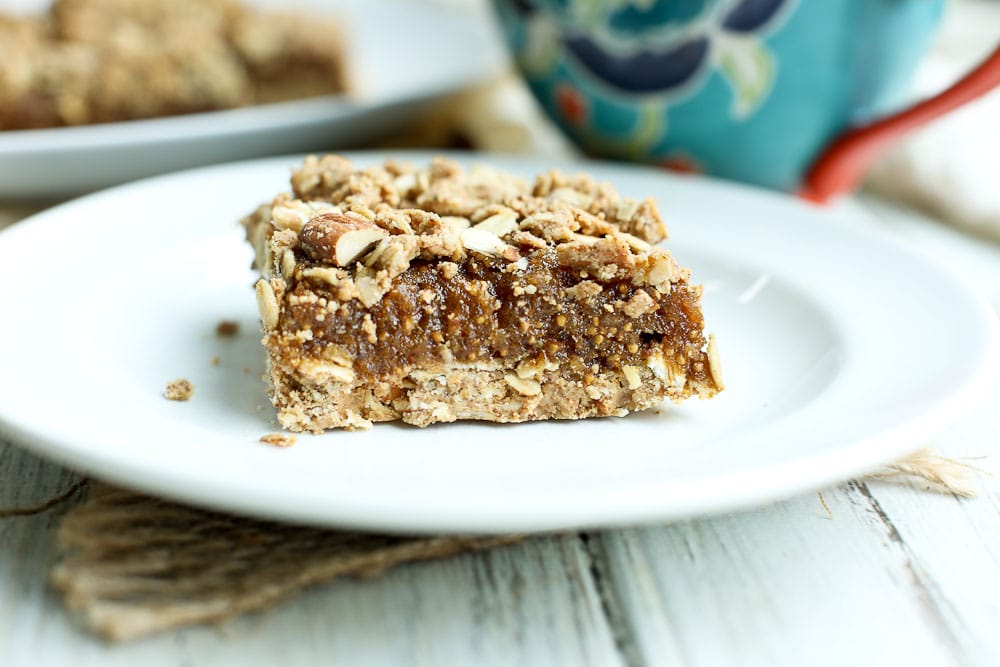 Costco got the best of me again. I saw a HUGE bag of dried figs, and, quite spontaneously, threw them in my cart. I didn’t really think about what I’d do with a giant bag of dried figs.