Monday, 13 November 2017

Roasted Brussels Sprouts with Apples and Almonds


This Roasted Brussels Sprouts with Apples and Almonds recipe will become a staple side dish for you!
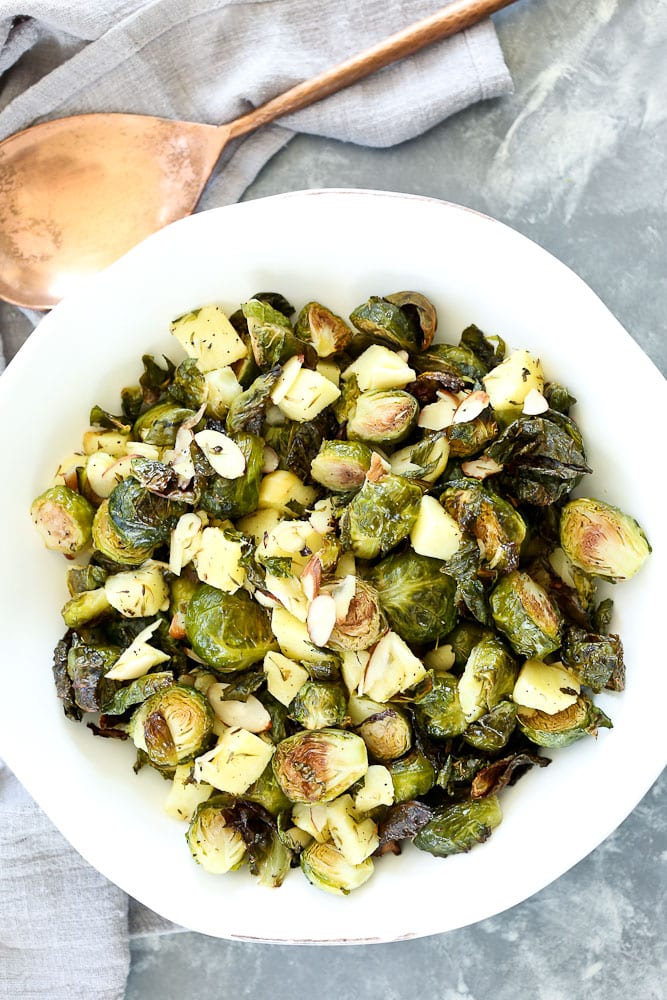
Roasted Brussels Sprouts with Apples and Almonds recipe with a copper serving spoon

Heads up! This recipe was first published in 2011. Photos have been updated and I’m republishing it now so newer readers can find it. Enjoy! 

So, let’s review for a minute here.  This week I’ve posted a recipe for tempeh and now brussels sprouts.  I’m not trying to scare you away, I promise.  Think of it as broadening your horizons.

Here’s the thing.  I had never even tried brussels sprouts until last year.  I don’t recall my parents ever serving them when I was growing up (and if they did they didn’t make me eat them).  They don’t exactly have a stellar reputation as the tastiest of foods, so I was never compelled to buy them once I was on my own and cooking for myself.Close up of roasted brussels sprouts with apples and almonds recipe
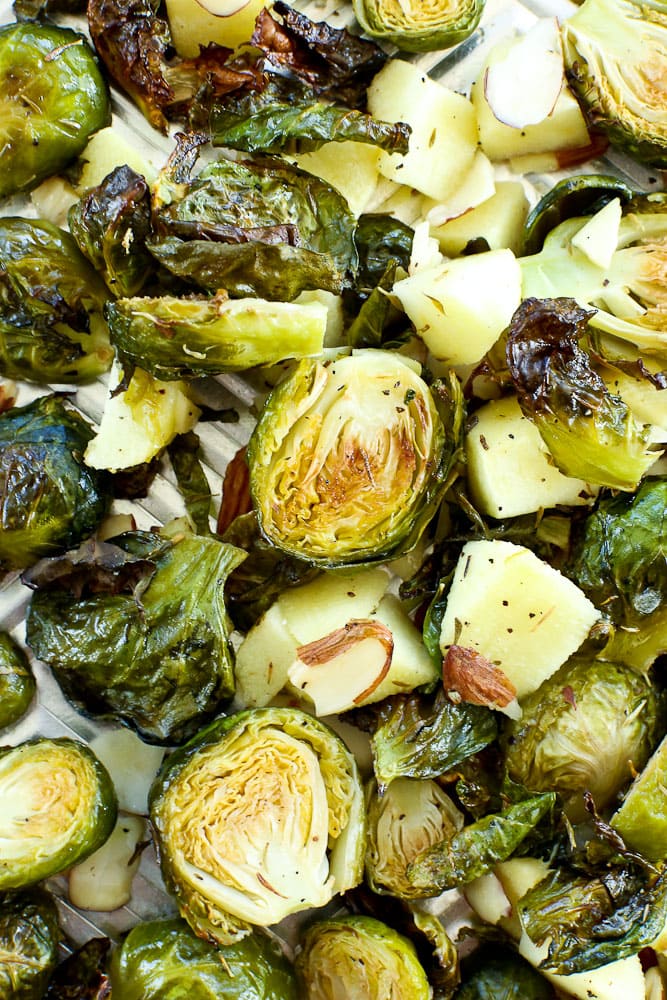
Then I started seeing recipe after recipe for roasted brussels sprouts, many that touted their superior nutrition, and I thought, “Why not?”  I’ll try anything once.  Okay, that’s not totally true.  But brussels sprouts seemed harmless enough to try.

Something wonderful happened the first time I made roasted brussels sprouts.  Not only did I love them, but Tim did too and they quickly became one of his favorite vegetables.Roasted Brussels sprouts with apples and almonds in a white bowl recipePlease understand, my husband is not a vegetable-loving man, so this was HUGE.  He’s the guy who will order a steak at a restaurant and eat every last bite, but leave the vegetables on the side untouched.  You better believe old roasted brussels sprouts became a main-stay on our menu.
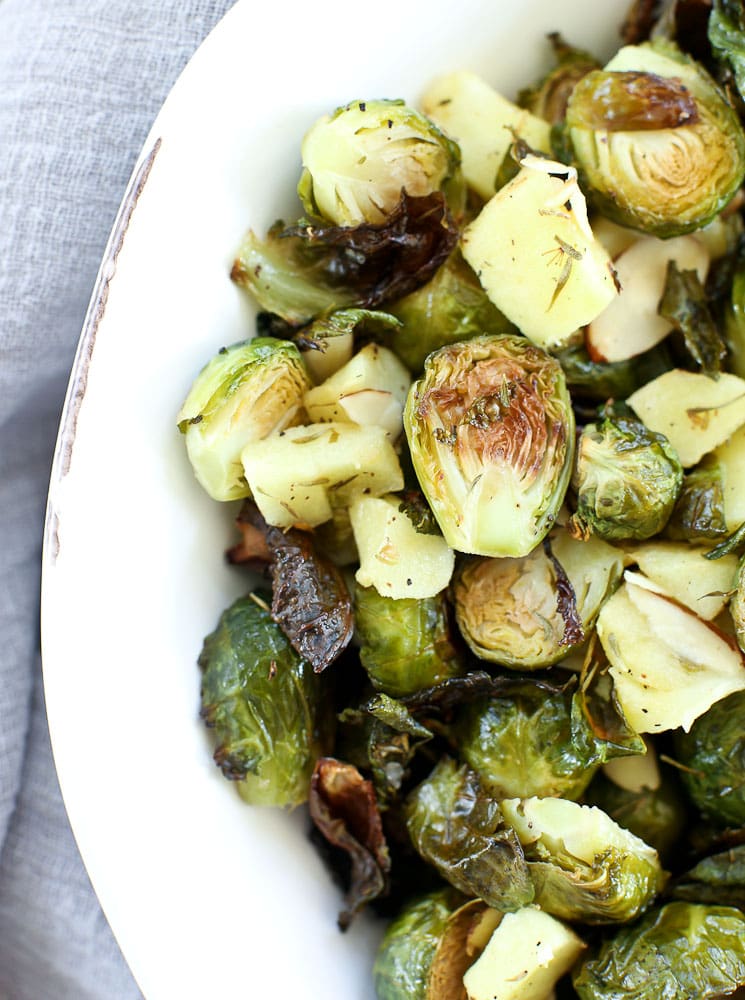
If you haven’t yet tried brussels sprouts, you need to give this recipe a try.  OR, if you have only tried brussels sprouts cooked some way other than roasting, you also need to give this recipe a try.  Roasting is the tastiest way to cook a lot of vegetables, brussels sprouts included.  They get all brown and caramelized and taste amazing.  And I don’t use the word amazing lightly.full shot of Roasted Brussels sprouts with apples and almonds in a white bowl recipe
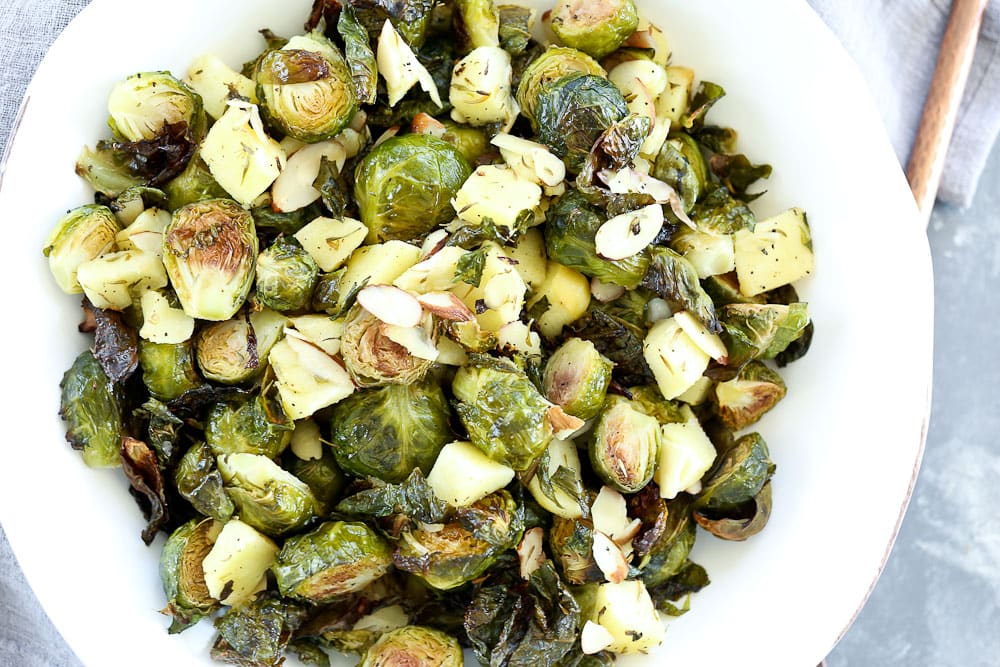
With cold season approaching, this is the perfect time to add brussels sprouts to your dinner menu. They also make a great holiday side dish.

One serving will yield you over an entire day’s worth of vitamin C!  They are also high in vitamin K, vitamin B6, folate, iron, potassium, and manganese.  Eat up!

Print

Roasted Brussels Sprouts with Apples and Almonds
Roasted Brussels Sprouts with Apples and Almonds recipe with a copper serving spoon

Brussels sprouts are roasted to caramelized perfection with apples and almonds in this healthy side dish!

  • Author:
  • Prep Time: 10 minutes
  • Cook Time: 25 minutes
  • Total Time: 35 minutes
  • Yield: 4-6 servings

Ingredients

  • 1 lb. brussels sprouts, hard side removed and cut in half
  • 1 medium apple, cored and diced (Peeled or not–your choice.  A lot of varieties will work here)
  • 1/4 cup sliced almonds
  • 2 tablespoons avocado oil
  • 1 teaspoon dried thyme
  • 1/2 teaspoon sea salt
  • 1/4 teaspoon freshly ground black pepper

Instructions

  1. Preheat the oven to 400 degrees.
  2. In a small dish, mix together the olive oil, thyme, salt, and pepper.  Put your brussels sprouts on a baking sheet.  Drizzle the brussels sprouts with the oil mixture and gently toss to evenly coat.
  3. Roast the brussels sprouts for 15 minutes.  Remove from the oven and add the apples and almonds.  Return to the oven and roast for an additional 10 minutes.  Enjoy!


If you make this Roasted Brussels Sprouts with Apples and Almonds recipe, or any Happy Healthy Mama recipe, I would LOVE to see it! Please take a pic and share it on Instagram or the Happy Healthy Mama Facebook page and tag me @happyhealthymama ðŸ™‚

Also, if you try it, would you mind rating the recipe? It’s VERY helpful for me and other readers if the recipes have ratings and reviews. I appreciate you!

If you’d like to save this recipe for later, here’s an image to save to your Pinterest recipe board!
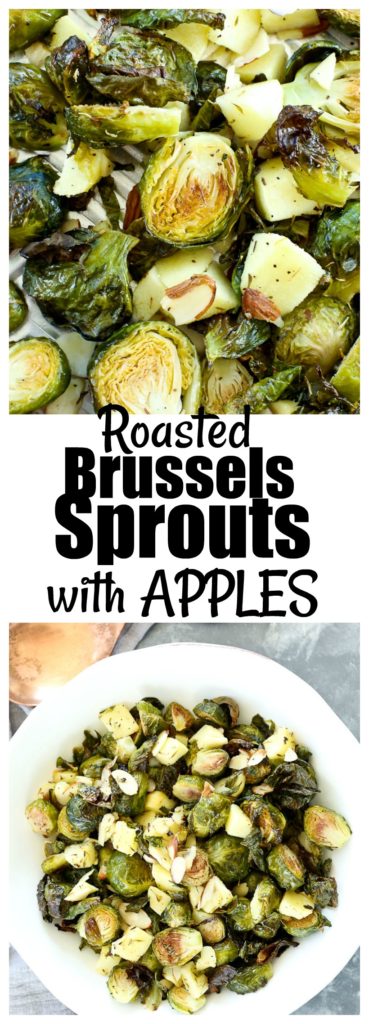
Roasted Brussels Sprouts with Apples and Almonds Recipe #healthy #vegan #glutenfree #sidedish #vegetables


The post Roasted Brussels Sprouts with Apples and Almonds appeared first on Happy Healthy Mama.


source https://happyhealthymama.com/roasted-brussels-sprouts-with-apples-and-almonds.html

Friday, 10 November 2017

Natural Products I’m Loving Now: Beautycounter Edition

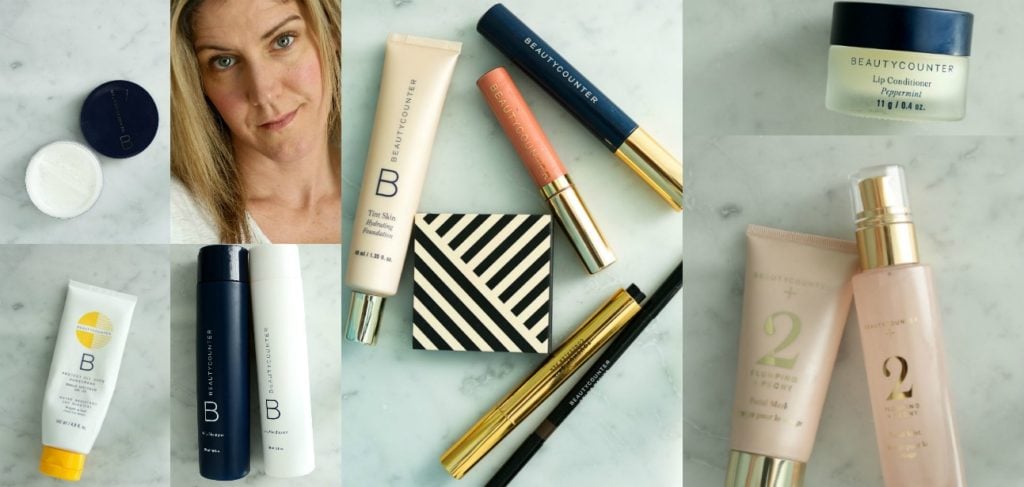
Beautycounter natural products reviewIt’s been a hot minute since I’ve shared a Natural Products I’m Loving Now Post. I get asked all the time when I’m going to post one, so I’d say this is waaaay overdue!
This one is worth the wait, though, friends, because I’m beyond excited to introduce you to Beautycounter. Have you heard of this company? Let me tell you how I found out about them and what Beautycounter is all about.

The story starts back in spring when I got a Facebook message from a woman I didn’t know, but said a friend told her about my blog and after reading she thought I’d be interested in this company that is all about natural beauty products.

Now, I get these types of messages often. They are either from small companies trying to take off, or acquaintances I once met that want me to join whatever direct sales company they are with, even if they have nothing to do with what I publish on Happy Healthy Mama.

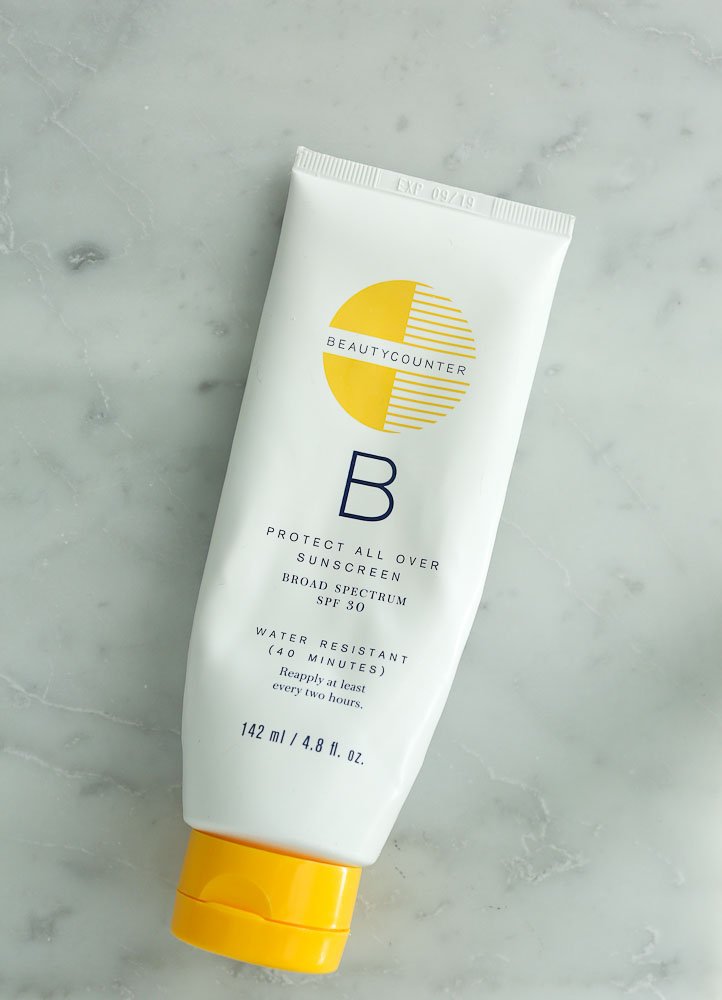
It can be overwhelming, so 99.9 percent of the time I answer with, “No, thank you” and move on. This time, however, I decided to try some products since I’m always on the lookout for high-quality, natural products that are safe and effective.  Beautycounter favorite products--natural sunscreen

I started with the sunscreen since it was close to summer. It’s something I’ve had the worst time finding a good, natural solution to regular sunscreen.

Oh. My. Word. I don’t think I even have the adjectives to describe how great Beautycounter sunscreen is compared to EVERY OTHER natural sunscreen I’ve tried. It goes on smooth and easily, you do NOT look like a ghost, and it has a light, fresh smell. Oh, and it works!

I will never use another natural sunscreen. This one is IT. My kids have actually forbidden me from ever going back to any other natural sunscreen we’ve tried.

I knew if I loved the rest of their products with even a fraction of the amount of love I had for the sunscreen, I’d be happy. The rest is history.

Every product I’ve tried since I have loved, but more about that in a minute. Let me tell you why Beautycounter is so special.

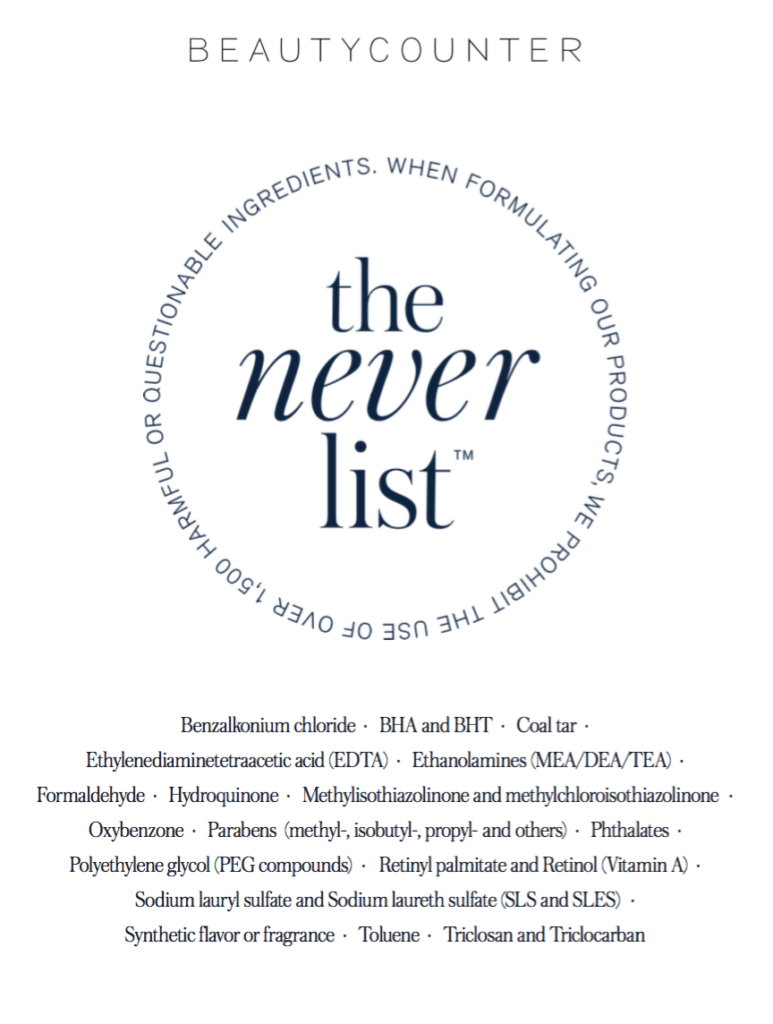
Beautycounter Never List

The whole mission of Beautycounter is to get safer products into the hands of everyone. Most people aren’t even aware of the dangers that are hidden inside the products they put on their bodies. So many known carcinogen and hormone-disrupting chemicals are there in products with synthetic ingredients, being absorbed by their skin, and they don’t even realize it.

The rest of us are left searching for quality, natural products, having to research everything we buy to ensure we are buying safe. Beautycounter helps take some of that work off of our hands by letting us know there are over 1,500 ingredients on their list of ingredients they will NEVER use in ANY of their products.

All of their products rank low (in the 1-3 range) on the EWG’s SkinDeep database. (Remember, low is good!) It’s a breath of fresh air to have a company like this and I’m truly in love with their products and their mission.

Now I’m excited to tell you about more of their products I’ve used and can recommend to you!

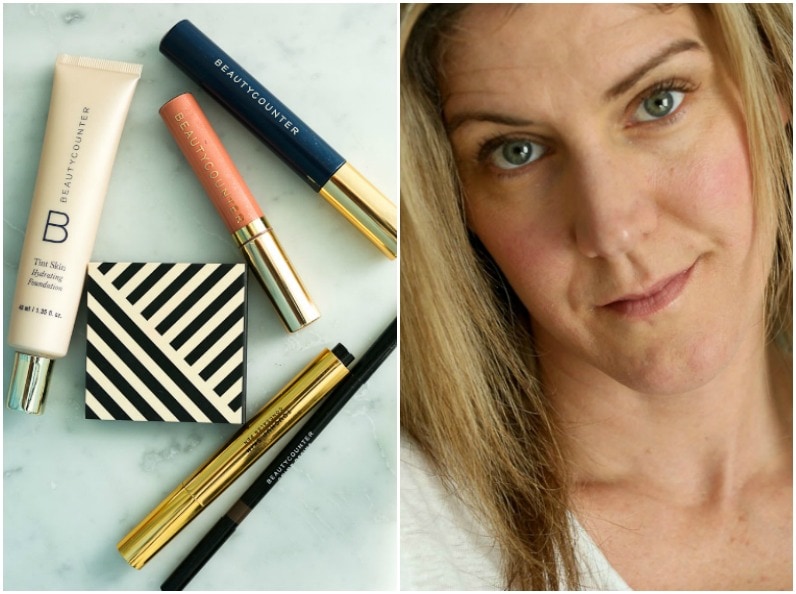
Beautycounter Flawless in FiveBeautycounter Flawless in Five set with face showing make up on


Before Beautycounter, I used Tarte makeup. It was the best-performing, natural-ish brand I could find. Beautycounter products, however, score better on the EWG’s Skin Deep database. Tarte mascara, for example, scores a 4 (not terrible), but Beautycounter scores a 2. I waited until I needed some new makeup, then gave Beautycounter’s Flawless in Five set a try. Yep, that’s me up there with my five-minute face. 😉 I love this set for quick, everyday makeup. Yes, it took me five minutes to apply the makeup above. (Disclaimer: I am so not a makeup artist!!)
The set includes a Touch Up Concealer Pen, Tint Skin Hydrating Foundation, Lengthening or Volumizing Mascara (I have Volumizing), Powder Blush Duo, and a Lip Gloss. It’s perfect for everyday makeup! The foundation doesn’t feel heavy at all and has a medium coverage. You can layer it for fuller coverage. The mascara performs very well-I’ve been surprisingly impressed with it! It stays on all day.

I was hesitant to try Beatycounter makeup since I was pretty happy with what I was using. I’m SO happy I made the switch though as Beautycounter is safer and performs! WINNING.

I have also used two different shades of their eye shadow duos and have been super happy with them. They have a whole lot of more products I need to try, but Flawless in Five has me convinced I will like whatever else I try.

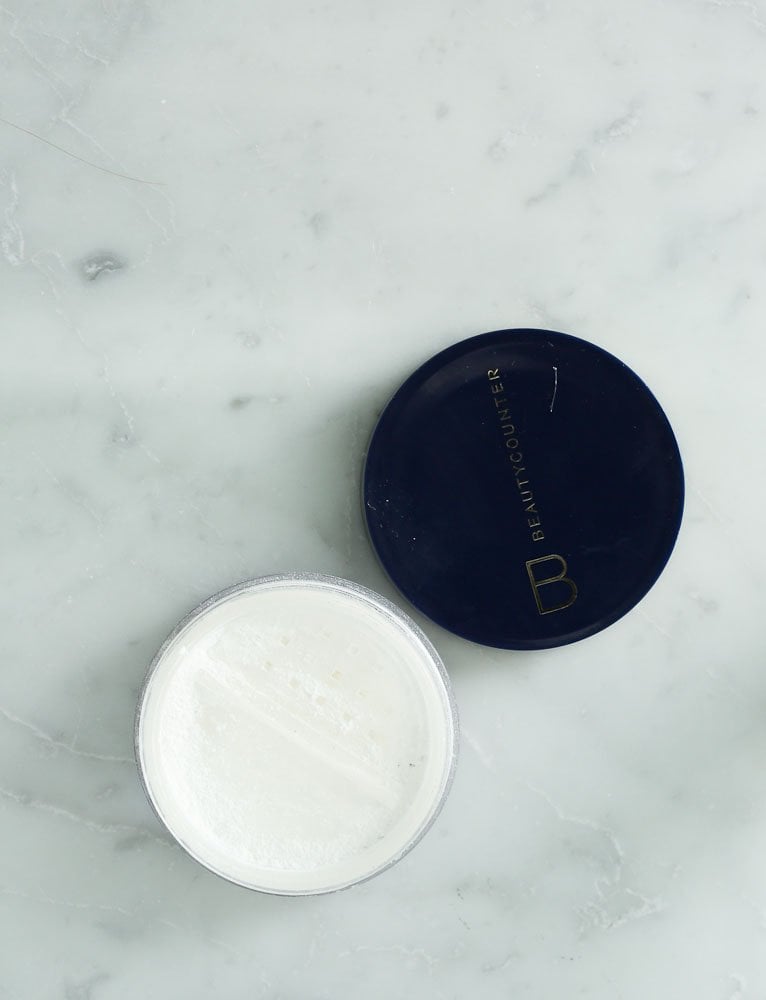
Beautycounter Mattifying Powder

Beautycounter Mattifying Powder

I ordered this Mattifying Powder in addition to the Flawless in Five because sometimes I get a shiny face. I’ve never used this type of powder, but I have been so happy with it. Instead of adding another layer of color/makeup feel like regular pressed powders do, it just absorbs any shine on your face. (I’m not wearing it in the picture above, but I probably should be…) I highly recommend this!

Ladies, if you aren’t using natural makeup, I urge you to try Beautycounter makeup. You’re putting it on your face everyday! You deserve safe, natural products.

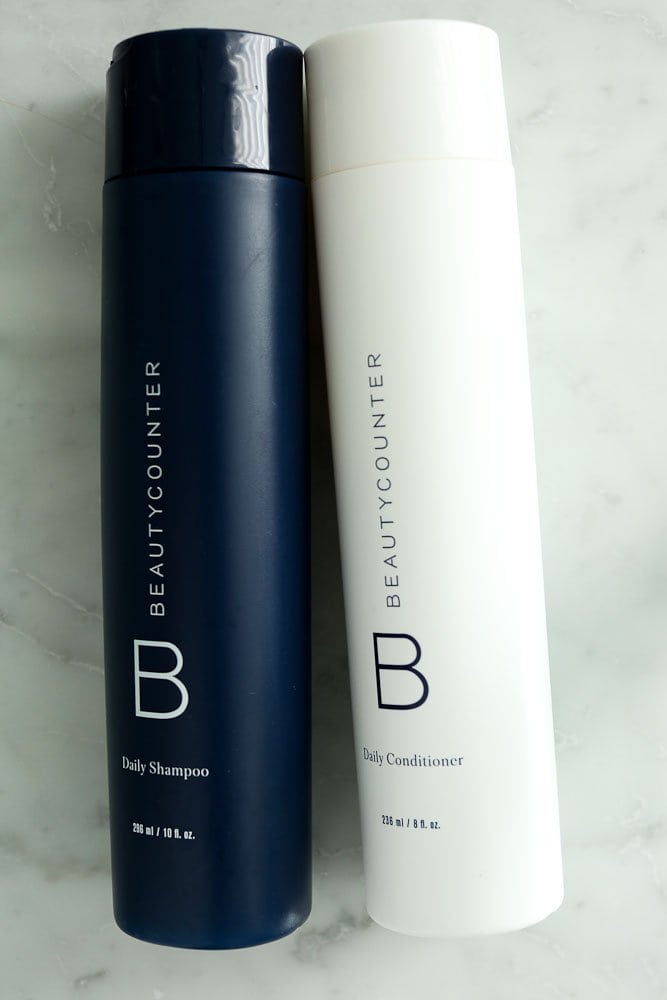
Beautycounter Daily Shampoo and Daily Conditioner

Beautycounter Daily Shampoo and Conditioner review

I have searched for YEARS for a shampoo and conditioner I can recommend. I’ve finally found them! Beautycounter has a whole line of hair care products, but the basic Daily Shampoo and Daily Conditioner have been great for me. Yes, I color my hair, and it’s protected the color just fine. (I knowwwww coloring my hair isn’t natural….but grey is not my color! Sorry…) I do also use this deep conditioner which is great for keeping my dry hair in better condition. BC doesn’t have a deep conditioner yet!

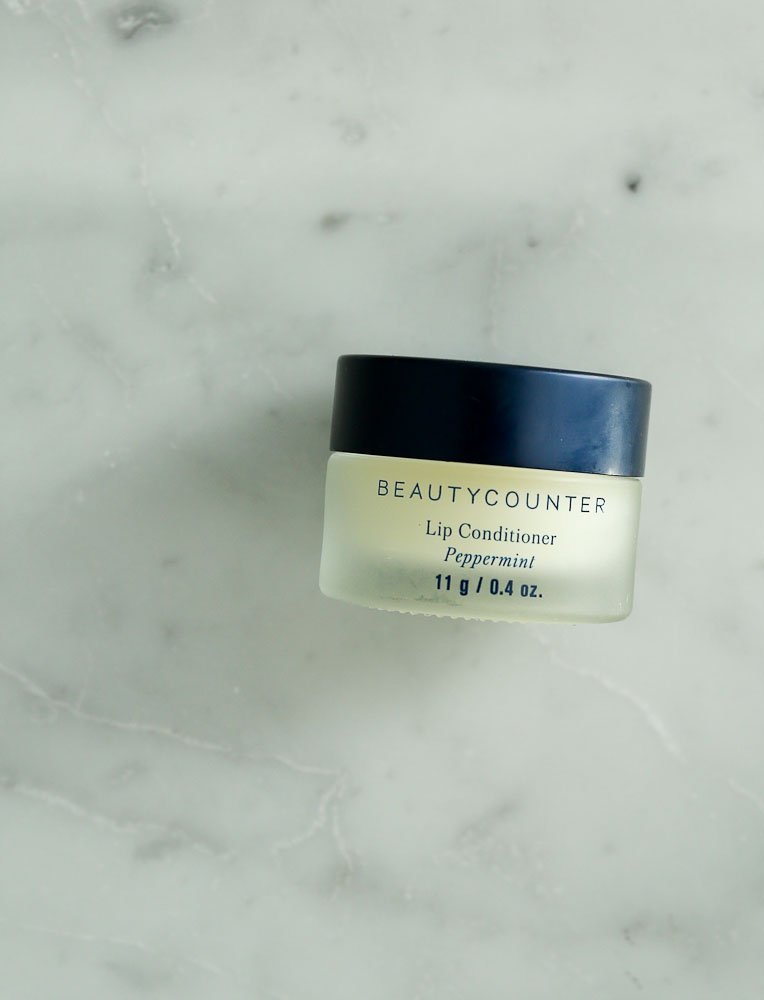
Beautycounter Peppermint Lip Conditioner

Beauty Counter Lip Conditioner

Oh, how I love this stuff. This lip conditioner keeps my lips soft, smooth, and hydrated. It’s made with peppermint, which makes it “taste” great, but also works as a natural lip plumper! Bonus!

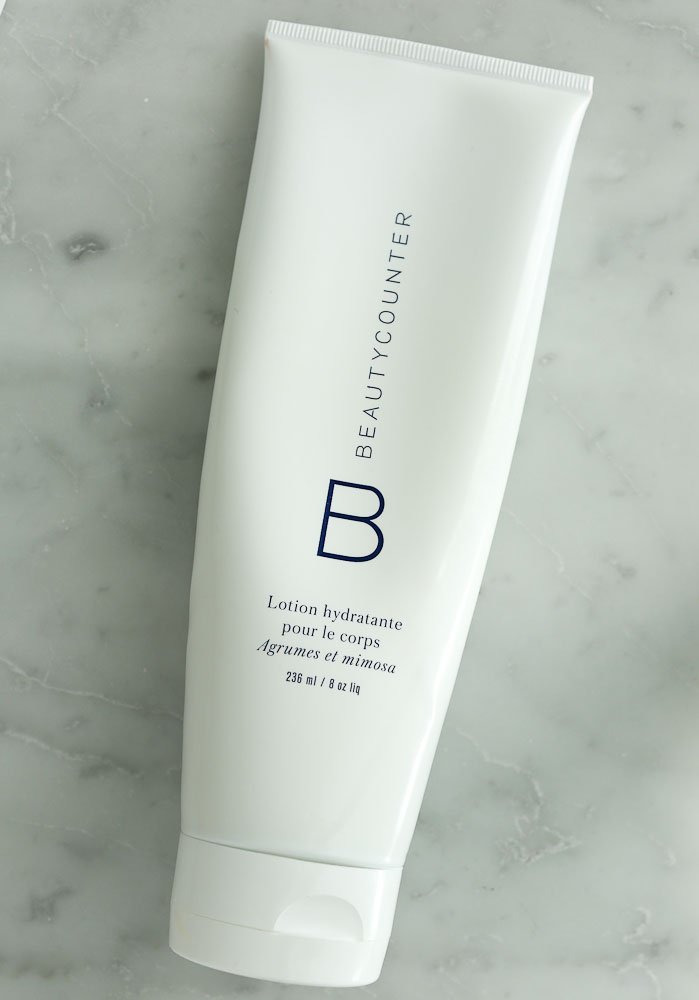
Beautycounter Hydrating Body Lotion in Citrus Mimosa

Beautycounter lotion review

You all know I’m a lotion girl, and I’ve really loved this Beatycounter Hydrating Body Lotion. This Savannah Bee Company Royal Body Butter I told you about a few years ago is still very much a favorite, but it’s quite thick and rich. I like having a lighter lotion on hand, also, and this Beautycounter lotion is just that. It has a very light citrus scent, but it’s almost like unscented.

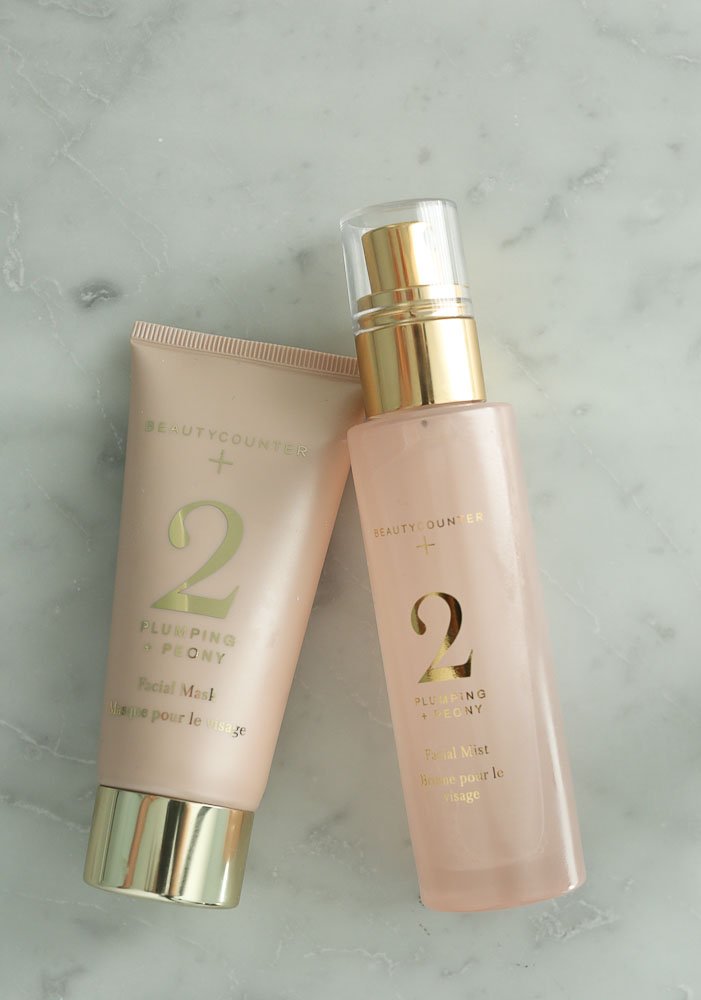
Beautycounter No 2 Plumping Spa Set

Beauty Counter No 2 Plumping Spa Set

I don’t use any of Beautycounter’s facial cleansers or moisturizers because I am still 100% in love with my Klo Organic Beauty oil cleansing regimen. If it ain’t broke, don’t fix it, right? I did add a little extra anti-aging action into my routine. The No 2 spa set also comes with an oil, but didn’t need another oil so I’ve only used the mask and facial mist. Both are formulated to tighten skin and help reduce wrinkles. Yep, I need all the extra help I can get over here! I’ve been using the mask two times a week and the mist everyday before applying my makeup. Love them both!

Are you as excited about Beautycounter as I am?! You guys, this is an amazing company that I am so grateful I stumbled upon. If you are interested in trying their products, you can order through any of the links on this page (my consultant links) and I would greatly appreciate it. I am so happy to answer any questions you have as well! I will keep you updated as I try more products.

Links to products are affiliate links. Thank you so much for supporting me and my mission to help my readers live their healthiest life! xoxo


The post Natural Products I’m Loving Now: Beautycounter Edition appeared first on Happy Healthy Mama.


source https://happyhealthymama.com/natural-products-im-loving-now-beautycounter-edition.html

Wednesday, 8 November 2017

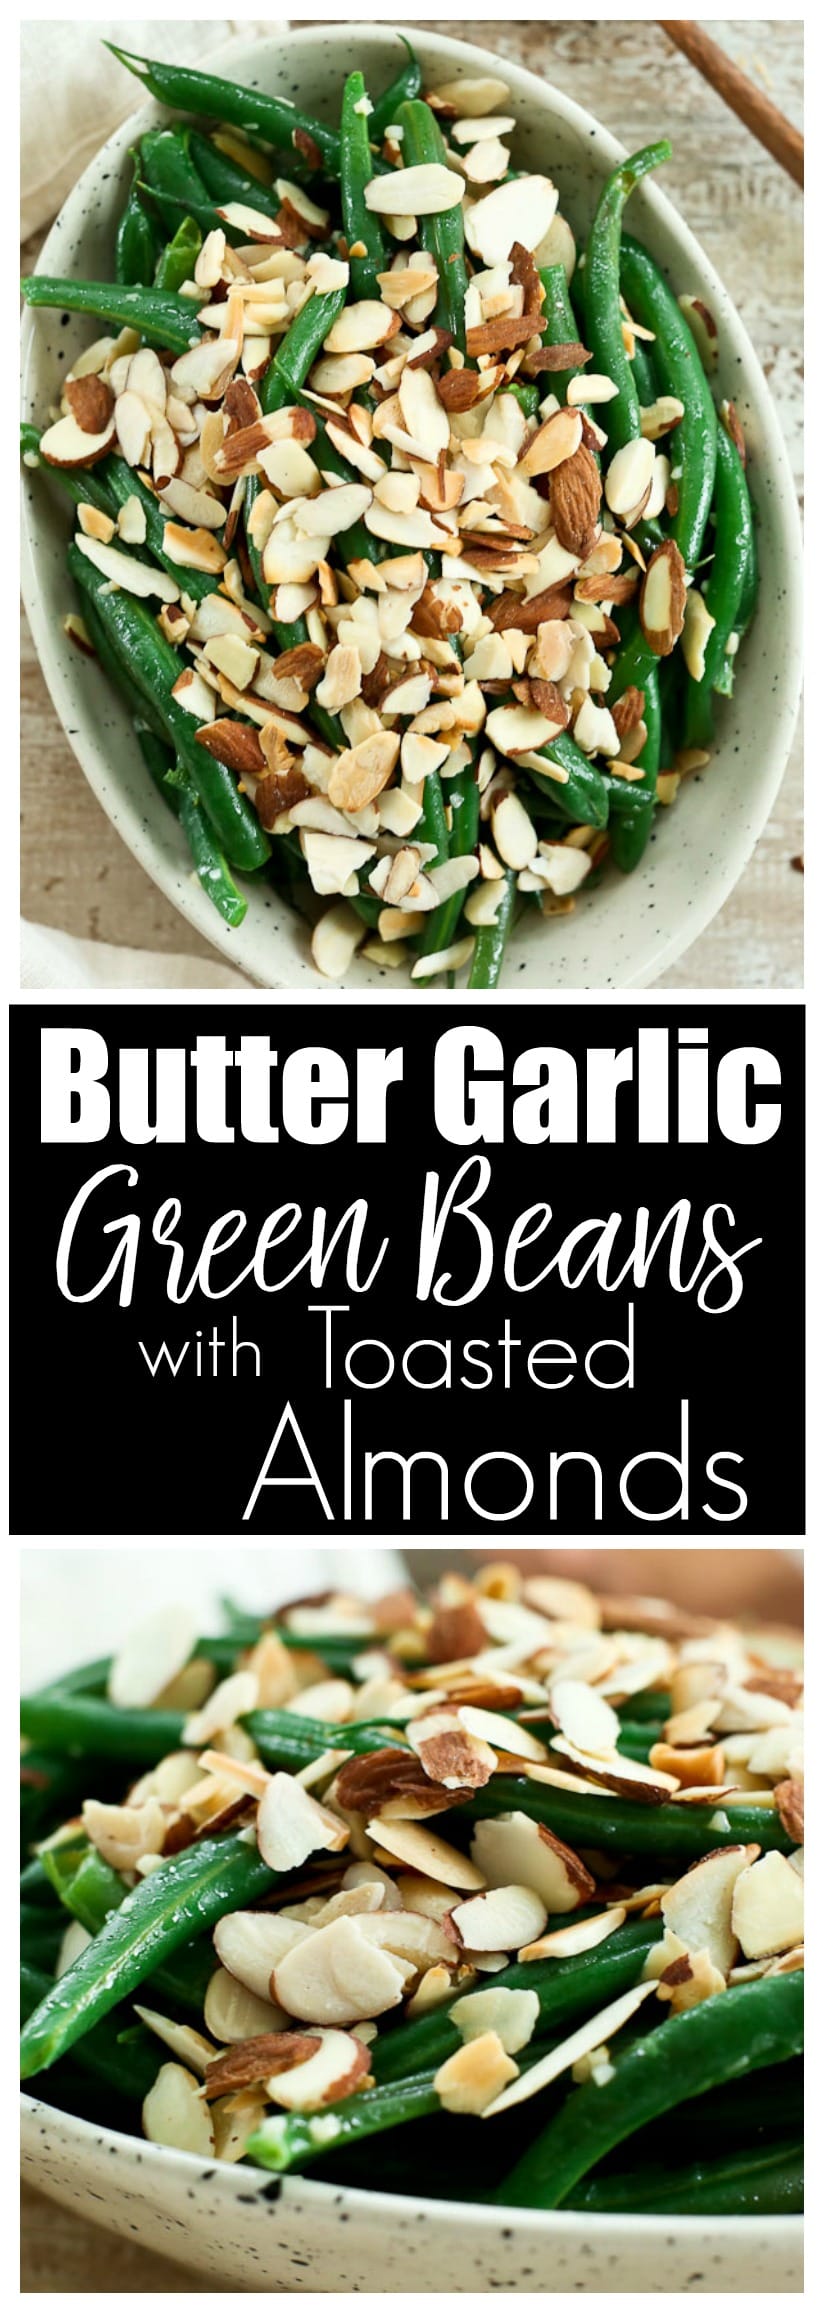
Garlic Butter Green Beans with Toasted Almonds Recipe

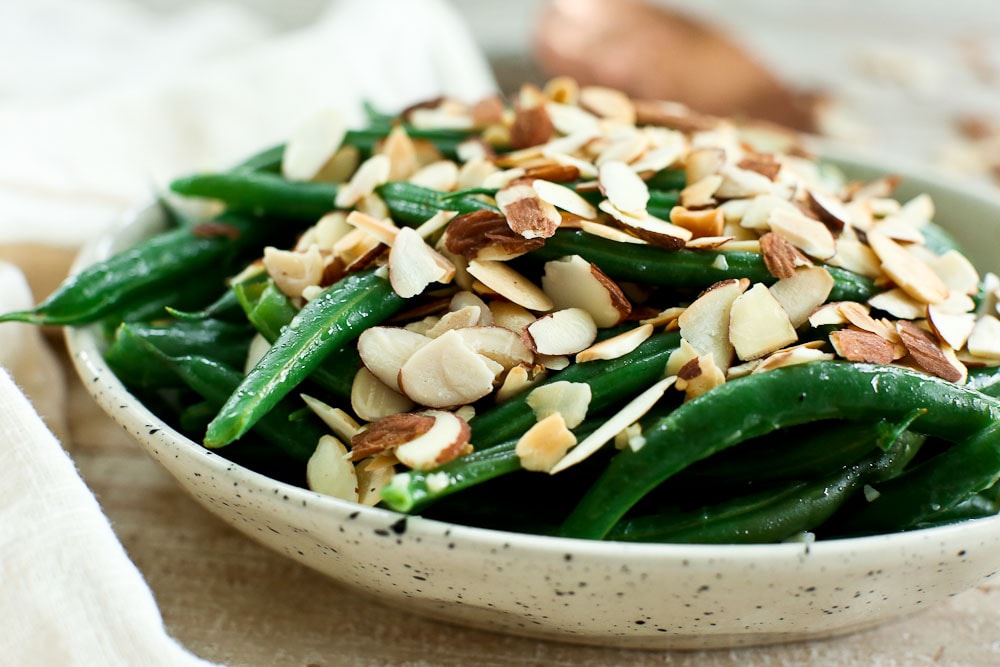
These Garlic Butter Green Beans with Toasted Almonds Recipe is equally good as a quick weeknight side dish as a pretty addition to your holiday menu! Garlic Butter Green Beans recipe with toasted almonds in a bowl and a cream napkinThis is one of those recipes I’ve made so many times, I forgot I’ve never shared it here. Sometimes simple recipes feel too simple, but at the same time I intuitively know: simple is what you’re seeking. I know because it’s what I’m seeking, too.
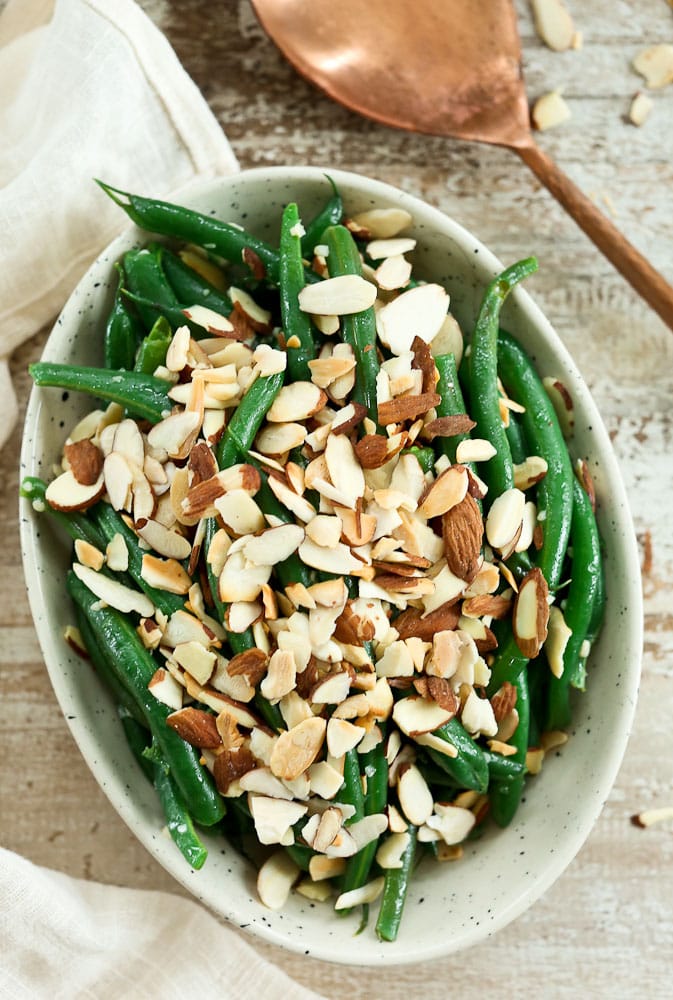
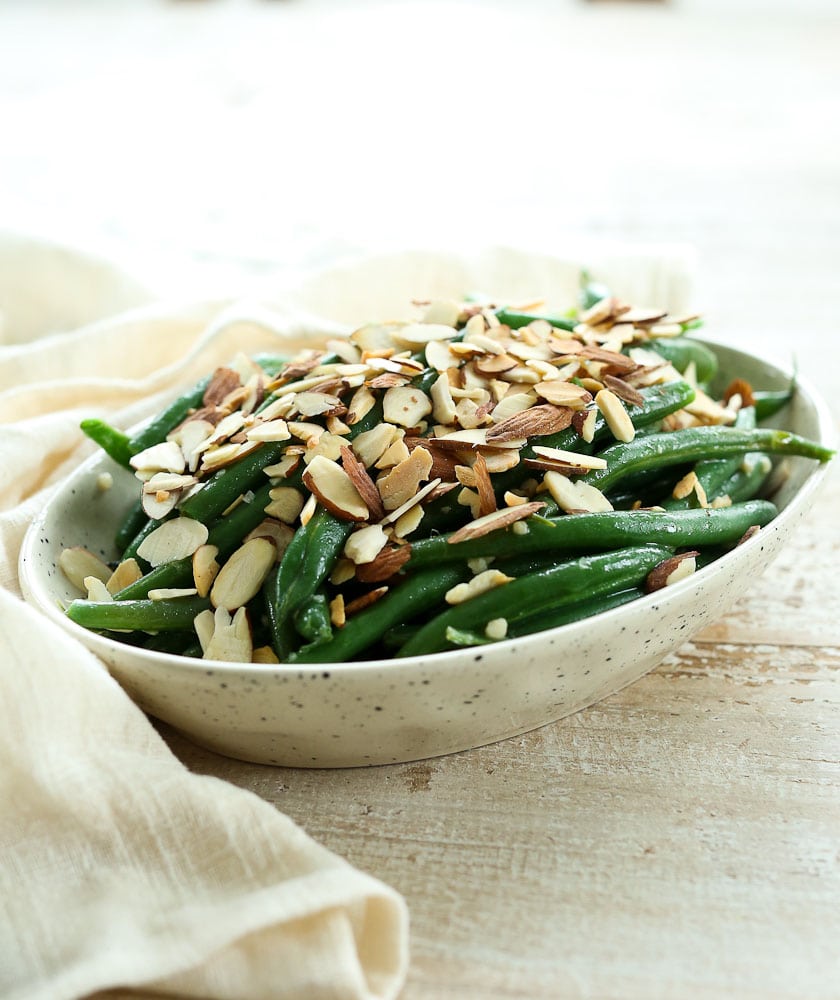
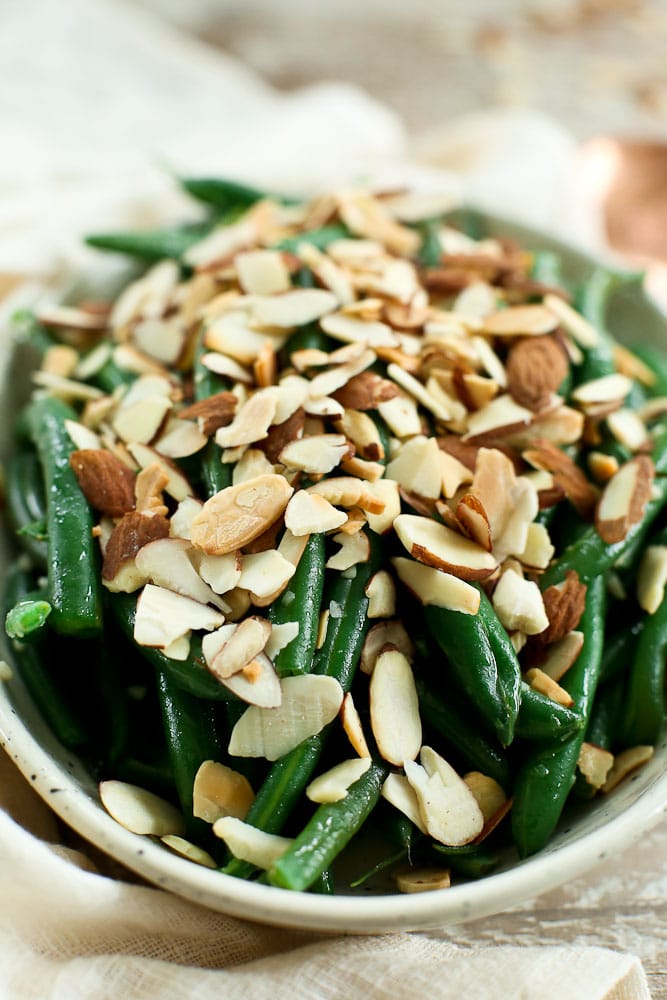
Simple is what I need at the end of a long day when it’s time for dinner and I know I want to put something green on my dinner table. Simple is what I crave when my kids are complaining that they’re staaaarving and I’ve just started to prepare dinner.Garlic Butter Green Beans with Toasted Almonds recipe in a bowl with a copper serving spoon Simple is more than what I seek. Simple is what I need.

Despite their simplicity, these Garlic Butter Green Beans with Toasted Almonds are not basic. Even non-green-bean fans have said they love these. What can I say? Butter and garlic. Simple, but delicious.

Side view of Garlic Butter Green Beans with Toasted Almonds Recipe I don’t always add the toasted almonds on top, but when I do it elevates these simple Butter Garlic Green Beans enough that they could totally have a place on your holiday tables. You can blanch them ahead of time, and then it takes less than five minutes to prepare and serve these. They are a perfect no-fuss addition to your Thanksgiving or Christmas menu.close up view of Garlic Butter Green Beans with Toasted Almonds recipe

I hope you try them soon!

Print

Garlic Butter Green Beans with Toasted Almonds

These Garlic Butter Green Beans with Toasted Almonds are quick, easy, and delicious! You can blanch the green beans a day ahead of time to reduce the prep time at dinner time.

  • Author:
  • Prep Time: 25 minutes
  • Cook Time: 3 minutes
  • Total Time: 28 minutes
  • Yield: 4-6 servings

Ingredients

  • 1 pound green beans, trimmed
  • 2 tablespoons butter
  • 1 1/2 tablespoon minced garlic
  • 1/2 cup sliced almonds
  • salt and pepper

Instructions

  1. Blanch the green beans in a large pot of salted water until crisp tender, about 5 minutes. Transfer to a large plate to cool.
  2. In a dry skillet, toast the almonds until lightly browned, about 3 minutes. 
  3. Meanwhile, melt the butter over medium heat in a separate skillet. Add the garlic and allow to sizzle about 1 minute.
  4. Add the green beans, season with salt and pepper, and sauté until hot, 1-2 minutes.  Transfer to a serving bowl and top with the toasted almonds and serve.

Nutrition

  • Serving Size: 1/6 of recipe
  • Calories: 116
  • Sugar: .3 grams
  • Fat: 9 grams
  • Carbohydrates: 7.8 grams
  • Fiber: 3.8 grams
  • Protein: 3.3 grams


If you make this Garlic Butter Green Bean with Toasted Almonds recipe, or any Happy Healthy Mama recipe, I would LOVE to see it! Please take a pic and share it on Instagram or the Happy Healthy Mama Facebook page and tag me @happyhealthymama ðŸ™‚

Also, if you try it, would you mind rating the recipe? It’s VERY helpful for me and other readers if the recipes have ratings and reviews. I appreciate you!

If you’d like to save this recipe for later, here’s an image to save to your Pinterest recipe board!Garlic Butter Green Beans with Toasted Almonds recipe #thanksgivingrecipes #greenbeans #glutenfree #healthy #sidedish

Want more green bean recipes? Here you go!

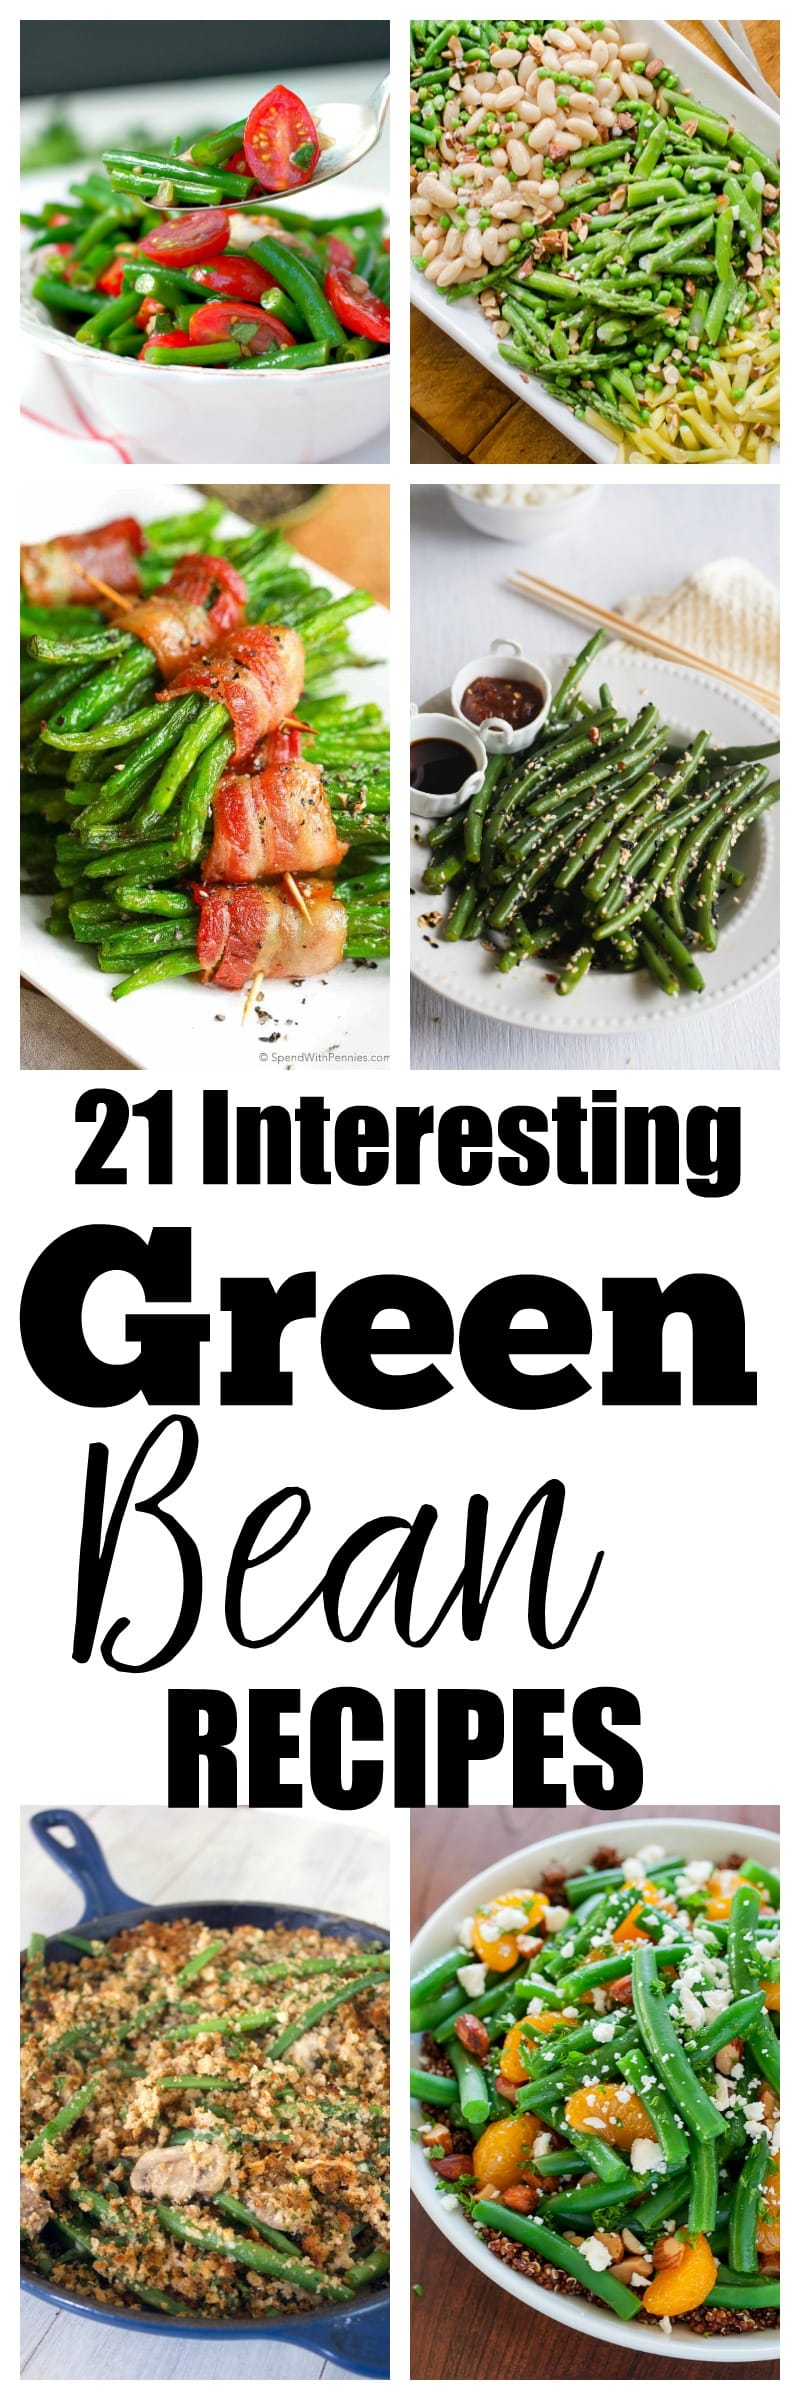
21 Delicious Green Bean Recipes to Try

21 Interesting Green Bean Recipes to Try. Perfect for summer garden green beans OR something new for your Thanksgiving recipes menu! Thanksgiving food

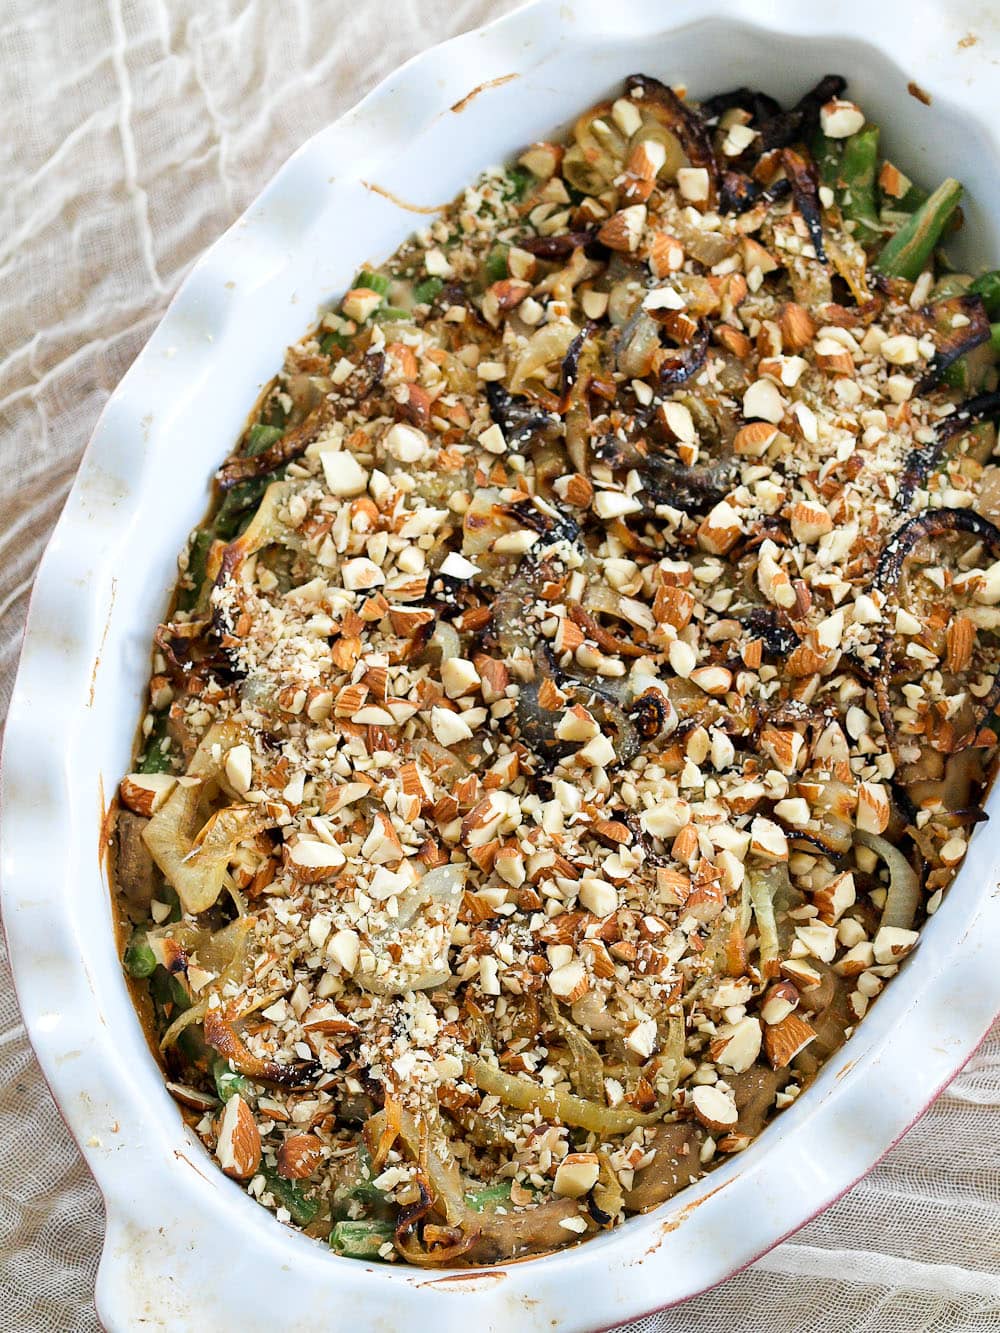
Vegan and Gluten-Free Green Bean Casserole

Traditional Green Bean Casserole just got a makeover! This healthier version is vegan and gluten-free. Put some REAL FOOD on your Thanksgiving table!!

The post Garlic Butter Green Beans with Toasted Almonds Recipe appeared first on Happy Healthy Mama.


source https://happyhealthymama.com/garlic-butter-green-beans-recipe.html

Monday, 6 November 2017

Instant Pot Mashed Cauliflower

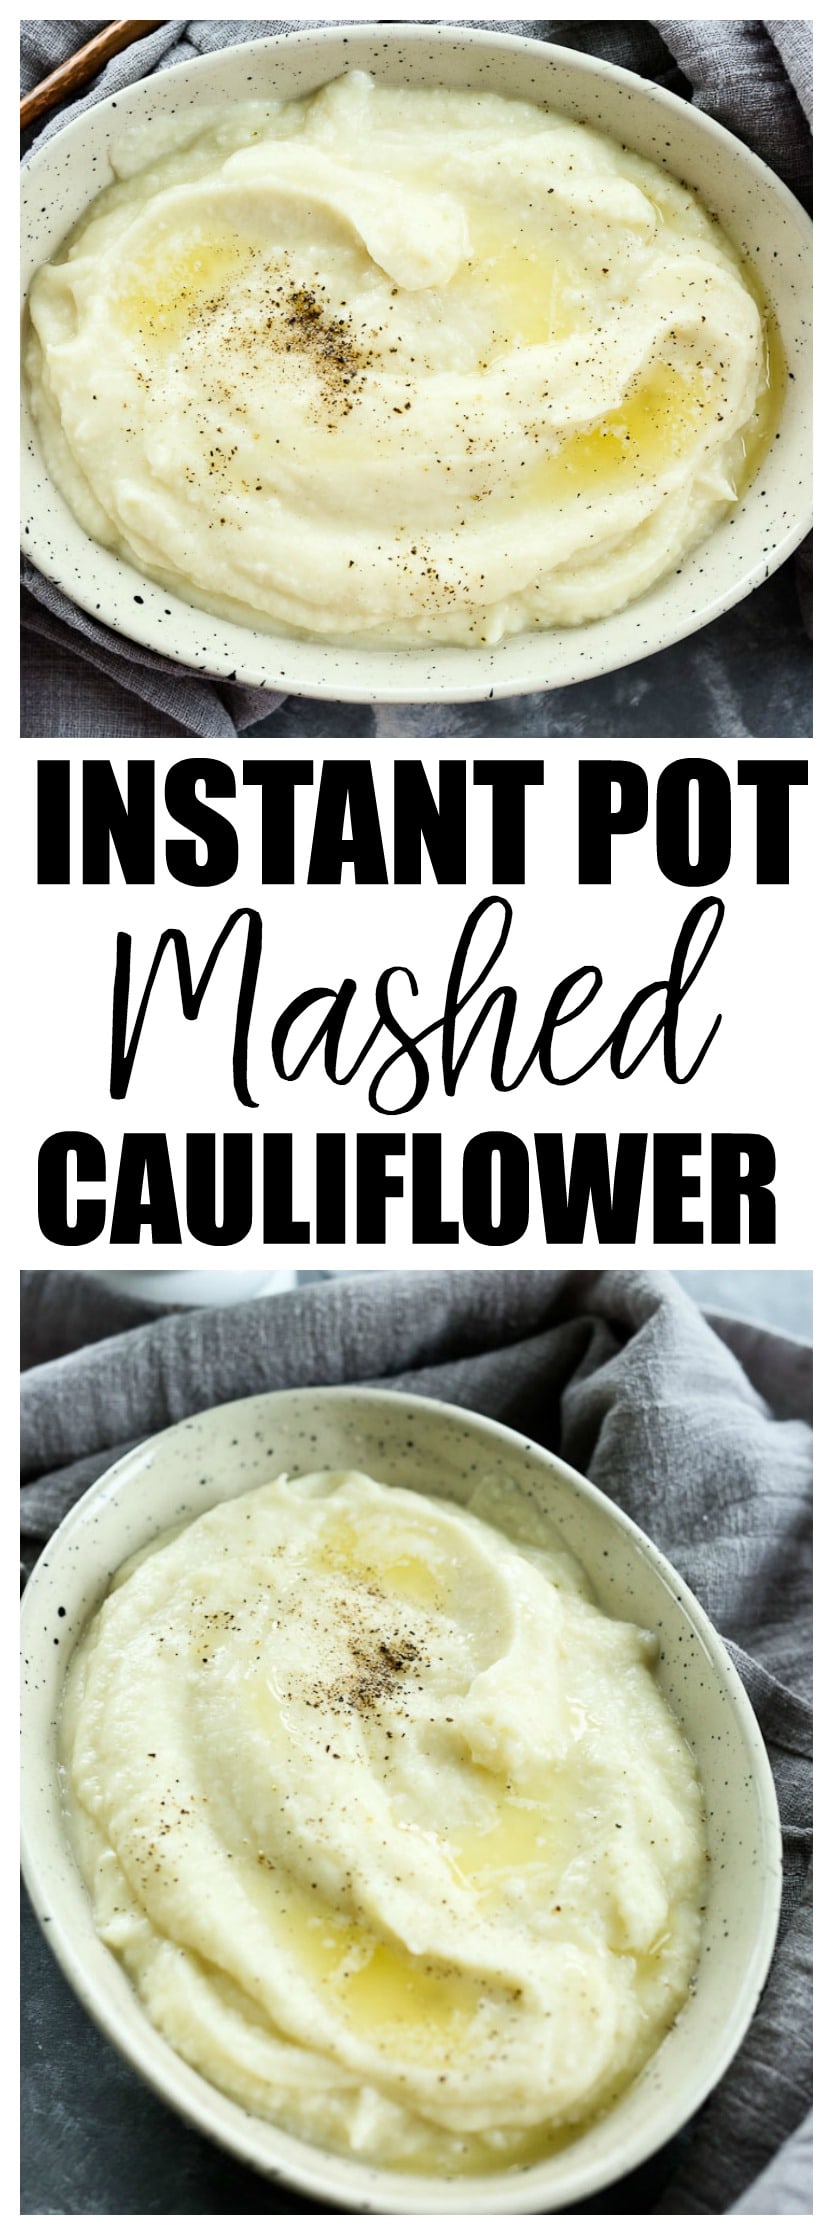
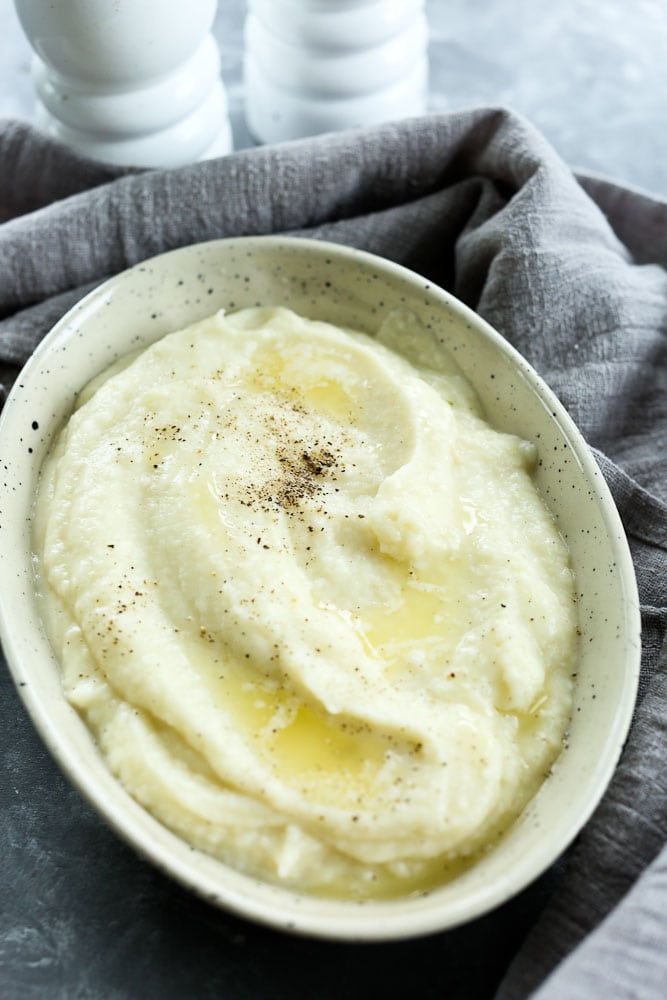
Give potatoes the night off and try Instant Pot Mashed Cauliflower–an easy and healthy low-carb side dish!Instant Pot Mashed Cauliflower Recipe--in a bowl with melted butter and a copper serving spoonIf you’re trying to eat a more low carb diet, this recipe is for you. If you don’t really care about how many carbs you have and just love delicious food, this recipe is also for you.
I bought an Instant Pot pressure cooker almost a year ago now, and it’s been a slow process learning how to use it and feeling comfortable enough to share recipes with you. This is only the second Instant Pot recipe on Happy Healthy Mama, but I’m finally at a point where I am ready to share more recipes with you. (This recipe for Creamy Lentils is the first one I shared and it’s a favorite over here.)

This Instant Pot Mashed Cauliflower recipe is a great one to kick off the Instant Pot recipes streak I’m about to go on. It makes a quick and easy side dish that is as perfect for a weeknight as it is for your Thanksgiving table.

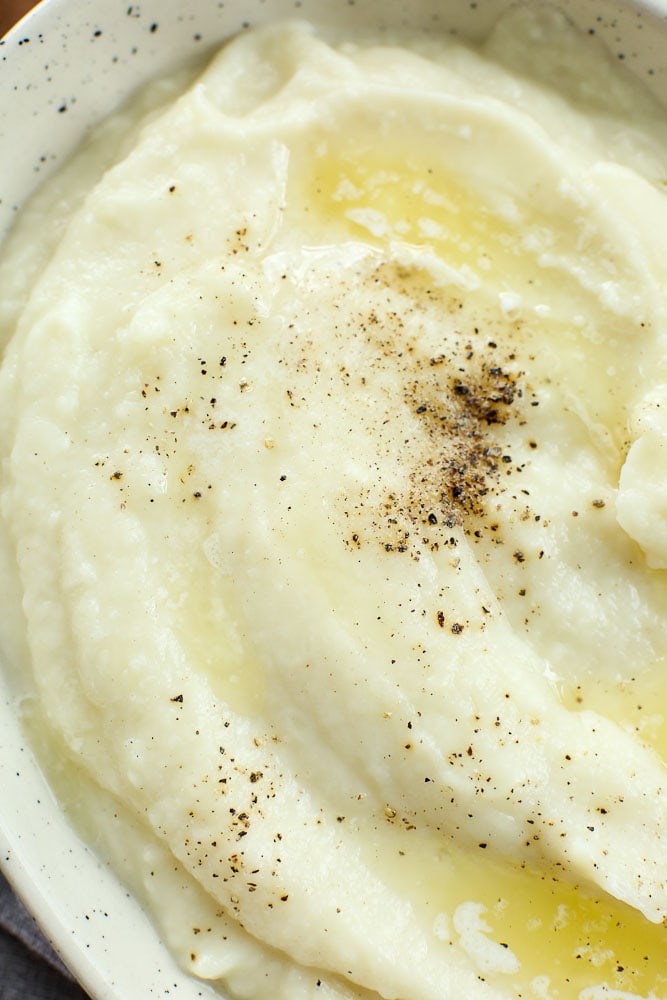
I’m not going to tell you that Mashed Cauliflower tastes just like mashed potatoes. That’s silly. It tastes like cauliflower, but it’s good in its own right. You definitely get the texture and mouth feel of eating mashed potatoes, so if you’ve been banned from eating mashed potatoes, this really is a nice substitute.Super close up photo of the creamy texture of Instant Pot Mashed Cauliflower Recipe

I used my food processor to make the cauliflower silky smooth. If you want to be technical about it, it’s really more of a cauliflower puree than mashed cauliflower. Whatever you want to call it, it’s lovely.

Spiked with butter, garlic, and parmesan reggiano cheese, you are going to love this. Tim and I loved this so much, I knew I had to post the recipe. But I have to have total transparency here, and my kids were pretty meh about this recipe. Meghan ate some but said, “I like the regular way you make cauliflower better.” (She’s referring to Simply Roasted Cauliflower) and Luke was totally against the whole concept of mashed cauliflower.

You can’t really judge how your kids will like this Instant Pot Mashed Cauliflower based on mine. My kids are strange  and hate things like regular things kids usually like, such as spaghetti, but like weird things most kids don’t like spinach with lime juice and avocado sandwiches. So take the information with a grain of salt.

All I know is that Instant Pot Mashed Cauliflower will be making its way to our table often because Tim and I can’t get enough. Like many foods over the years, I’m sure my kids will learn to enjoy it eventually.

Instant Pot Mashed Cauliflower Recipe--in an oval serving bowl with a grey napkin and a salt and pepper shaker

Will you let me know if you try this? I can’t wait to hear what you think!

Print

Instant Pot Mashed Cauliflower

Super close up photo of the creamy texture of Instant Pot Mashed Cauliflower Recipe

This Instant Pot Mashed Cauliflower recipe is a low-carb, creamy and delicious side dish!

  • Author:
  • Prep Time: 10 minutes
  • Cook Time: 18 minutes
  • Total Time: 28 minutes
  • Yield: 4-6 servings

Ingredients

  • 1 large or 2 small cauliflower crowns*, core removed and roughly chopped
  • 2 cups chicken stock
  • 2 tablespoons unsalted butter
  • 1/2 teaspoon salt
  • 1/2 teaspoon garlic powder
  • 3/4 cup parmesan reggiano cheese

Instructions

  1. Add trivet/steamer basket, cauliflower, and chicken stock to your Instant Pot.
  2. Close the lid and set the valve to sealing.
  3. Use the manual setting to cook on high pressure for 3 minutes.
  4. Use the quick release function to release the pressure.
  5. Transfer the cauliflower to a food processor. Add the butter, salt, garlic powder, and cheese and process until silky smooth.
  6. Serve immediately** with additional melted butter and freshly cracker pepper, if desired.

Notes

*Different sized cauliflower crowns make a difference, so if your crown is especially small, use two small ones.

**I have successfully made these ahead of time and reheated them.

Nutritional information is based on 4 servings.

Nutrition

  • Serving Size: 1/4 of recipe
  • Calories: 186
  • Sugar: 4 grams
  • Fat: 11 grams
  • Carbohydrates: 7 grams
  • Fiber: 0 grams
  • Protein: 11 grams


If you make this Instant Pot Mashed Cauliflower recipe, or any Happy Healthy Mama recipe, I would LOVE to see it! Please take a pic and share it on Instagram or the Happy Healthy Mama Facebook page and tag me @happyhealthymama ðŸ™‚

Also, if you try it, would you mind rating the recipe? It’s VERY helpful for me and other readers if the recipes have ratings and reviews. I appreciate you!

If you’d like to save this recipe for later, here’s an image to save to your Pinterest recipe board!

Instant Pot pressure cooker Mashed Cauliflower Recipe #easyrecipes #healthy #lowcarb #instantpotrecipes Did you also know there’s a private Facebook page for health-minded people to ask questions or just get support on your healthy living journey? Click here to request to join and I’ll get you approved within 24 hours!

The post Instant Pot Mashed Cauliflower appeared first on Happy Healthy Mama.


source https://happyhealthymama.com/instant-pot-mashed-cauliflower.html

Friday, 3 November 2017

Magical Family Christmas Traditions: 25 Ideas to Start This Year

Can you hear that? I think it’s Christmas music. I know, I know, it’s only the beginning of November. We need to celebrate Thanksgiving before we start talking about Christmas. Don’t worry, I have plenty of Thanksgiving recipes that will be coming your way very soon. As we’re planning our Christmas this year, though, the idea of family Christmas traditions has been on my mind. Don’t hate me. Ideas for Family Traditions for Chrismas-decorated Christmas tree with lights in the darkTraditions mean more to children than we probably realize. Last Easter, my daughter Meghan and I were getting our nails done the Saturday before Easter at a nail salon. She looked at me and said, “We did this last year before Easter, too, didn’t we?”


“Yes,” I replied.

“It’s our TRADITION!” she said with so much delight in her voice it made me choke up.

When I think back to the Christmases of my childhood, they were predictable. We did the same thing every year and I loved it. Predictable is comforting for children.

Every year we went to church on Christmas Eve and then had a big dinner at our house with just our family and my mom’s sister and her family. We opened our family gifts that night (I thought everyone did that!) and Santa gifts came in the morning. Then, we packed up and headed to my parent’s hometown, about an hour drive, where both of my grandmas lived. We had a big brunch at one grandma’s house and spent the afternoon there, and then a big Christmas dinner at the other grandma’s house and spent the night there. It was a lot of food and my Christmas memories are some of my fondest.

Now I’m married with my own family, but there’s no way I could recreate the Christmas of my childhood.  My husband’s parents, my parents, and my family live in three different states. I think a lot of people my age in are the same situation.

I’ve realized how important it is for my family to have some family traditions for Christmas of our own. It hasn’t been easy because my husband and I both grew up with our own, different, family Christmas traditions that we loved. It was one of the first lessons I learned about the importance of compromising in marriage.

I’ve learned that it’s okay to cherish the traditions I had growing up, while creating new family traditions for Christmas my kids will cherish just as much. By creating new family traditions that are special for just our family, I’m giving my children a gift they can keep forever.

Are you in the same boat? You know you need to let go of some of your childhood traditions and come up with your own for your family? I brainstormed some ideas and thought I’d share my list with you. Some of these we’ve done several years and I didn’t even realize they could be our new traditions until I made this list! Obviously you don’t need 25 different traditions, but I hope you’ll find something that works for your family here.

25 Ideas for Magical Family Christmas Traditions to Start

1. Go to the same Christmas light show every year.

Ideas for Family Traditions for Chrismas-at a light show

2. Have a list of random acts of kindness to complete during the Christmas season. (Ideas here.)

3. Visit Santa every year, even as your children “outgrow it.”

Ideas for Family Traditions for Chrismas-Meghan on santa's lap

How cute will it be to see the pictures of them growing through the years with pictures on Santa’s lap?

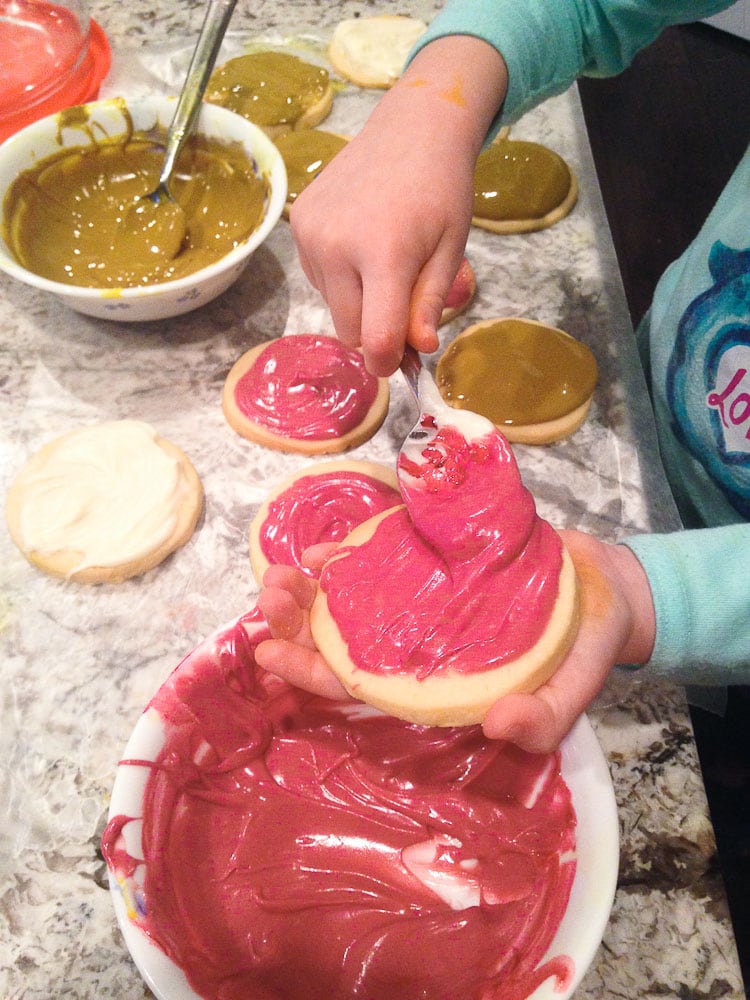
3. Bake cookies together and deliver them to neighbors.

Ideas for Family Traditions for Chrismas-baking Christmas cookies

Even if you use natural food colors, like we do, your neighbors will appreciate it. 😉

4. Watch your favorite Christmas movies together.

5. Wear matching “Christmas Jammies.”

Ideas for Family Traditions for Christmas-Meghan and Luke wearing Christmas jammies

If you’re like me and don’t want to buy a new pair every year, just buy them really big and wear the same ones for several years. I think I can get one more year out of these. Haha!

Meghan and Luke wearing the same Christmas jammies 3 years later

6. Have a collection of favorite Christmas books and read at least one per week together during the Christmas season.

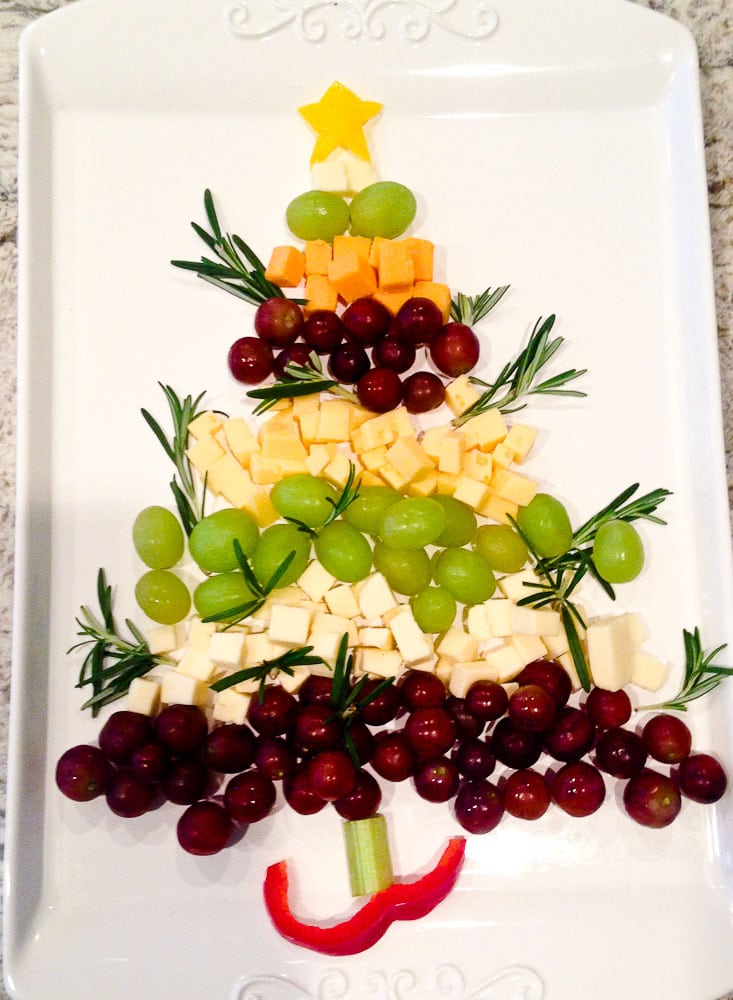
7. Let the kids help you create festive appetizers for your Christmas gatherings.

Ideas for Family Traditions for Chrismas-Christmas tree appetizer

8. Adopt a family in need during the holidays and shop together for their gifts.

9. Bake a special birthday cake for Jesus.

10. Have a hot chocolate bar and invite friends/neighbors over to enjoy it.

11. Let each child pick out a new ornament for the tree that shows something they loved that year.

12. Participate in or attend your town’s Christmas parade. Ideas for Family Traditions for Chrismas-Holiday Christmas parade

13. Take your children shopping to buy presents for each other.

14. Make a red and green gratitude chain. Each night leading up to Christmas, each family member writes one thing he is grateful for and adds it to the chain.

15. At least one night during the Christmas season, get into your pajamas and drive around in the dark, admiring the Christmas lights on houses.

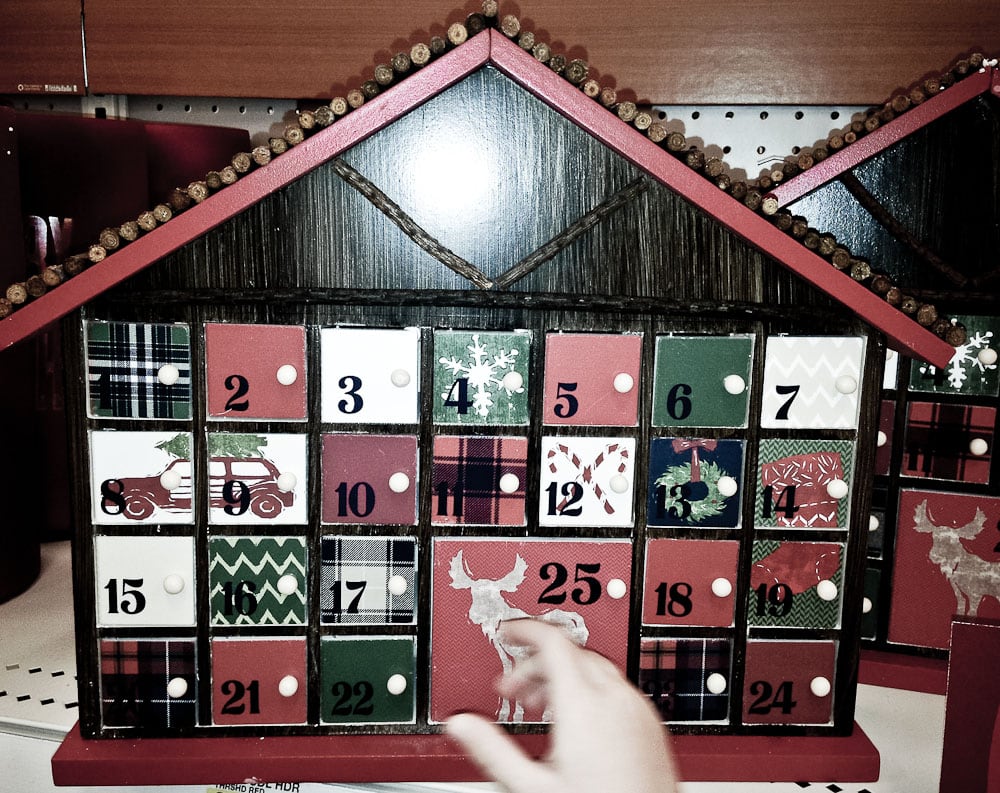
16. Have an advent calendar that you use to count down the days until Christmas.

Ideas for Family Traditions for Chrismas-advent calendar

You can use the same one every year (we got this one at Target a few years back) or make a new one each year.

17. Keep a Christmas diary where you write down the memories for each year.

I wish I had one from my childhood Christmases!

18. Help your children pick out some of their gently used toys to give to a charity.

19. Put out a nativity scene together and let your children help you arrange it.

20. Visit a live nativity scene.

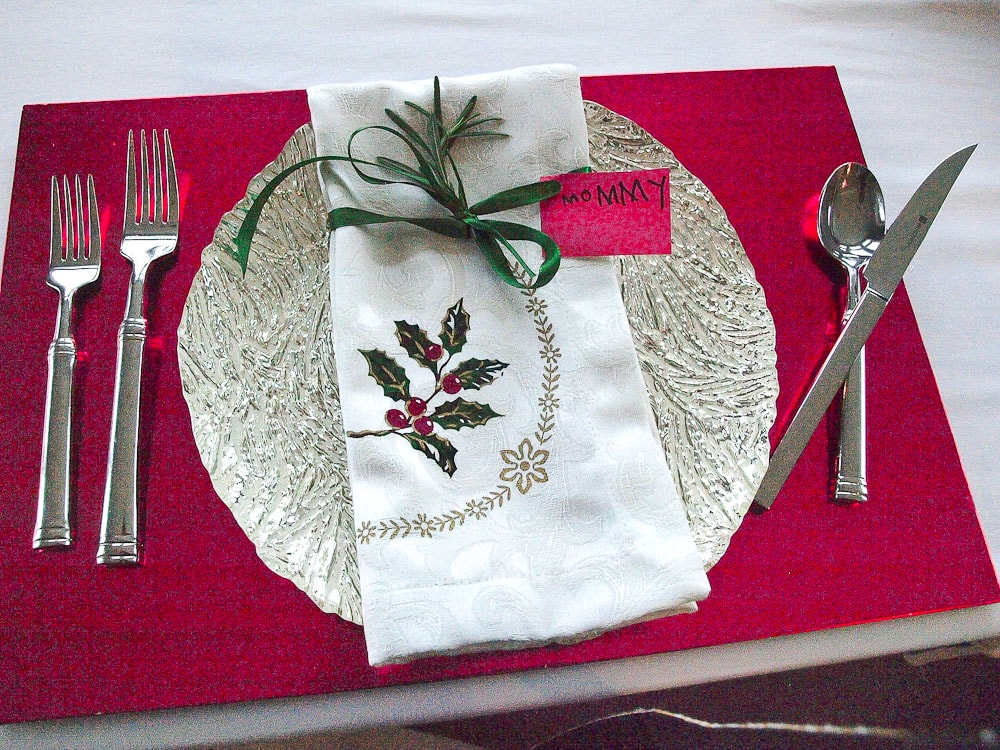
21. Let your children be in charge of setting the table for Christmas dinner.

Ideas for Family Traditions for Chrismas-place setting for Christmas dinner

22. Making choosing a Christmas tree a family event.

Ideas for Family Traditions for Chrismas-shopping for a Christmas tree

23. Leave milk and cookies for Santa, along with a little thank you note.

24. Dress up and do something special together. Ideas for Family Traditions for Chrismas-dress up and do something special

It could be a Christmas show like the Nutcracker, a holiday brunch, or a candlelit dinner at home. Find something special to do each year where you can dress up during the Christmas season that your children will always remember. At least they will if you have girls who love dressing up like mine does!

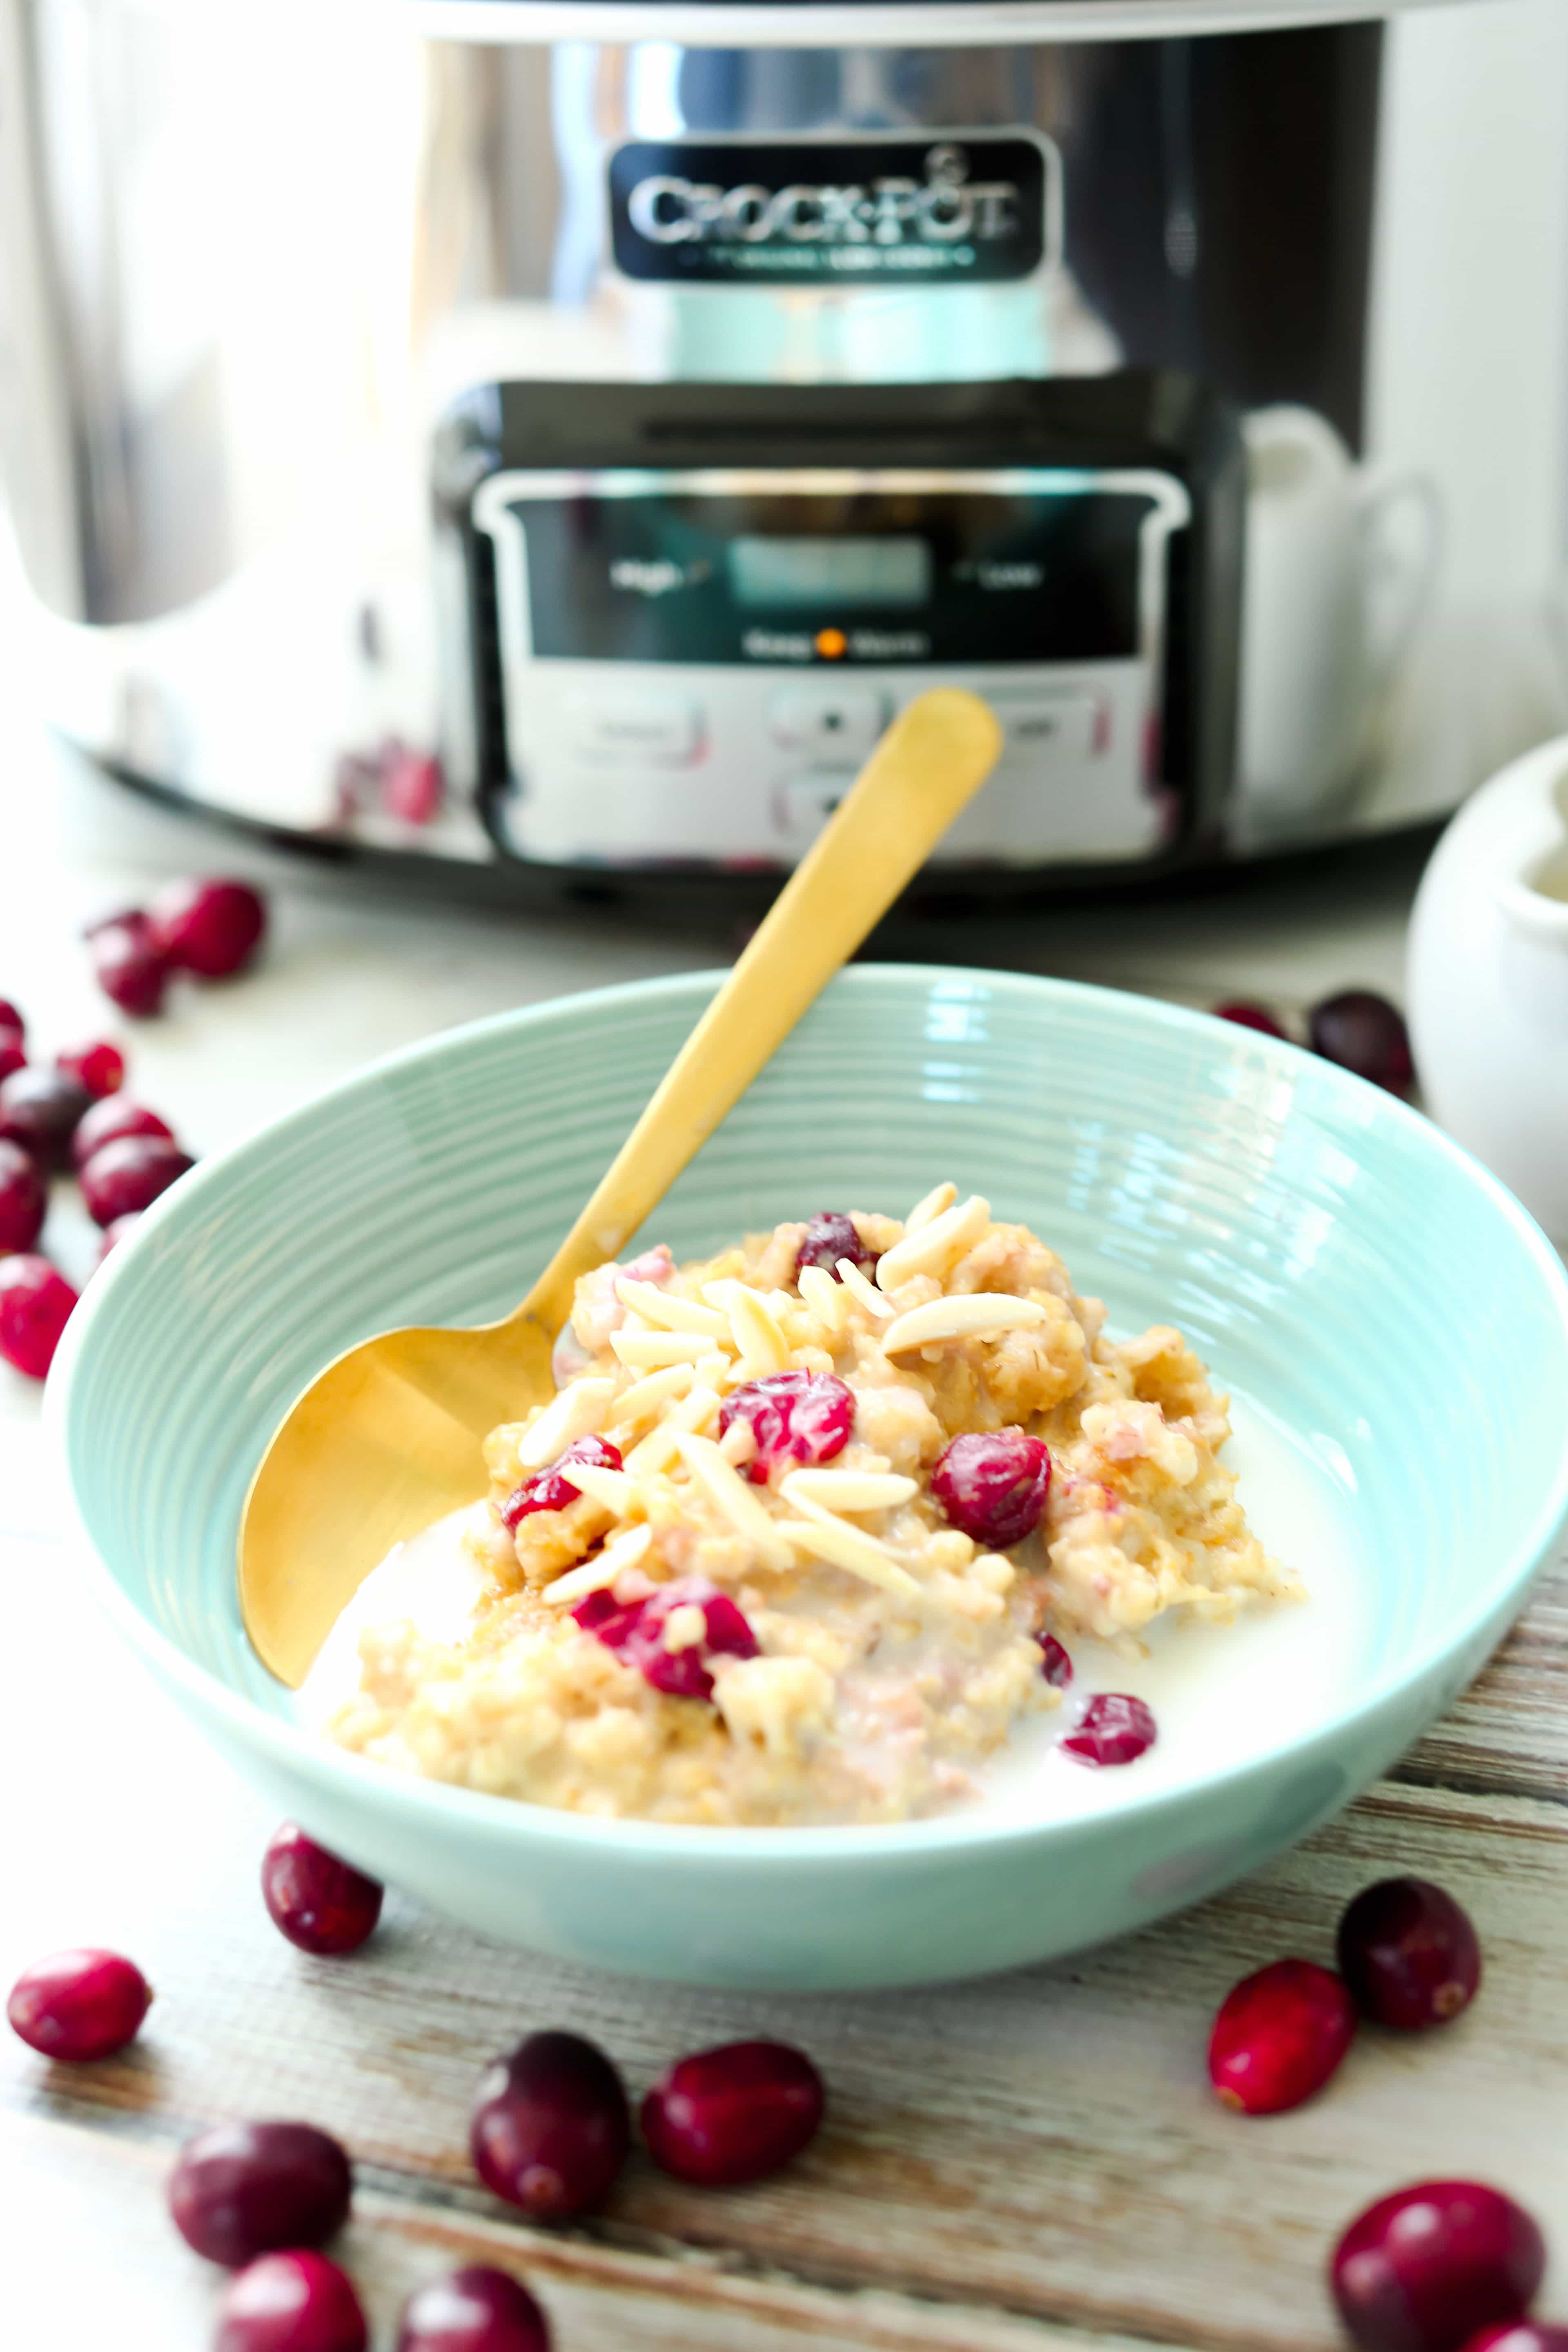
25. Have a special Christmas-themed breakfast on Christmas morning, like this Crockpot Cranberry Eggnog Oatmeal or these Gingerbread Waffles. Cranberry Eggnog Oatmeal Crockpot

Do you have any special Christmas traditions with your family? Share them in the comments and I’ll add them to this list! 


Would you like to save this list to reference for later? Here’s an image to pin to your Pinterest board! Thank you for sharing. 🙂

25 Magical Family Christmas Traditions to start this year #christmas #traditions #parenting #ideas


The post Magical Family Christmas Traditions: 25 Ideas to Start This Year appeared first on Happy Healthy Mama.


source https://happyhealthymama.com/family-christmas-tradition-ideas-to-start.html

Wednesday, 1 November 2017

4-ingredient Peanut Butter Granola Bars with Chocolate {vegan, gluten-free}

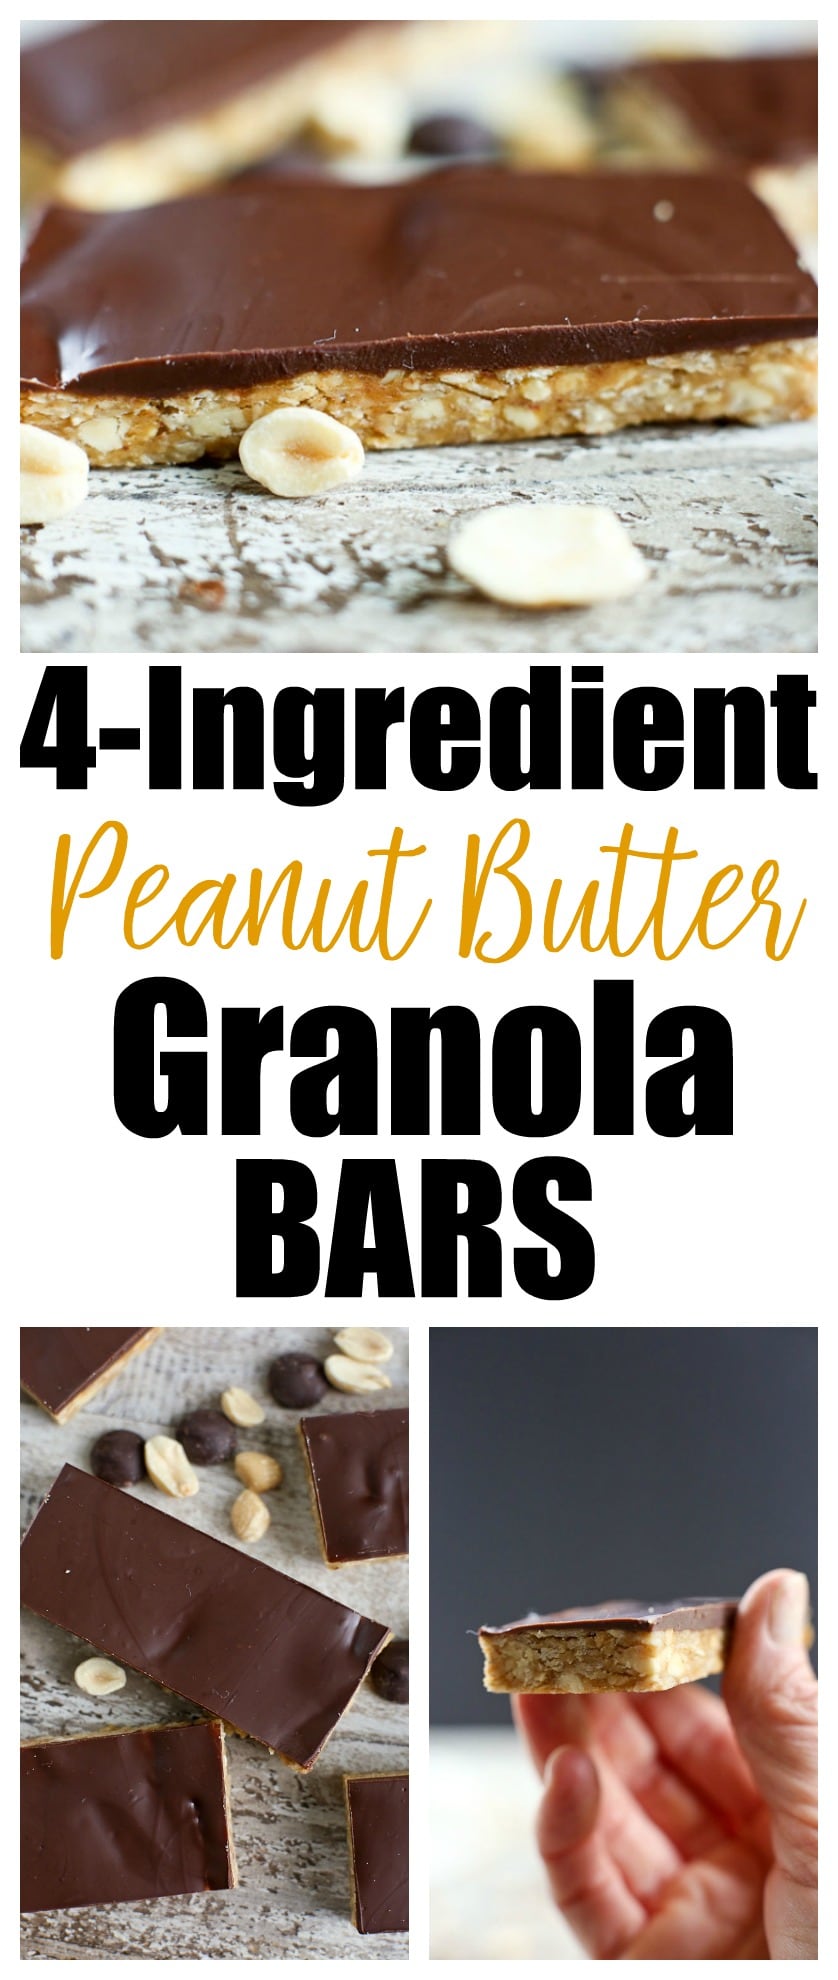
This recipe for 4-ingredient Peanut Butter Granola Bars with Chocolate is quick and easy to make, vegan and gluten-free,  and is loved by all who try it!
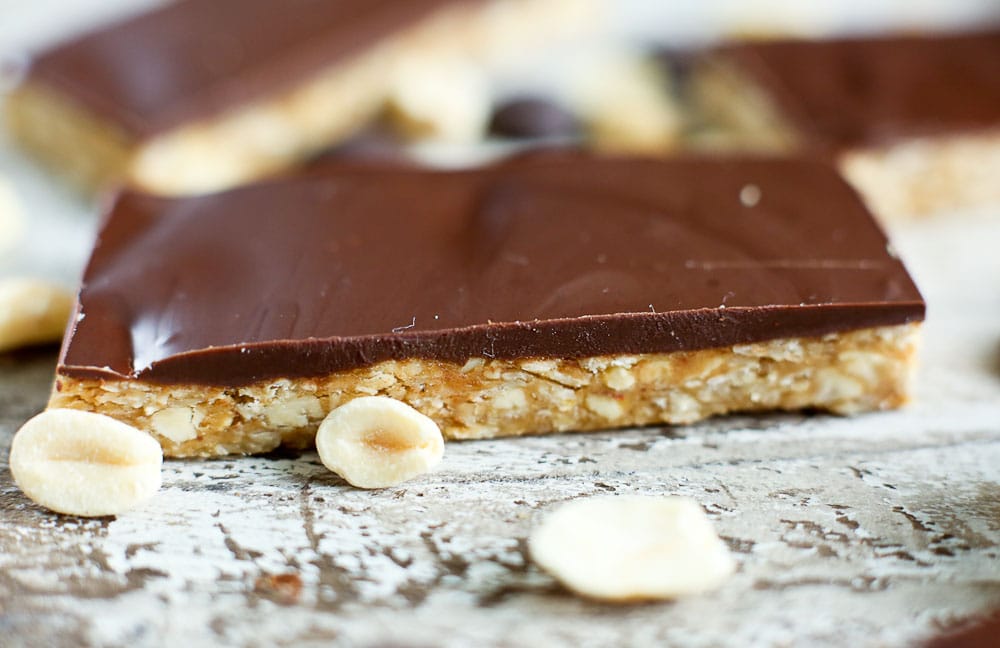
4-ingredient peanut butter granola bar recipe with chocolate

Heads up! This recipe was first published in January 2014. The text of the post is the same; some photos have been updated. 

When I was reflecting on the direction of Happy Healthy Mama for the New Year, one thing came to mind:  simple. Less ingredients, less hassle, less time in the kitchen.

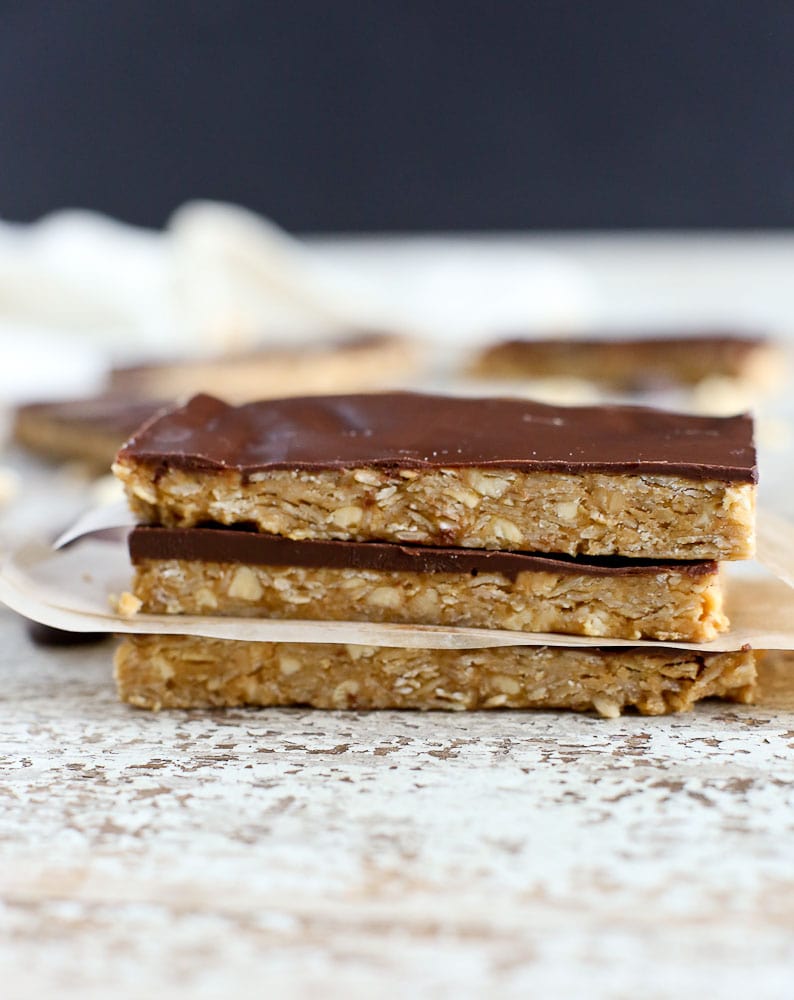
It’s not that I don’t love spending all day cooking or creating elaborate meals.  I do.  A lot.  I’m just not at a time in my life that affords such a luxury.  When, exactly, that time of life will come, I’m not sure.  Retirement?4-ingredient peanut butter granola bar recipe with chocolate, stacked up

Anyway, so as I thought about what I want to happen in this space in 2014, I realized there are a lot of moms, dads, and busy individuals who are in the same position I am.  Wanting the meals and snacks we make to be from nourishing, real-food ingredients, but only having so much time to accomplish that goal.

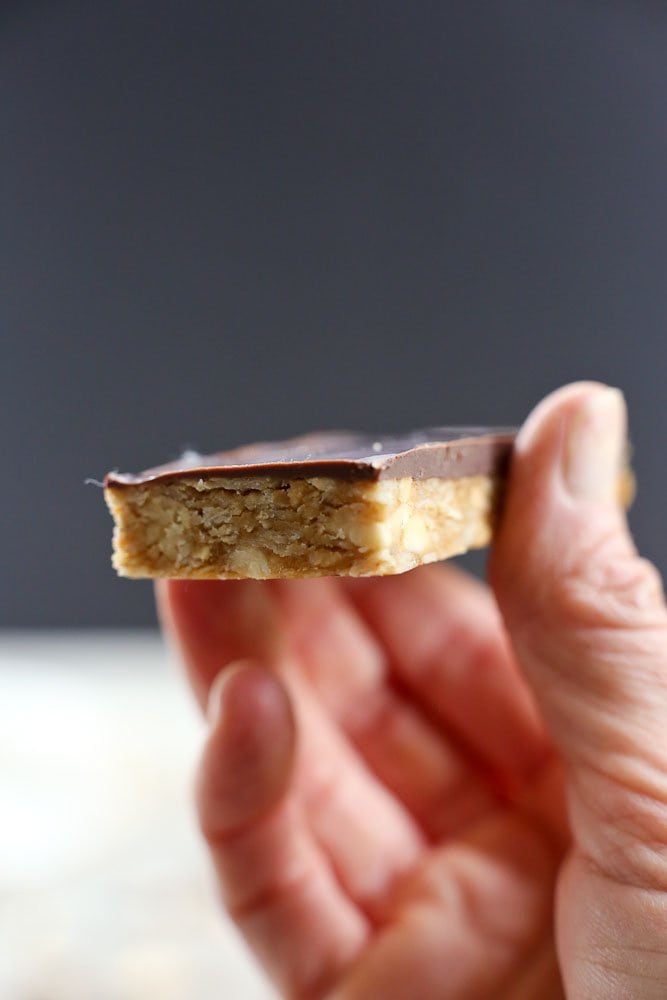
And of course there are those of you who don’t really like spending that much time in the kitchen.  You don’t love cooking or baking much, but still have a desire to provide the best foods you can for yourself or your family.  I’ve got you in mind, too.4-ingredient peanut butter granola bar recipe with chocolate, a single bar held in a hand with black background

You will see a lot more recipes like these 4-ingredient peanut butter granola bars this year on Happy Healthy Mama. Quick, simple recipes for healthful snacks that won’t take all day to prepare.  Easy and healthy dinners that can be prepared and cooked in 30 minutes.  These are the types of recipes I’m working on.

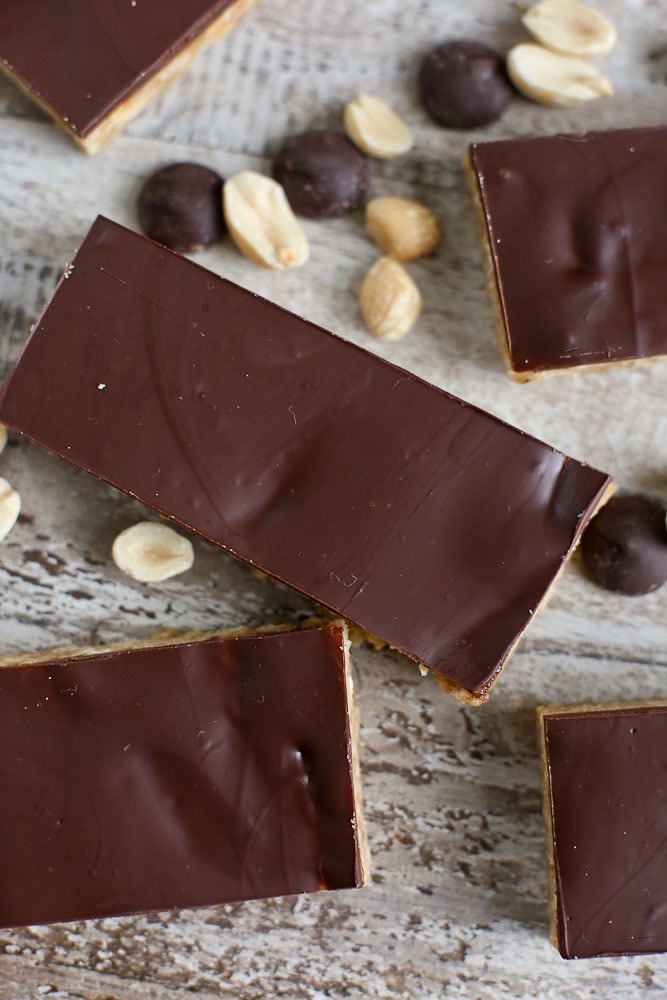
I can’t promise every recipe will be simple, but you will see a lot more of the quick and easy variety, usually with minimal ingredients.4-ingredient peanut butter granola bar recipe with chocolate, 5 bars top down shot with peanuts and chocolate chips

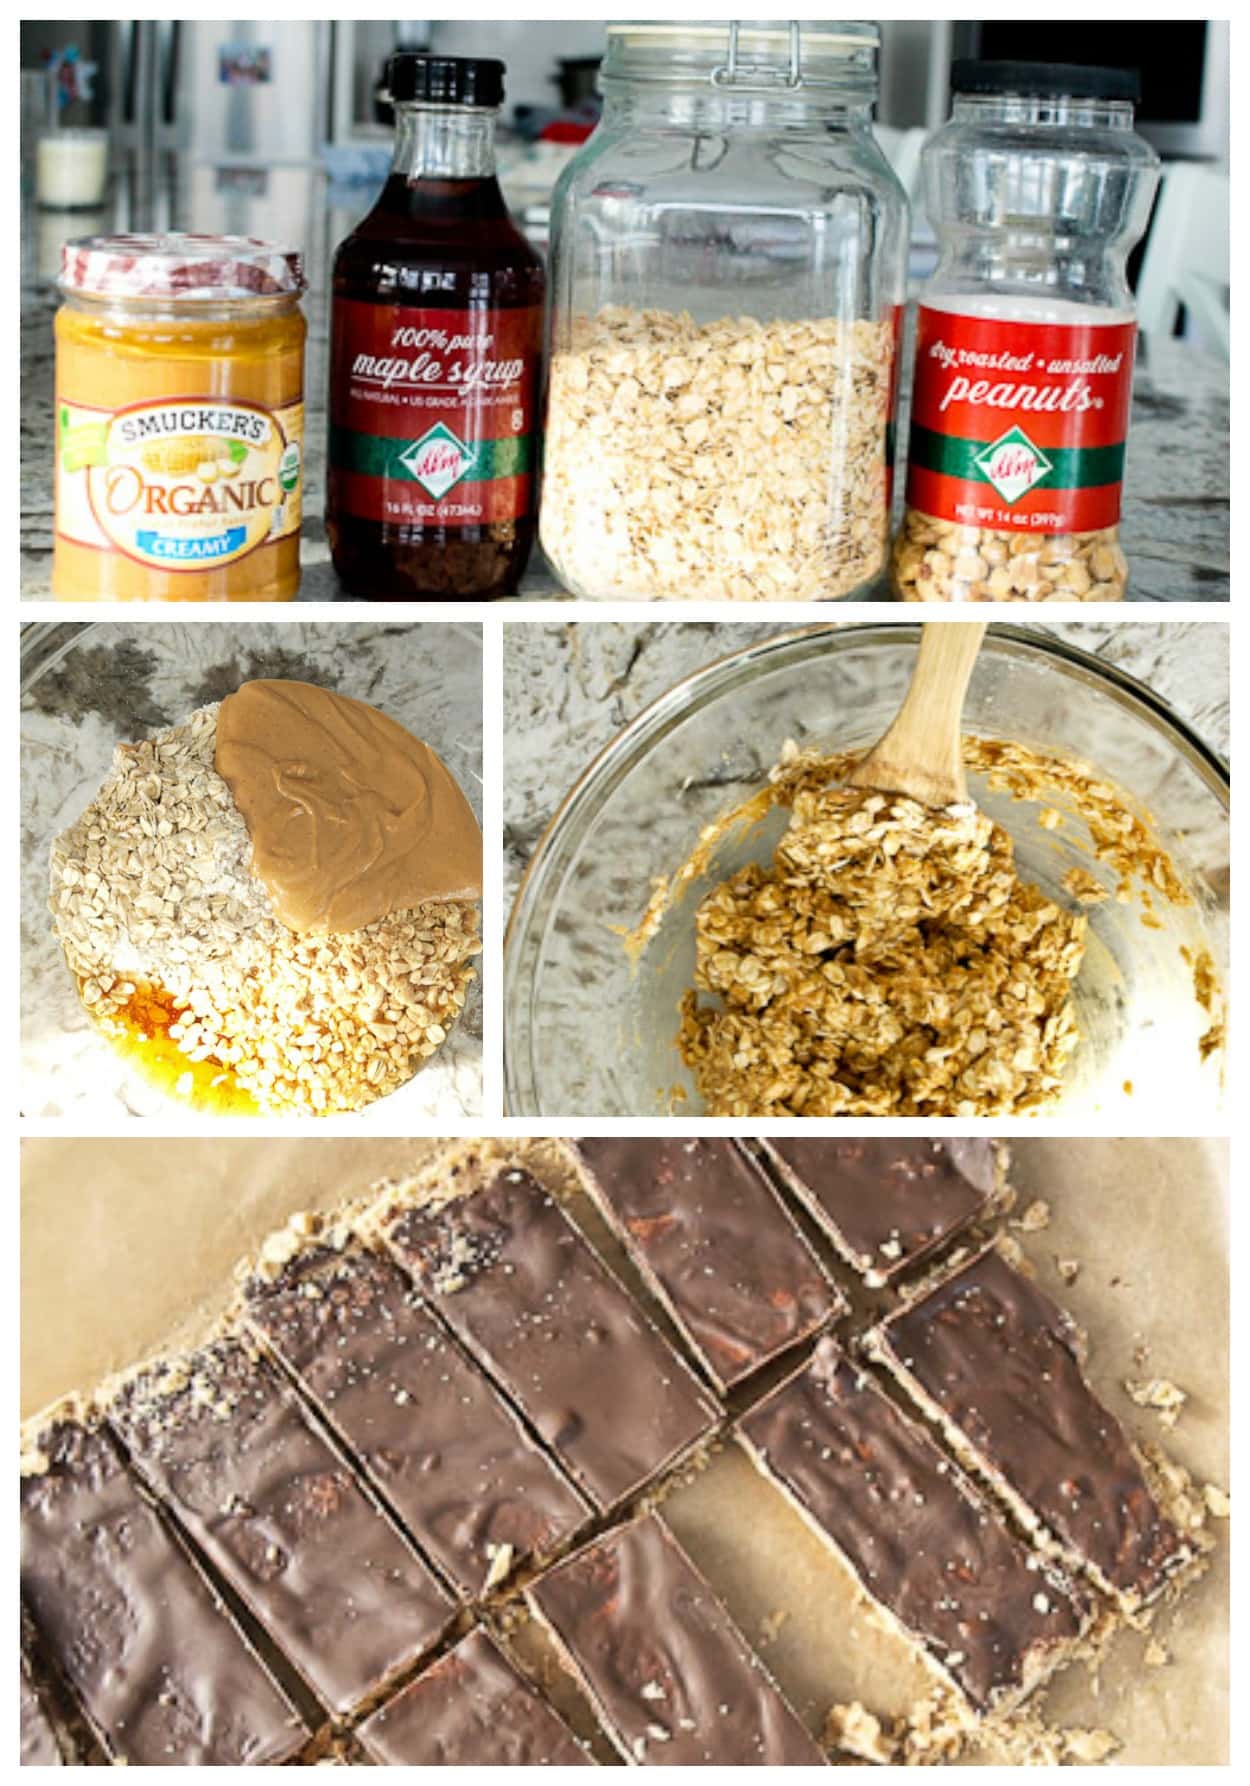
For today’s peanut butter granola bars, all you need is four ingredients and one bowl and you are in business with a quick and healthy snack.  If you want to add the chocolate (who doesn’t want to add chocolate?!) that’s just one more bowl.  

The granola bars, without the chocolate, are fantastic.  You don’t need the chocolate for these to be good.   The chocolate just elevates them to, well, almost candy bar level.  At least this is my kids’ version of a candy bar.

Print

4-ingredient Peanut Butter Granola Bars with Chocolate {vegan, gluten-free}

4-ingredient peanut butter granola bar recipe with chocolate, stacked up

These 4-ingredient Peanut Butter Granola Bars with Chocolate are vegan, gluten-free, and SUPER EASY to make!

  • Author:

Ingredients

For the Bars

  • 2 cups old fashioned oats (use certified GF oats if necessary)
  • 3/4 cup peanut butter
  • 1/2 cup peanuts, lightly crushed
  • 1/2 cup honey or maple syrup

For the chocolate topping

  • 1/2 cup semi-sweet or dark chocolate chips, melted
  • 1 tablespoon coconut oil, melted (optional)

Instructions

  1. Put the oats, peanut butter, crushed peanuts (to crush my peanuts, I put them in a small sandwich bag and use a rolling pin to break them up.  Easy!), and honey or maple syrup into a large bowl and mix well.
  2. Line a 9×13 inch baking dish with parchment paper.  Transfer the mixture to the dish and use your hands to spread it out to the edges.  Take another sheet of parchment paper and lay it on top of the mixture.  Press it firmly down.  Use something heavy to do this.  I use a large can of tomatoes. Don’t skip this part!  When making homemade granola bars, I’ve found this step to be crucial for them to hold together well and have the best texture.  
  3. Pull the parchment paper off of the top and bake the in the preheated oven for 12 minutes. Don’t throw the parchment paper away-you will need it again!
  4. When the bars are finished baking, pull them out of the oven and put the parchment paper back on top of them.  Once again, press them down firmly into the dish.  I use the big ol’ can of tomatoes again to do this.  Put them in the fridge to cool completely, at least 30 minutes.
  5. Pull the mixture out of the pan with the parchment paper and use a sharp knife to cut them into bars.
  6. Meanwhile, melt your chocolate chips and coconut oil and mix them together.  (The coconut oil is optional.  I find it spreads better and leaves a nicer finish with coconut oil, but it’s fine without it, too.)  Spread the chocolate over the bars evenly using a rubber spatula.
  7. Return to the refrigerator to let the chocolate firm, and then cut into bars again.  Store bars in the refrigerator.  Enjoy!

Notes

I’ve used both honey and maple syrup to make these, and even though the picture shows maple syrup, I prefer the honey


I’m starting to loathe recipes that make only 6 or 8 bars as they will only last a day in this house.  This recipe makes a full 18 bars, but feel free to half the recipe and make it in a 8×8 or 9×9 inch baking pan if that better suits your needs.

I did a quick calculation of the cost of making these bars in comparison with buying a box of granola bars.  I found that, based on the prices I pay for ingredients, this whole recipe cost approximately $5.16 to make, putting the cost per 6 bars (a typical box of granola bars) at $1.72, or 28 cents per bar.  That is considerably cheaper than buying a box of pre made granola bars, and you are in control of your ingredients.  (Even organic granola bars have added ingredients like tapioca syrup)  Win!

If you make this 4-ingredient Peanut Butter Granola Bars with Chocolate recipe, or any Happy Healthy Mama recipe, I would LOVE to see it! Please take a pic and share it on Instagram or the Happy Healthy Mama Facebook page and tag me @happyhealthymama ðŸ™‚

Also, if you try it, would you mind rating the recipe? It’s VERY helpful for me and other readers if the recipes have ratings and reviews. I appreciate you!

If you’d like to save this recipe for later, here’s an image to save to your Pinterest recipe board!SO Quick and easy! 4-ingredient Peanut Butter Granola bars with Chocolate. This is a healthy snack ideas for kids, #vegan #gluten-free #kidfriendly #granolabars


The post 4-ingredient Peanut Butter Granola Bars with Chocolate {vegan, gluten-free} appeared first on Happy Healthy Mama.


source https://happyhealthymama.com/4-ingredient-peanut-butter-granola-bars-with-chocolate-vegan-gluten-free.html